
photo: India Earl
The best way to ring in the holiday season is obvious—by putting a ring on it, of course!! ‘Tis the season for love + makin’ it official, and we’re here to tip you off to what’s next after all the champagne bottles have popped! BUT, first things first: soak it ALL up. Enjoy the romance of the holidays and that shiny new bauble on your finger! Clink your glasses, take advantage of every mistletoe moment, and cozy up—you’ve got a whole season of romance ahead of you!
Then, once things slow down a bit and you’re ready to get organized (whew!), we’re always quick to recommend creating your wedding website on Squarespace! It’s our favorite platform to build your own little corner of the internet because it’s beautiful, easy to use, and a practical way to help you plan! If you’ve never built a website before, don’t freak out. Squarespace is super intuitive, fun to use, and affordable—you can even get 10% off your first purchase with our code (GWS18)! PS: We recommend securing your domain now (SO fun!) before getting started on this list.
So, how do you prepare to create a wedding website? We’ve got 8 expert tips to show you the way!
website template: Vow
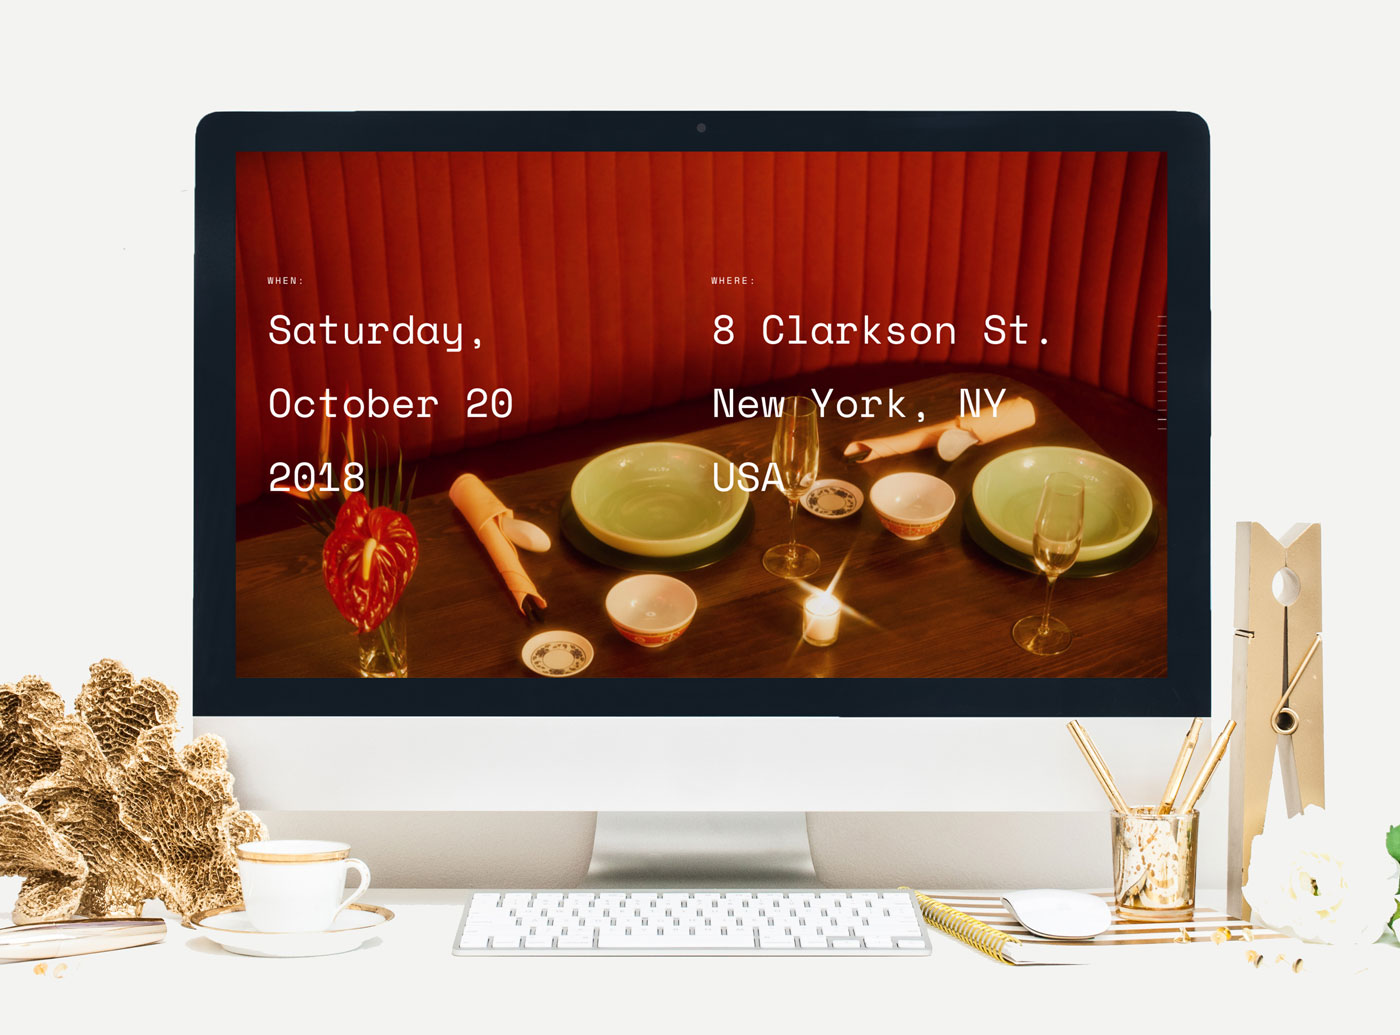
1. Know Your Date, Location, and Dress Code
Sure, it sounds like basic information, but when you’re planning a wedding it can take some time to gather (and agree) on the foundations of the day! Think about the information that’s going to be most important to guests visiting your wedding website and make sure it’s clearly outlined from the get-go.
2. Create Your Guest List
Depending on the type of wedding your planning, this step can take some time. Be prepared with your list so you know who will be invited not only to the wedding but to your website! Some couples even like to go so far as to create a password for guests to keep the affair intimate. If that sounds like you, here’s a helpful tutorial to add a site-wide password!
3. Include Travel Information
Share any tips that might be helpful in terms of travel and accommodation. Which airport is closest? What is the commute like? Have you set up a hotel block for the weekend? Gather as much helpful information as possible so you’re ready when it’s time to publish!

website template: Royce | photo: Benjaminrobyn Jespersen
4. Share Local Activities
You’re guaranteed to keep busy in the days leading up to the wedding, but not all your guests will be invited to every event. We LOVE when couples share their favorite spots in their city—a mini travel guide for out-of-town guests! Which reminds us…
5. Leave off Invite-Only Events
Avoid any hurt feelings by leaving off events like rehearsal dinners and small gatherings that may not be open to all your guests. Send separate invites my mail or email (depending on the occasion) to those invited.
6. Keep Your Theme/Wedding Style in Mind
When your wedding site mirrors your vision for the big day, it creates excitement and expectation for what’s ahead! Squarespace makes it so easy to go formal, casual, colorful, and so on with different wedding website templates and unlimited options to customize. Your wedding will be unique to you, your website can be, too! It’s best to have a general—if not solid—idea as to what the day will look like when you begin creating your website.

website template: Vow
7. Set up Your Registry
It’s considered tacky to include your wedding registry on your invitations, but definitely okay to add it to your website! One of our favorite features that Squarespace offers is the ability to integrate your wedding registry. (And if you use Zola, guests can literally shop all the items right there from your website!)
8. How to Share
You’re all organized and the website is all ready to go…so how do you share the link? DO: Include your wedding website link on Save the Dates and wedding invitation enclosures. DON’T: Post on social media or list on the formal invitation.
Now all that’s left to do is sit back and watch those RSVPs roll in! YAY!

This post is sponsored by Squarespace. Thanks for supporting our sponsors!