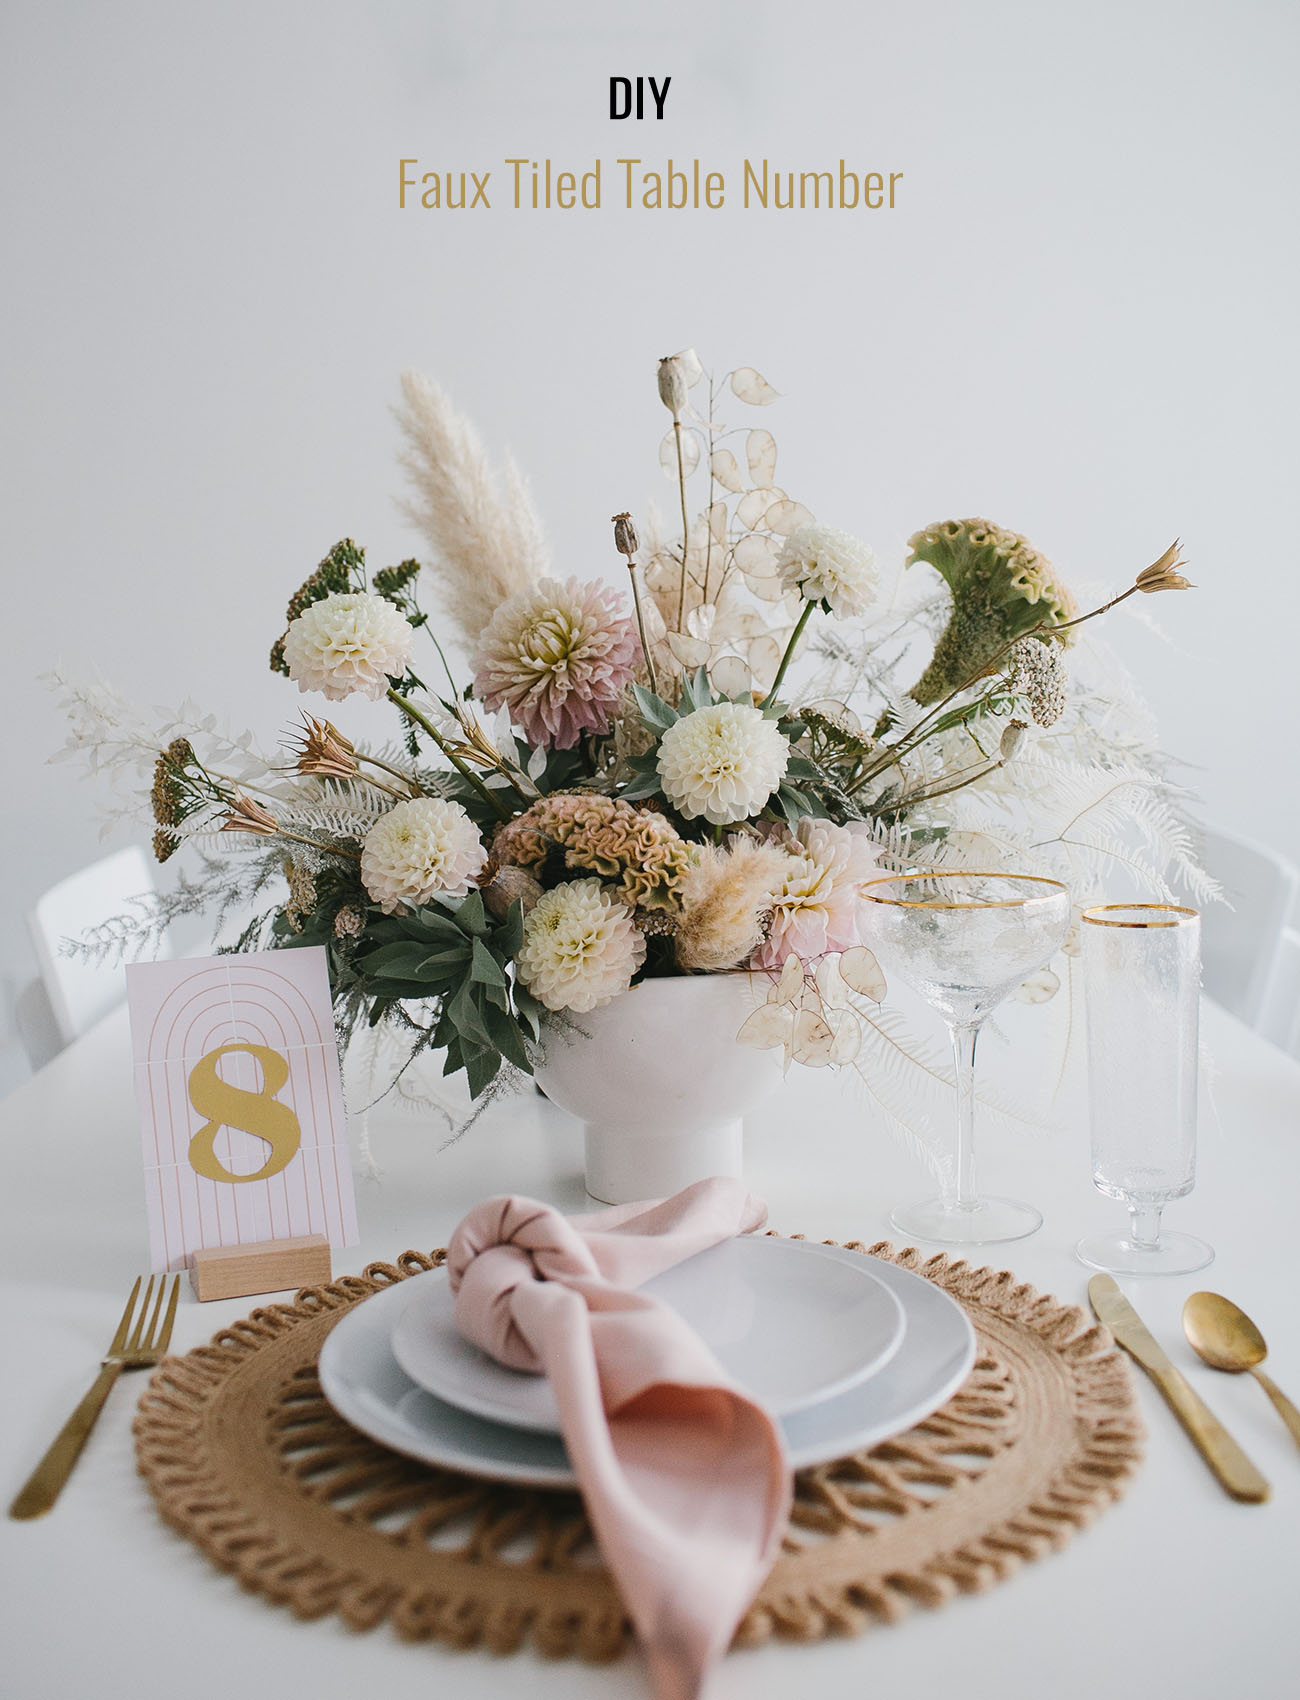
Putting together DIYs for your wedding is a sure way to make sure the day feels personalized to the two of you. Which is why we loveeee a good DIY! For today’s project, we’ve partnered with Canon and their new PIXMA TS9521C Crafter’s All-In-One Printer to bring you a faux tiled table number. Here’s a bit about the printer:
“Meet the printer made for crafting and scrapbooking — the PIXMA TS9521C Crafter’s All-In-One Printer. Designed to complement your artistic side, this innovative printer is packed with a variety of creative features: includes 12″ x 12″ borderless printing, greeting card printing, versatile paper support, built-in printable patterns
- The PIXMA TS9521C can easily handle everyday printing needs too, such as photos, school projects, documents, invitations and more.
- Plus, with the support of Wi-Fi, AirPrint and Mopria Print Service, an Auto Document Feeder for scanning and copying, and a built-in SD Memory Card slot for convenient photo transfers, you’ll be crafting and printing in no time”
What we loved about using this new printer was the ease of use and possibilities. We designed a “tile” design, grabbed some Restickable Photo Paper from Canon, and printed directly from our phone! Here’s how we did it…
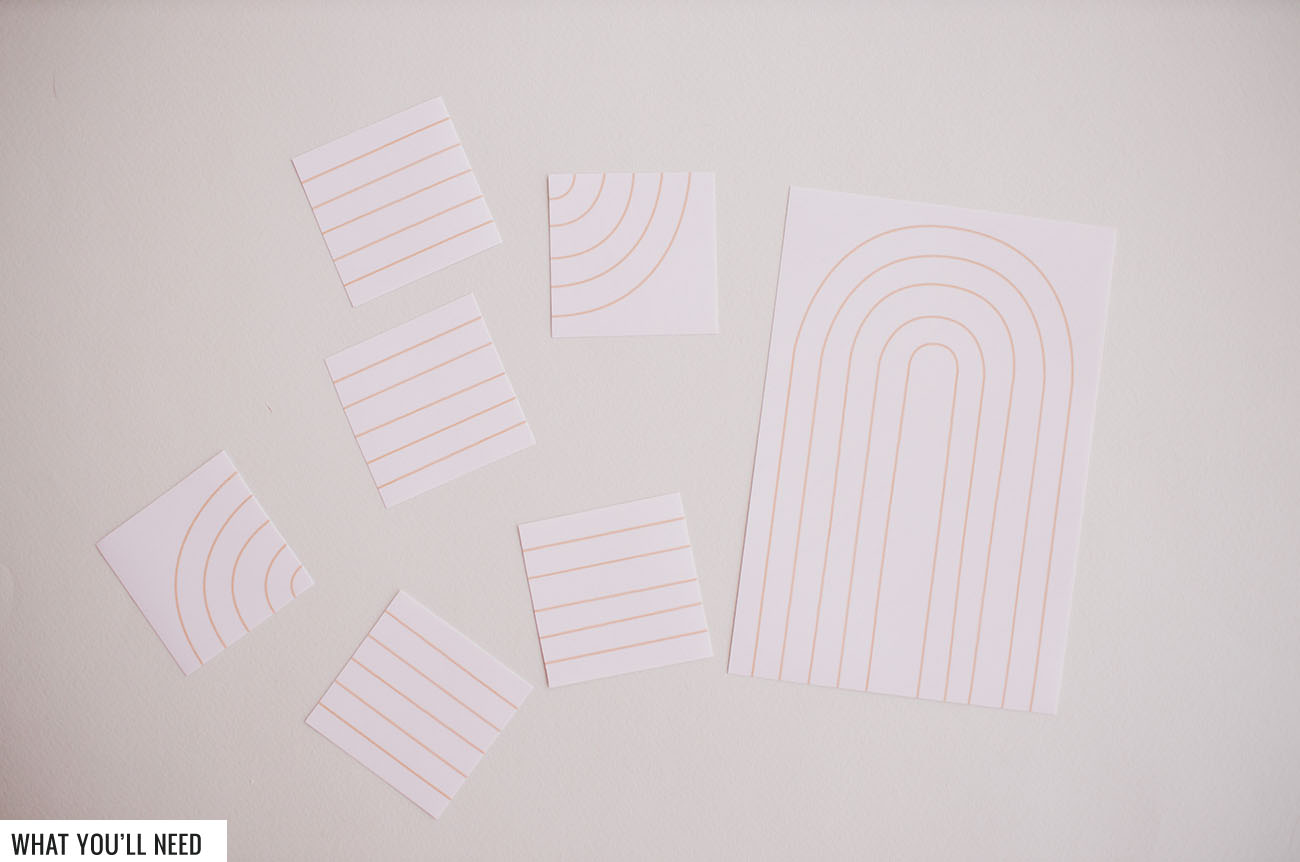
What You’ll Need:
• PIXMA TS9521C Crafter’s All-In-One Printer
• Restickable Photo Paper
• Tile Design File (or create your own!)
• 8×10 Acrylic
• X-acto knife
• Scapbooking paper (in your choice of color for the number)
• Wood block
• Paint (in your choice of color for faux grout lines)
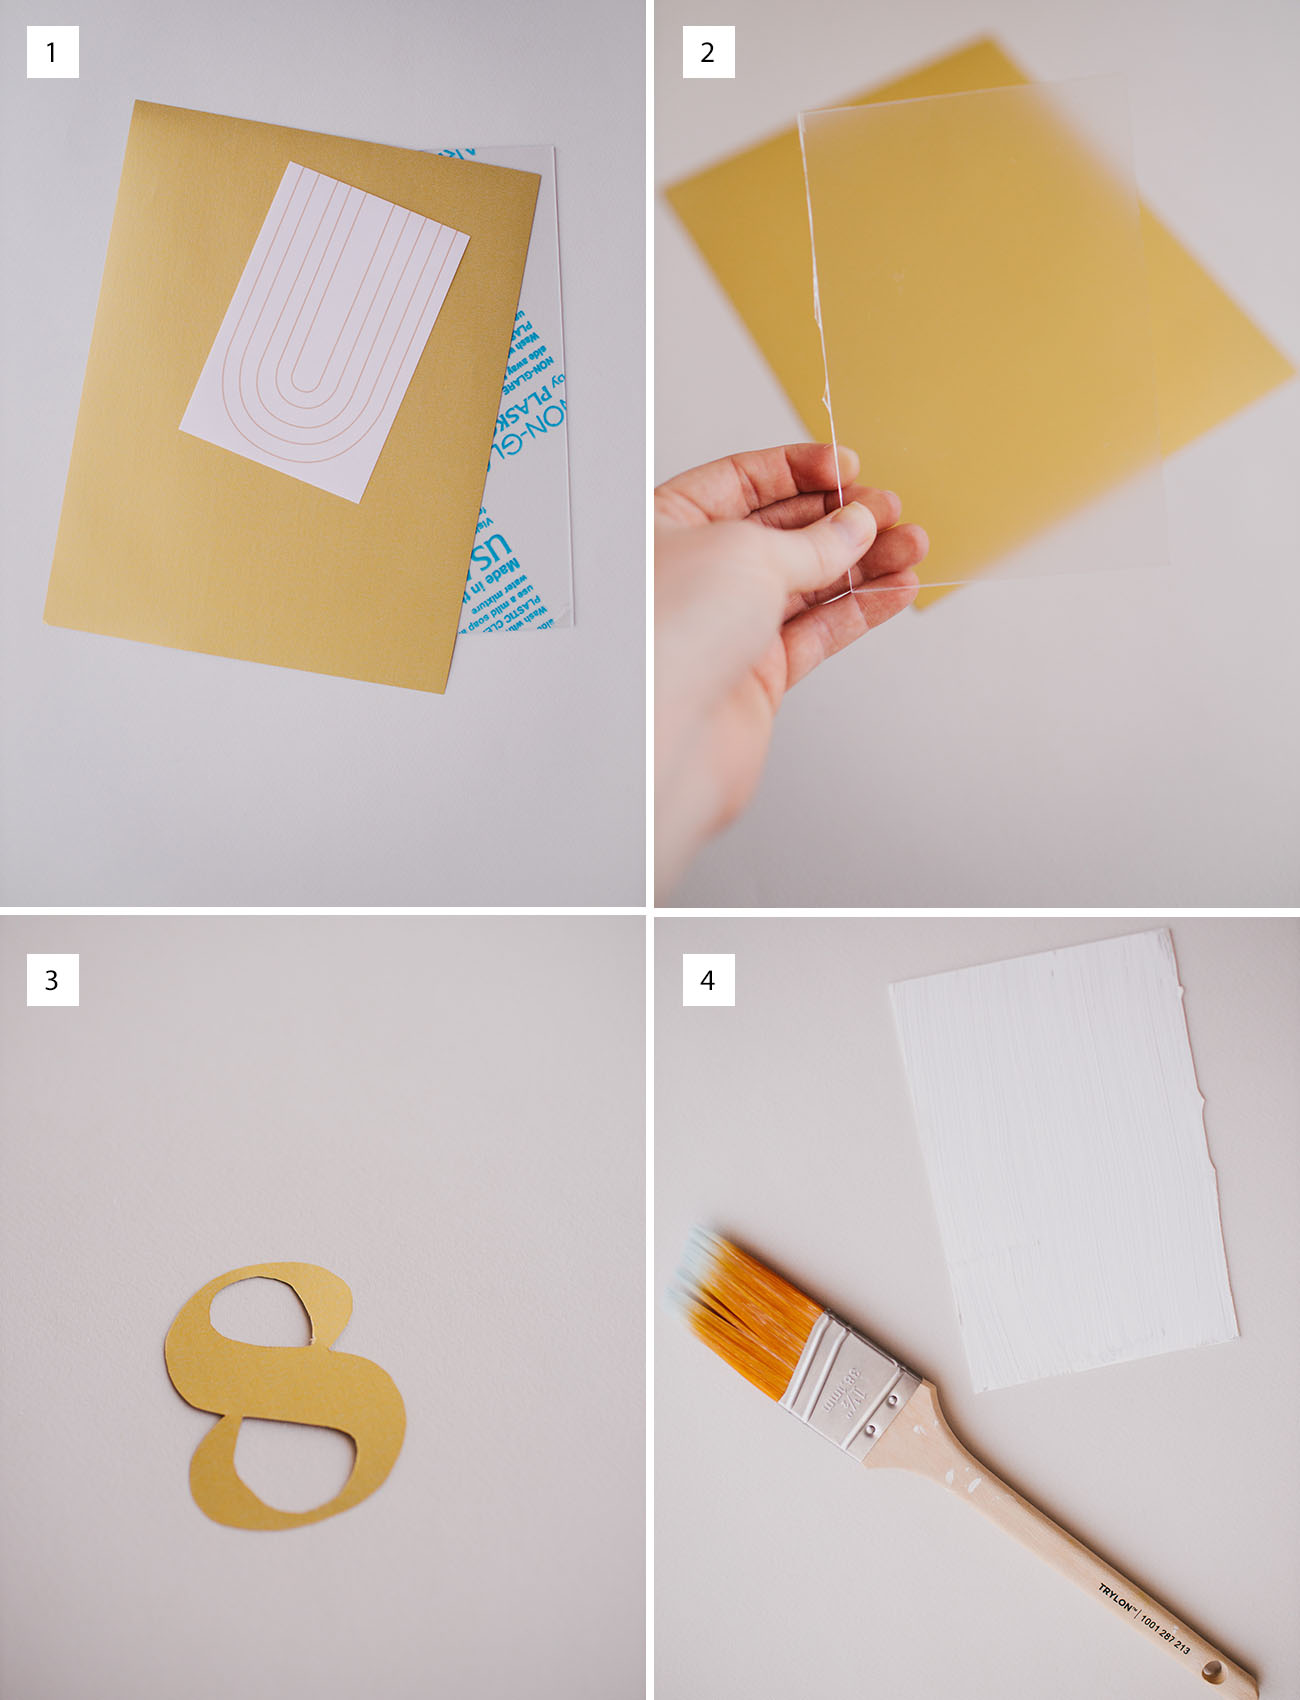
Step 1: Gather your materials and prep your acrylic piece! Since our piece of acrylic could hold 3 sizes of our 4×6 table number, we drew that dimension onto the acrylic for cutting lines.
Step 2: Use your x-acto knife to cut your shape out. If your piece is already 4×6 you can skip this step! The best advice we have for cutting acrylic is to slowly trace over the same line multiple times, and bend the acrylic over the edge of a table to snap off cleanly.
Step 3: Print out a stencil of the number you like – we used a font in Photoshop – and trace on your scrapbooking paper. Cut this out!
Step 4: Paint over the entire acrylic piece to act as faux grout lines behind the tile pieces.

Lastly, cut your design pieces up and place onto the acrylic – along with the table number on top! The tile pieces will stick, but the table number will need to be secured down (using glue). Look how cute!!!
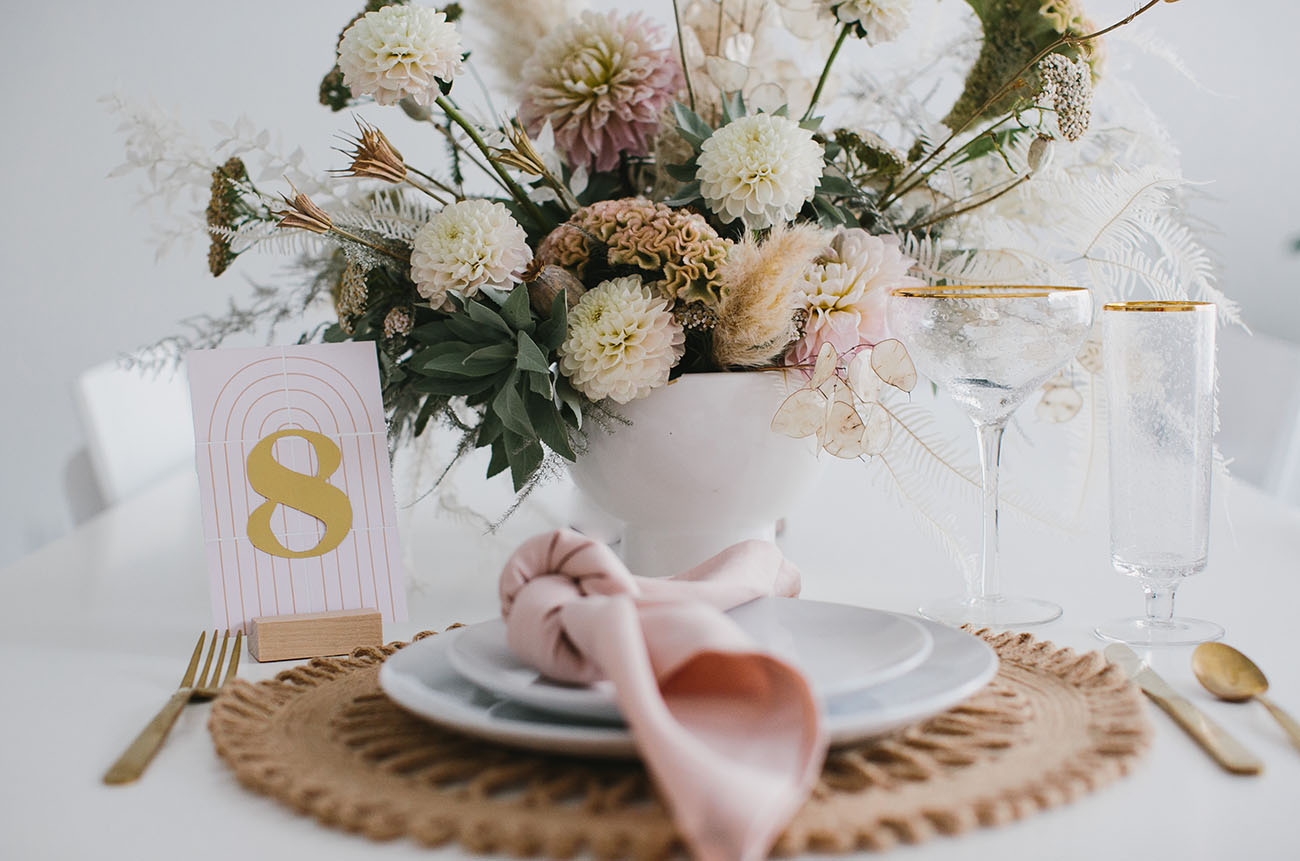

Perfectly color-matched florals thanks to The Bloom of Time!
This would be a great project to do with your bridal party to knock out in one night! If you make your own faux tile table number, we’d love to see how it turns out, so please share on Instagram along with the hashtag #GreenWeddingShoesDIY. We’ll regram our faves!

*This post is sponsored by Canon. All content, ideas, and words are by Green Wedding Shoes. Thanks for supporting our sponsors!


Keep up the good work, it’s hell lot inspiring!!