Ceremony Decor

The Most Modern Fall Wedding Colors at a Gorgeous Greenhouse Venue

A Dried Dandelion Crown Tops Off This Neutral Ibiza Wedding Inspiration

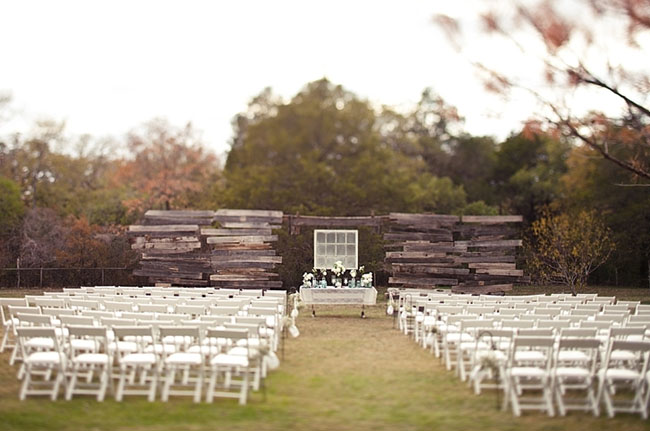
27 Stunning Ceremony Decor Ideas For Your Micro Wedding

Relaxed Outdoor Wedding Vibes With 1970’s Inspiration + Dried Florals

Trending Now: The Mono-Floral Look! (What it is and Why it’s Wedding Day Worthy)

Glam Florals in Peach and Pink for this Romantic Lake Como Wedding
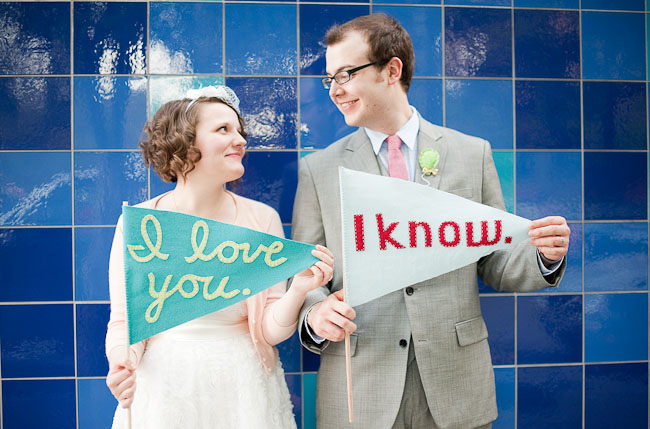
Colorful + Fun Austin Wedding: Lauren + Sam
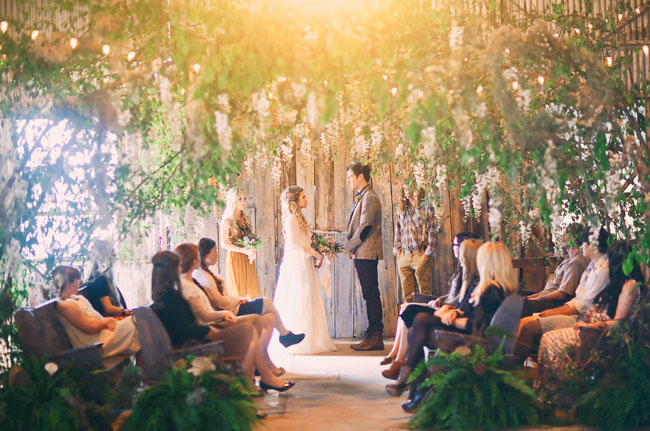
Whimsical Bohemian Wedding Inspiration

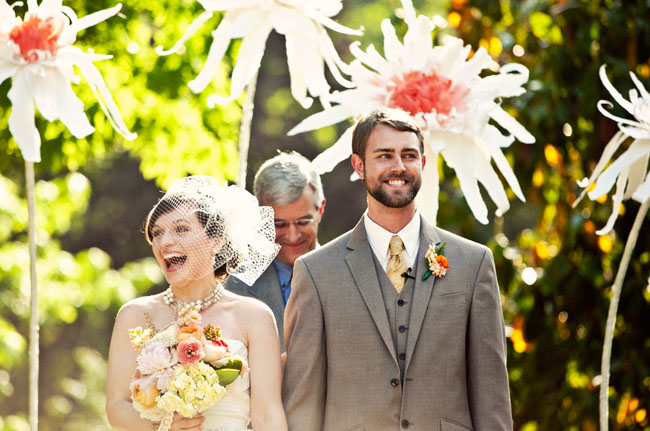
DIY: Giant Flowers

A Southern Styled Shoot at the Sewee Preserve

Come Fly With Us: Wedding Inspiration from Pan Am

A Home Inspired Southern Wedding: Amanda + Steve

An Ozark Mountain Romance Wedding: Sarah + Brian
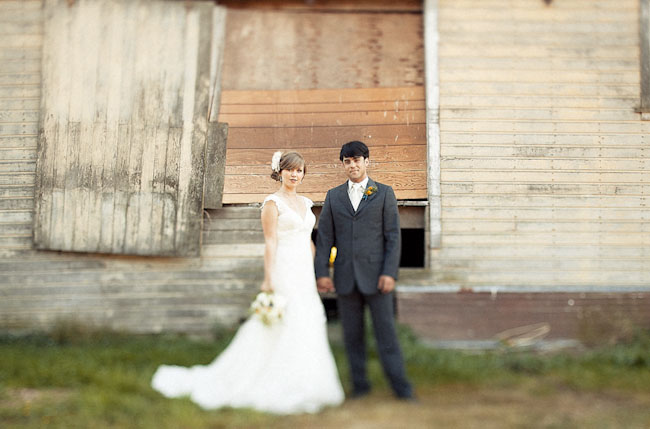
Handmade Texas Wedding: Polly + Matthew

Vintage Circus Wedding in an Urban Loft: Rebekah + Matt
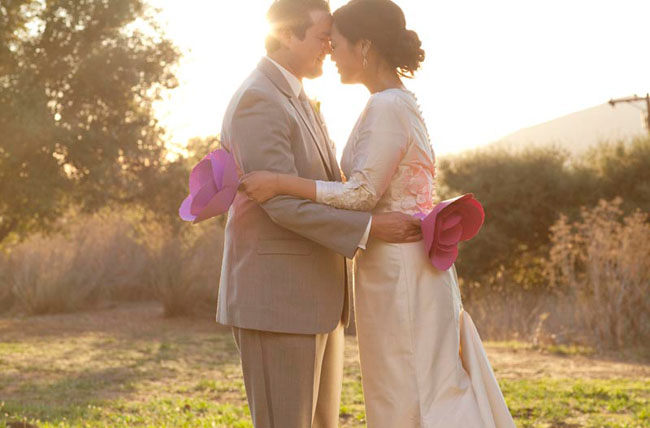
An Outdoor Wedding with lots of DIY Paper Details: Melissa + Torrey

A Festival Inspired Backyard Wedding: Visra + Chris
An Old West Wedding: Kim + Kevin

A Wedding at The Ace Hotel Palm Springs: Doan + Jason
Georgia Vintage Handmade Wedding: Britney + Mark

DeAnna Pappas + Stephen Stagliano: Their Southern Chic Wedding

A Romantic Texas Wedding: Jessa + Brian