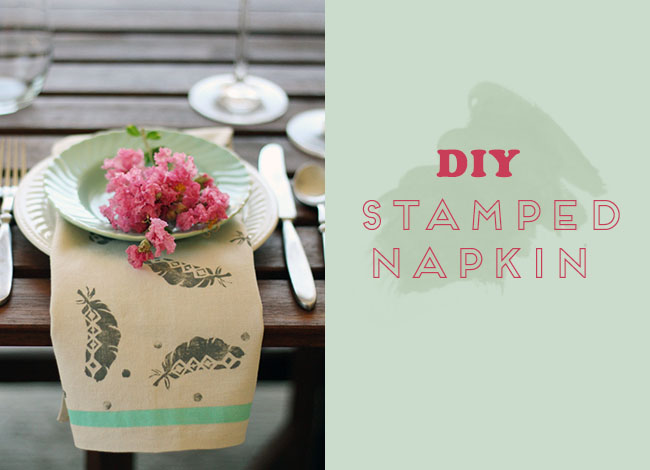
Love this DIY today from our gal Christy of One Handspun Day – perfect for your wedding reception, rehearsal dinner – or any party really! Take it away Christy :)
This tutorial may seem a little daunting because of the carving, but do not let it intimidate you – it is surprisingly easy! The speedy-carve block is so easy to shape that it feels like you are cutting into a soft block of cheese. Although check the label when purchasing it because there are other types of linoleum blocks out there that may not be as easy to carve, so make sure you track down the ‘Speedy-Carve’ if this is your first time carving stamps. Of course, if you already have a stamp you absolutely adore then you could just make your printed linen napkins with those by skipping to Step 2.
Materials:
• Linen Napkins (mine were DIY no-sew linen napkins)
• Speedball Speedy-Carve Block
• Linoleum Cutter (I used this Speedball cutter)
• Design for stamp
• Fabric Paint
• Paintbrush
• Iron (if needed to set fabric paint)
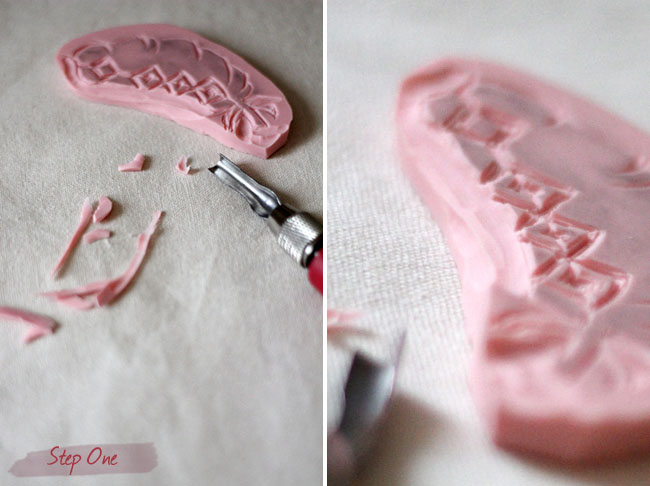
Step One: Carve Design into Block
For my stamps I printed out two feathers from a custom invitation that I had created a few months ago. When choosing a design keep in mind that it should be inversed since you will be using it as a stamp. For example, if you have the letter ‘C’ you will need to place a backwards ‘C’ onto the block in order for it to show up on your napkin correctly.Transfer your design onto the speedy-carve block (or draw onto it directly if you prefer). The speedy-carve block is wonderful because you can rub a design directly onto it without any sort of transfer paper. But if your design does not have enough carbon on it then you can just trace the design in pencil first and then try rubbing it on.
Once your design is on the block, cut it from the rest of the block so it is easier to handle. Then use the smallest tip for your cutting tool to trace the outline and fine details of your design. Use even pressure and don’t worry about getting the lines too deep on the first try because it is easy to continue carving the same areas later. Next, take a larger tip size and continue carving away the areas of the stamp that you do not want as part of the final stamp. Once you have a stamp carving that you are happy with, test it with paint or an inkpad to see what the stamp looks like. If your test stamp doesn’t make you squeal with delight and post photos to Instagram then adjust your carving until you have a test print that does.
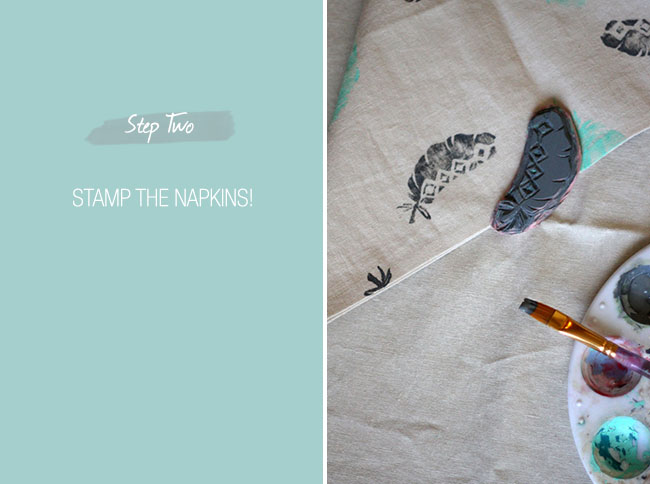
Step Two: Stamp the Napkins
Now that you have a lovely new stamp you are proud of it is time to pull out your linen napkins. Apply the fabric paint to your stamp using a paintbrush. Each coat should be applied evenly (you should not be able to see the pink stamp beneath your paint) and you should apply a new coat between every stamp. Test your stamp on a scrap piece of fabric before stamping on any of your napkins. I found that darker colors showed the feather design better for the color of linen napkins I was using, so I decided to use gray and mint instead of the lighter pastel colors I had originally planned to use. For best results when stamping, apply pressure to all portions of the stamp before lifting from the fabric.
Have fun stamping your napkins and play around with pressing your stamp in different orientations or adding additional designs using your paintbrushes. I added a few polka dots using the back of my paintbrush and some stripes using scotch tape as guides.
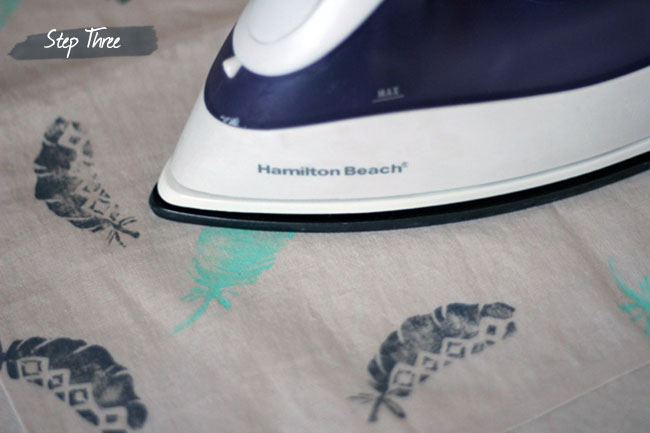
Step Three: Set the Fabric Paint
This last step is both the easiest and the most difficult. The difficult part is that you must wait 24 hours until you can complete it because your paint must be completely dry. The easy part is that once your clock allows it, use an iron to set the paint to the fabric in accordance with the instructions on your paint. Once you have done that then it is time to pull out your most festive dishes, pop the champagne and invite over all of your closest gal pals for an evening of celebration with your pretty new napkins!
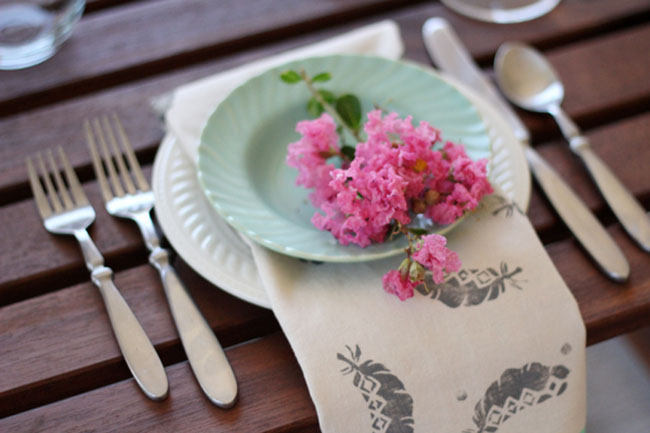

And if you can’t seem to stop stamping (a very common side effect!) then try your hand at a stamped table runner, placemats, place cards or anything else that crosses your path!
DIY created by Christy of One Handspun Day exclusively for Green Wedding Shoes. Check out more of her designs at One Handspun Day!
What a fun DIY project! :)
Love this! x
This is SO cuuuteeeee!!!!! I can’t wait to try this for a dinner party. Christy you are so talented & creative!!
Love this craft! I saw something similar in Martha Stewart Living this summer and I love how you incorporated the stamp detail onto a napkin. So cute!
beautiful!!!
Great finish on the block printing. I’m always looking for bespoke fabric to use in our photos. We’ll be giving this a try.
This is such a beautiful idea for napkin linen!! Thanks for sharing