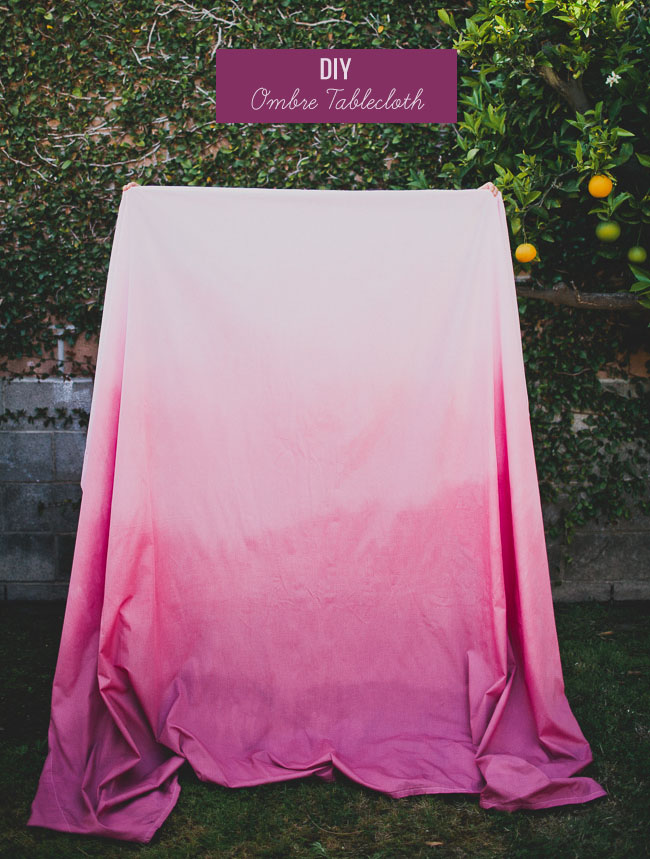
Today’s DIY is another feature you saw from our GWS booth at The Cream Event – an ombre tablecloth! We used this piece as a backdrop to close in our space, but we think it would make for some pretty reception or dessert tablecloths, or even a photo booth backdrop! Here’s how to make one yourself…
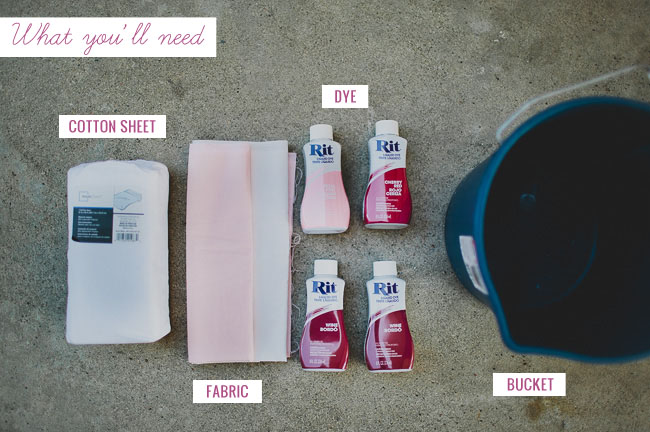
What You’ll Need:
• Cotton sheet – full size sheet used in this DIY
• 1/2 yard of white cotton for testing – you can get this at your local fabric store like Joann’s
• Dye (choose 3 different shades of the color you want)
• Bucket (3)
• Gloves
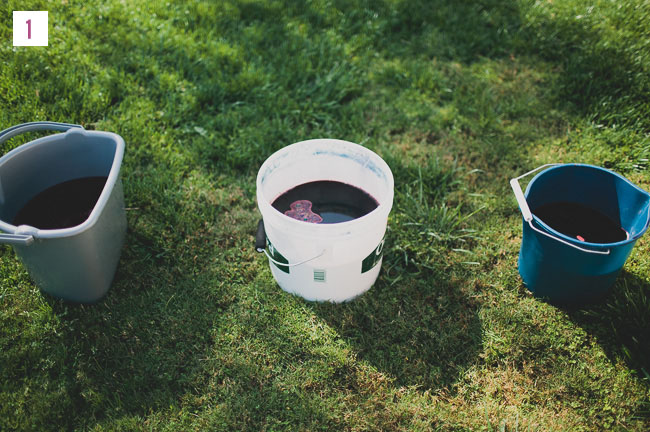
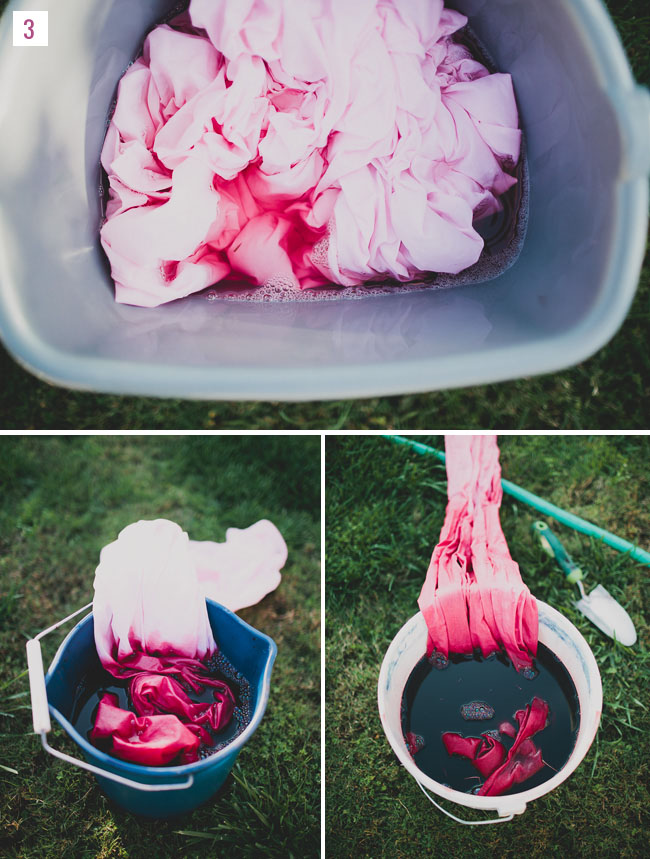
Step 1: Follow the instructions on your dye package and mix your colors. I chose a variation of 3 shades of pink to reds, and mixed them in 3 separate buckets. Make sure you are wearing gloves at this point so you don’t dye your hands! Also a grassy patch is the perfect place to do this massive dye project. You won’t stain your grass and you’ll have enough room to move around in.
For the dye, I bought one shade of light pink, one medium red, and two dark reds. I wanted double the amount of dark dye to experiment with really rich colors. For the light pink bottle, I probably only poured about half of that in one bucket. I wanted the light pink shade to be extra light at the top but still able to see that it was pink. For the middle color, I also used only about half of the bottle. For the darker shade I used 1 1/2 bottles. I experimented with the different shades of that one (see below) and ended up liking the really dark shade. Less is more in the beginning, as you can always add more dye if needed. And if you add too much, that just means your fabric should be in there for a really short time.
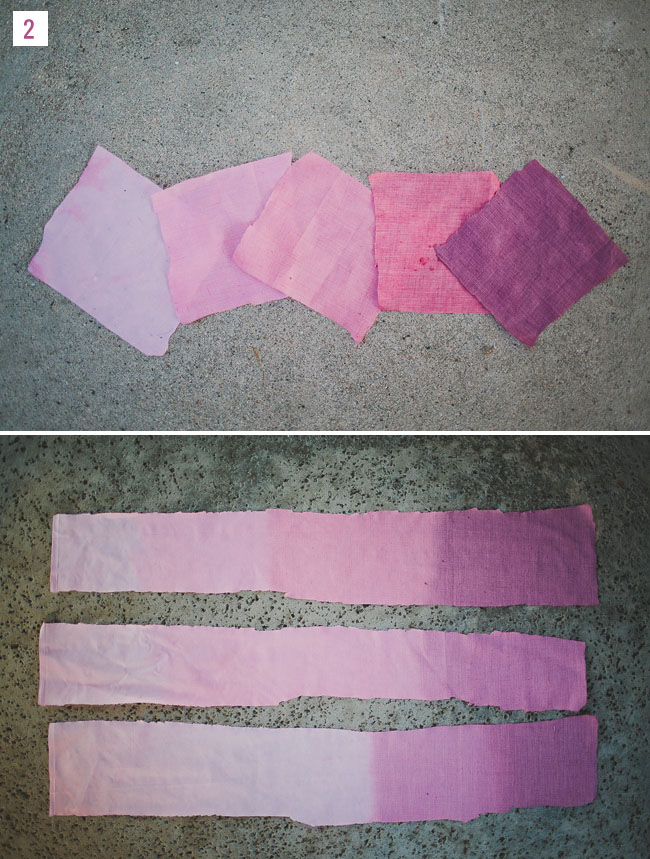
Step 2: Take your 1/2 yard of fabric and cut into both squares and long strips (like above). Put a square in each bucket and take out after 5 minutes of dying. This will give you a good idea of what shades you are working with together. Then, take your strips and begin experimenting with this.
When you are working with an ombre shade, start with dying the whole fabric strip in the lightest shade for about 2 minutes (or desired color tone), then rinse with water (I used a hose in the backyard to spray) and dip into your next darkest shade for 4 minutes. Progressively double your time with each darker shade, and dye smaller and smaller lengths to get the length of ombre variation you want. As you can see from above, there is also a lot of experimentation needed in how you dip. I found that between harsh colors (middle pink to darkest) it looks too rough and solid. For the middle example, this has a nice gradual effect. I achieved that by dipping the fabric into the dark shade and pulling it in and out at different heights, repeatedly, and then spraying with water with the fabric upside down so the color would run up a bit. Play around with your test fabrics while you can so that you know what will work best. There are probably a lot of different ways to do this so be brave!
After you have figured out which technique is best, take out your giant sheet you will be using as your tablecloth and soak completely with water first.
Step 3: Here is where your practice comes to play! Remember your technique you used for the test strips, and begin. With a bigger sheet, also comes a bigger mess. Make sure with each shade you dye in, that your sheet isn’t bunched up inside the water. Separate the fabric from itself when you can so that it dyes all parts touching the water. Take a deep breath when you get to your last and darkest shade, and plunge in to the height of the desired shade. The darkest shade tends to need the most amount of time to achieve a true dark color, so be patient. You can pull out the fabric to get a sense of the color, but when wet the sheet is probably half its true color than when it is dry. Keep pulling out and plunging back in on the last shade so the two colors meeting look natural.
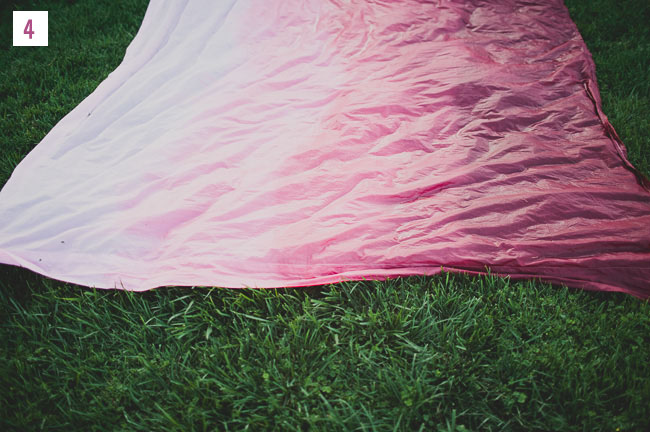
Step 4: Rinse your sheet out on the grass and leave to dry for a bit by the sun. After it has taken some dampness off, run through a sink until the color (mostly) runs clear. Be sure that you don’t mix the dark and light shades on top of each other as they will run together. I put the dark end into the sink first and worked my way down. You can put this in your washer + dryer, but I chose to hand wash + air dry since it was heavily dyed.

And you’re done! If you make an ombre tablecloth, we’d love to see how they turn out, so please share on Instagram along with the hashtag #GreenWeddingShoesDIY
Thanks to Katie Pritchard for the photos!
what are the exact dyes used? I can’t wait to recreate this ombre for my table runners! It’s my exact color palette <3
Would this work on cotton/polyester tablecloths?