
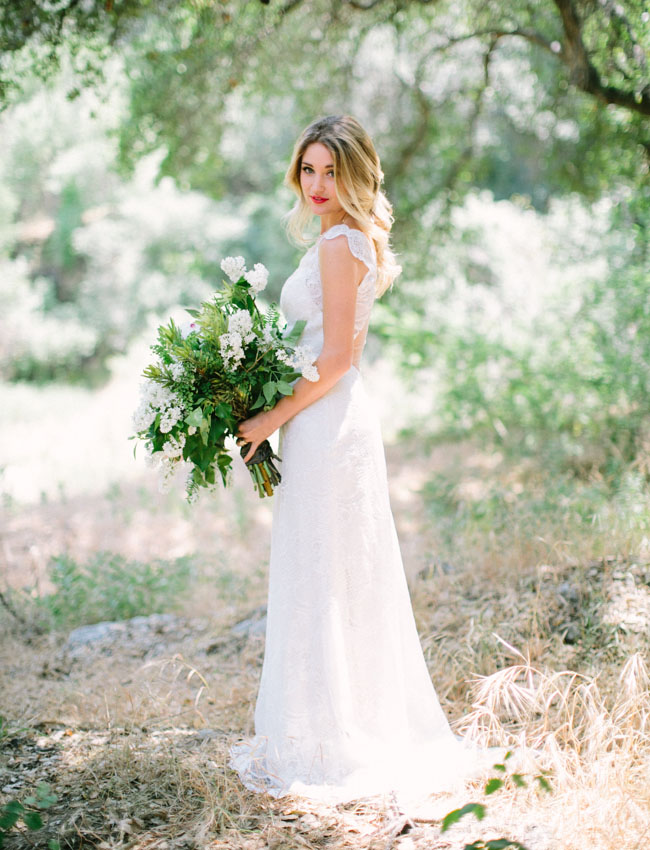
We have seen some pretty gorgeous bouquets wrapped in long, beautiful silk lately and we’re all about it! So today we are sharing how you can make your own hand dyed ribbon to wrap up your bouquets in too! Thanks to Erin from Dandelion & Grey for the DIY and to Gregory Ross for the lovely photos.
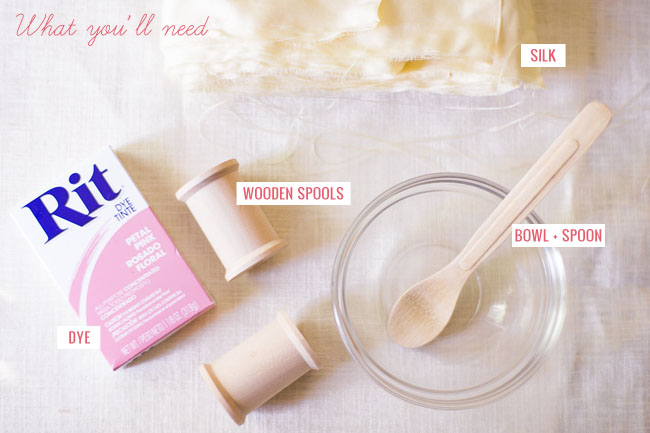
What You’ll Need:
• Rit Dye
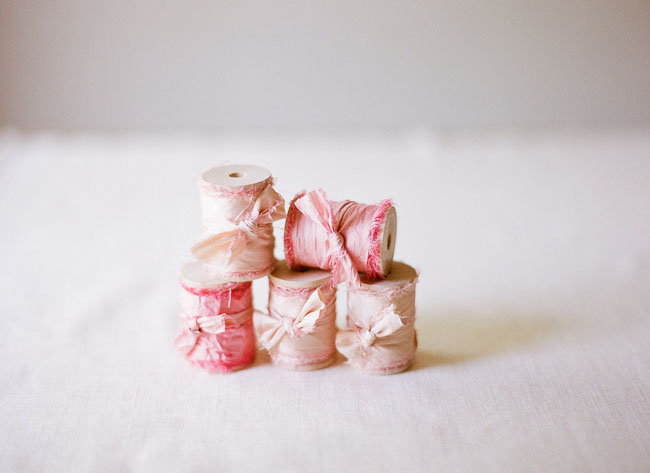
• Wooden Spools (for pretty wrapping and storage)
• Mixing bowl + spoon
• Raw Silk (we bought ours in the LA Fabric District, but your local fabric store like Joann’s may have some too)
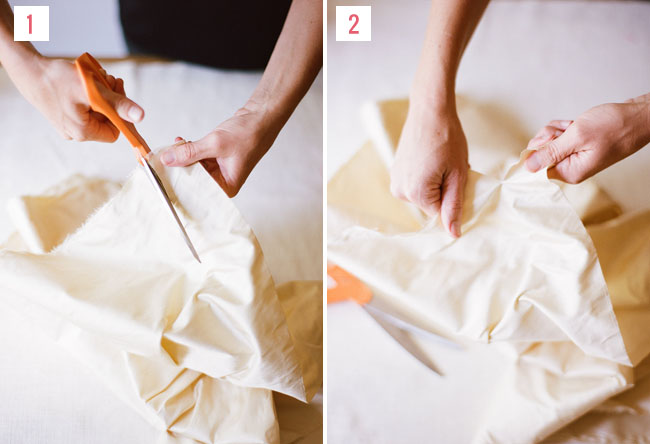
Step 1: Start with your silk fabric. We used a sheet of raw silk to create totally custom ribbons, but for an easier DIY, try dyeing already cut ribbon or fabric. Make a small cut at the edge in your silk with scissors…
Step 2: Then, make a quick, strong tear straight down to the end to create your first ribbon. Continue to do this until you have as many pieces as you want. We think trying out different widths to play with thin + thickness is a good idea so you can see which type you like best. Clean up any obvious loose frays with scissors.
*Note: Frays are impossible to avoid when working with raw silk + give a beautifully imperfect look for your end result. Clean up any frayed edges that will really get in your way or compromise the look + go ahead and leave the rest!
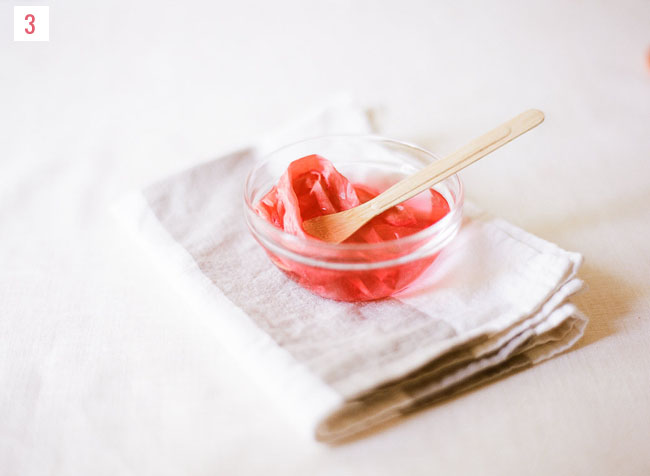
Step 3: Mix 3 cups of water, heated 2 minutes in the microwave or on the stovetop with 1/4 teaspoon Rit Dye (double this for a much darker ribbon hue). Drop your ribbon in the dye and leave until your desired color is achieved. To create the gradient ombre-like affect of your individual ribbons, leave them in the dye solution for varying amounts of time. The longer the ribbon is left in the solution, the darker the hue will be.
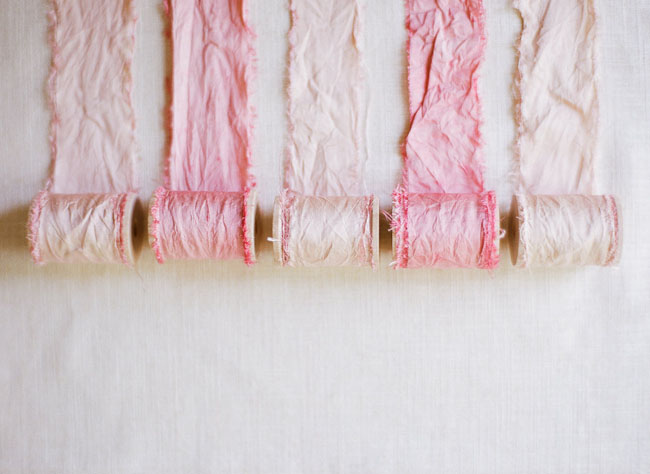
Ribbons must be hung to dry immediately after the desired color is reached. They will dry in approximately 15 – 30 minutes when placed outside in direct sunlight. The color intensity will lighten slightly once the ribbon is completely dry. After your ribbon is dry, clean up any additional frayed edges. Iron if necessary. We wrapped our ribbon around wooden craft spools found at Michaels!
*Dyeing option: For an organic, natural dye option, you can dye your ribbons with plant materials like berries or flowers!
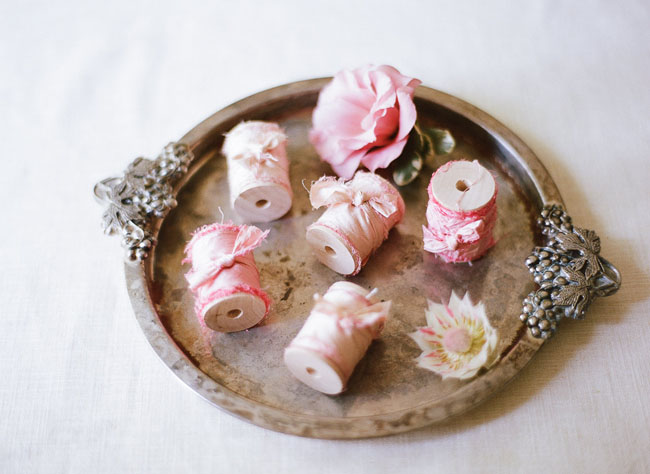
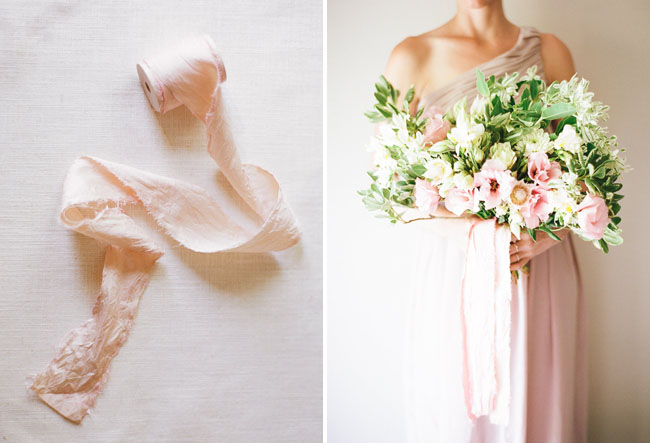

We love how this simple DIY can add so much pretty to any bouquet!
If you make your own hand dyed ribbon, we’d love to see how it turns out, so please share on Instagram along with the hashtag #GreenWeddingShoesDIY
Thanks so much to Gregory Ross for the photos.

Very useful tips for the decorating the wedding bouquet. I liked the idea.
Ooooh pretty! Haven’t seen that before.
Such a beautiful, inspirational post. Love how the ribbons and the bouquet turned out. Thanks for sharing!
I was just wondering how to do this! Thank you so much.
I’m *dying* to try this. Thanks so much for sharing this awesome post! :)