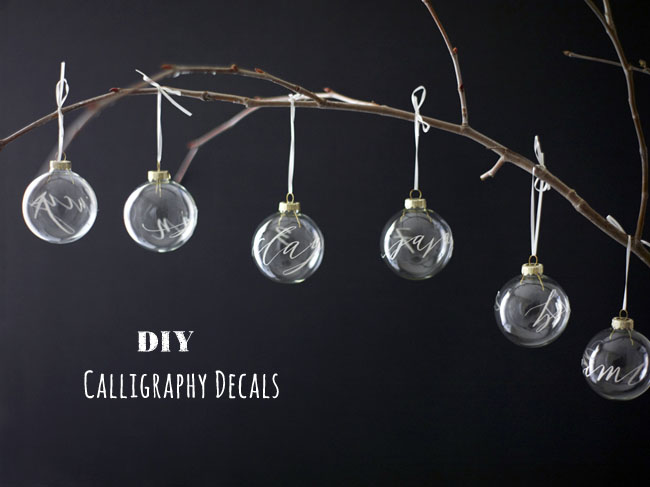
Big thanks to Mara of Neither Snow for this lovely DIY today! If you aren’t familiar with Mara’s work, she is a super talented calligrapher. Be sure to check out her work – it’s so, so pretty! Ok, take it away, Mara! :)
As much as I love the feeling of a nib on paper, lately I’ve been experimenting with how to get calligraphy on to just about any other surface: wood, fabric, glass, ceramic, metal. I’ve had a lot of fun playing around with materials, and especially vinyl decals. What I like so much is that the vinyl really captures the calligraphy’s fine lines and preserves the crispness and integrity of each letter. As you can imagine, this would be nearly impossible to achieve with a chalk pen or paintbrush on any of these surfaces (although as evidenced here and here, these tools are charming in their own way). I’m so crazy about vinyl – which comes in a spectrum of colors and finishes – that I’ve sort of turned into that infamous Portlandia episode where my clients are likely to hear me say, “Just put a decal on it!”
For this tutorial, I had in mind a winter, candy cane wedding: black, white, red. I was inspired by these paper straws I recently picked up, an assortment of tissue paper and cellophane bags I still have on hand from the holidays, and a vintage runner my sister-in-law sent me. (And thank you to my patient husband who acted as hand model. I’m betting this might be one of the only times you see a man’s hands in a DIY. But now I’m sort of curious so please tell me about other examples you know of in the comment section!)
So! Here are the steps to creating a glass ornament escort ball and a table number table runner with decals.
STEP 1: There is some up front computer work involved. First, hand-letter your guests’ names, the word “table,” the table numbers, or whatever text you have in mind, on a piece of white paper with a black pen or calligraphy nib. Scan the artwork in to Photoshop at 1200 DPI. Clean up the file and adjust the levels so you have a black and white image.
STEP 2: Drag this image into Adobe Illustrator and trace the lettering to create a vector art file. You’ve just transformed an image into a line drawing, and can now scale, shrink and expand the work to suit your sizing needs and save it as an EPS file. Send this file over to a vinyl company (Neither Snow coordinates this process for clients. But if you’re using your own design, we’ve heard that Color Edge company is a good one to use). Select the vinyl finish and color.
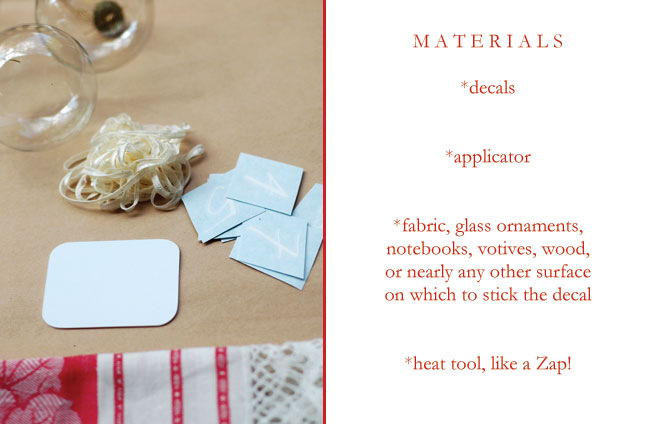
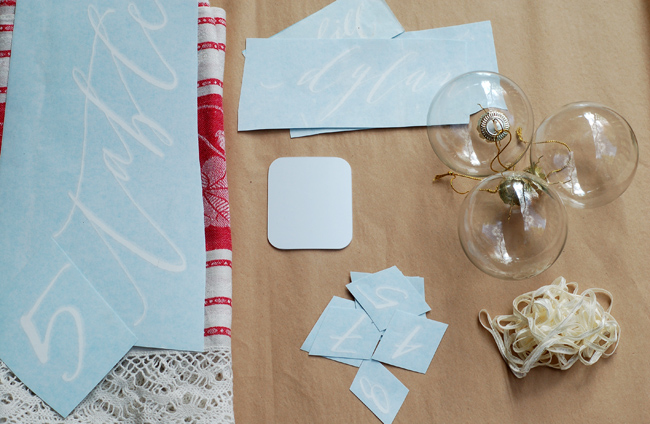
STEP 3: Once you have your decals in hand, you’ll also need an applicator (ask your vinyl vendor for one) and the surface you are planning to apply the decal to (here, for example, glass ball ornaments and a vintage runner). If you’re using fabric, you’ll want to have an iron on hand. And having a heating source such as a Zap! wand is also very useful.
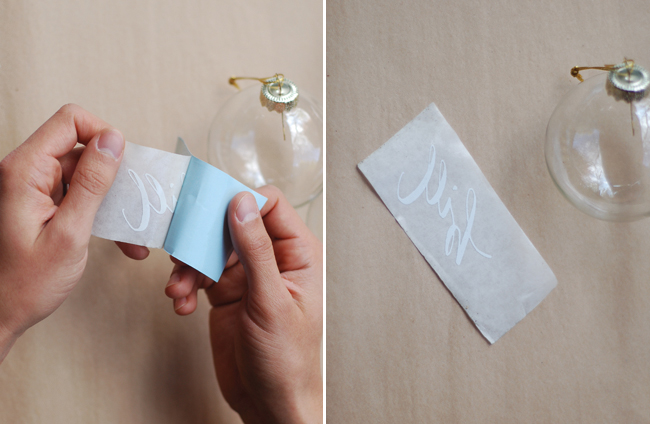
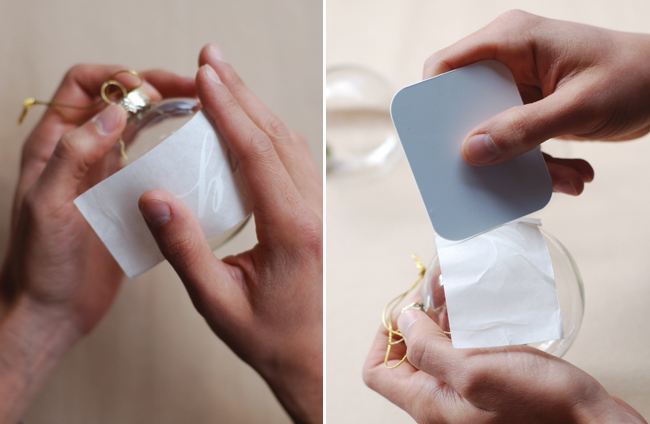
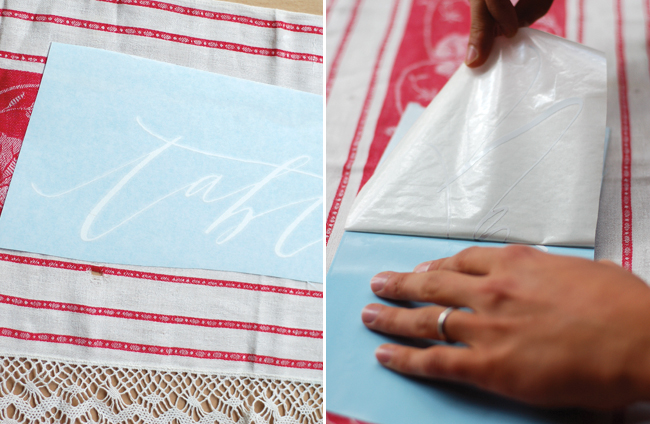
STEP 4: Peel back the blue paper from the decal and apply it to the surface of the ornament. Rub it with your fingers and then with the applicator to it.
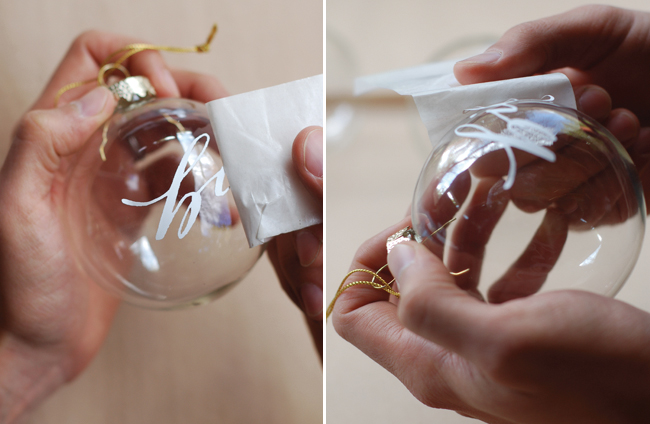
STEP 5: Peel the masking tape cover from the decal. You may need to use your fingers to coax the paper off of the lettering. Sometimes the decal may pull up from the surface or even break. Don’t worry about it. Just use your fingers to reconstruct. The vinyl is very forgiving.
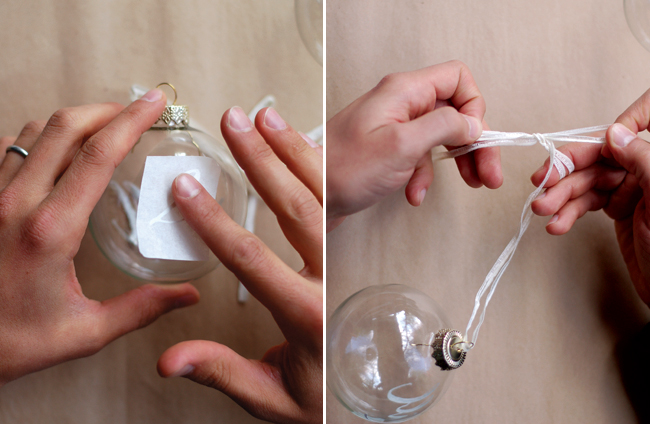
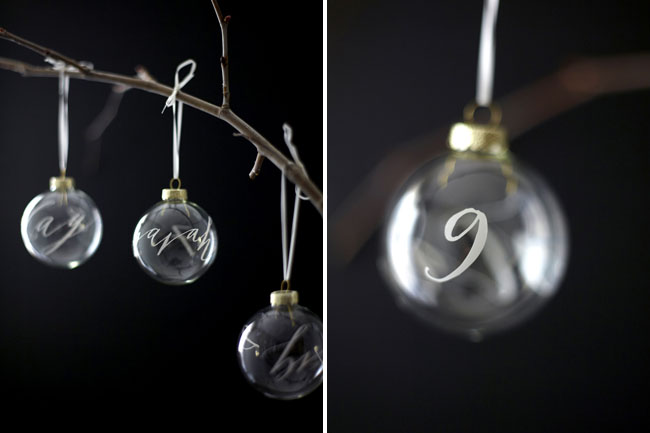
STEP 6: Flip the ornament and apply the table number where the guest will be sitting. If you’d like, add a ribbon.
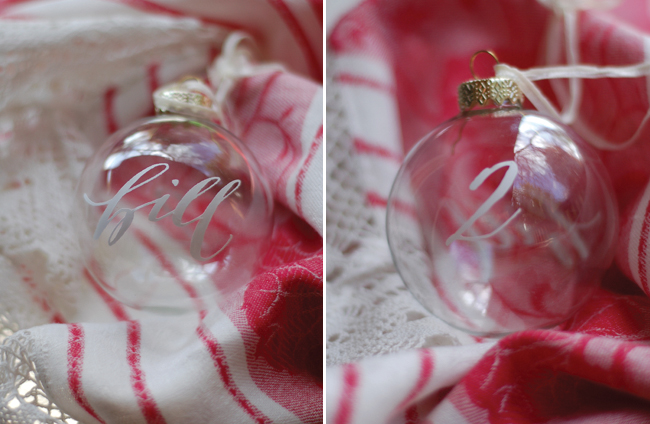
The final product!
For the fabric, the process is nearly identical. First, iron the fabric and make a crease down the middle, which you can align with a middle crease on your decal. Follow the same application procedure, using your hand to rub the lettering on firmly.
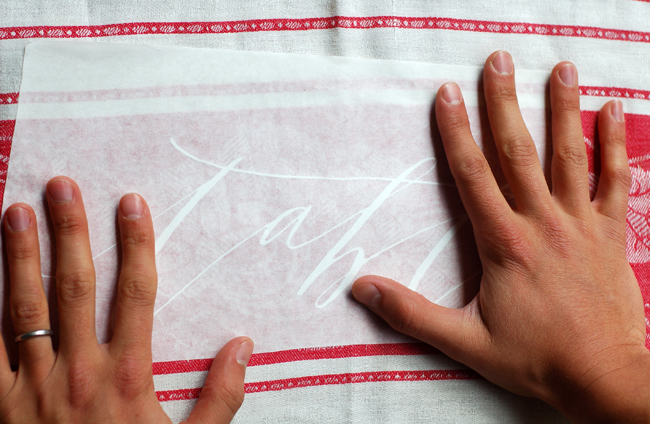
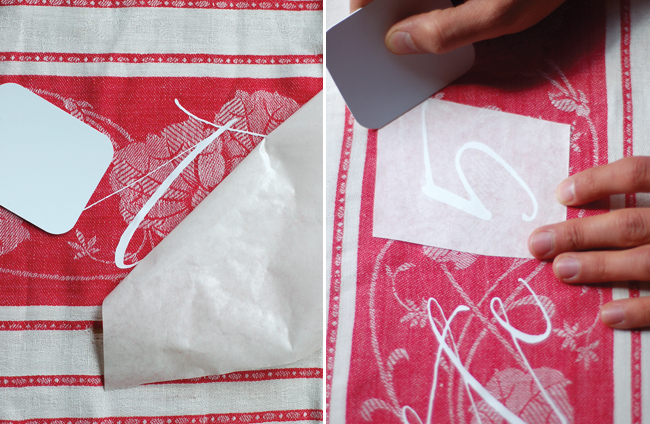
Once the decal is applied, take your heat wand and gently wave it over the decal, at least 6 inches away from the vinyl (CAUTION! Do not get any closer or the decal will melt entirely and the fabric will burn!). As you will see, the vinyl will start to melt a tiny bit. With your hand, press and smooth out the vinyl. This will fuse the vinyl to the fabric quite well.

And Voila!
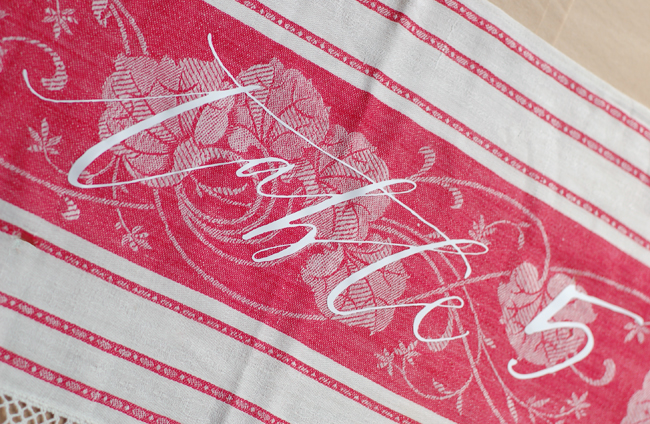
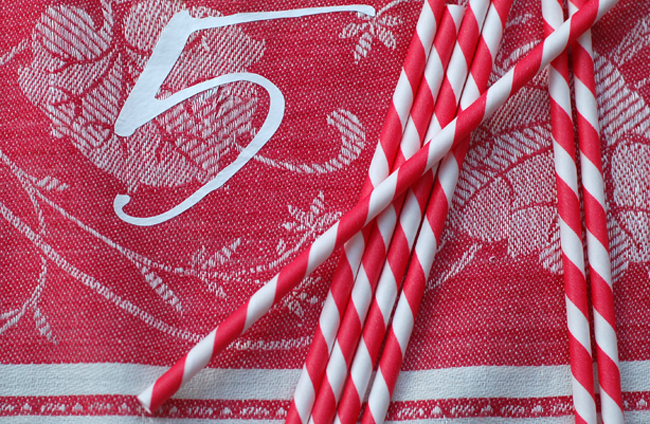
Tutorial photos by Neither Snow, photos with the black background by Jose Villa
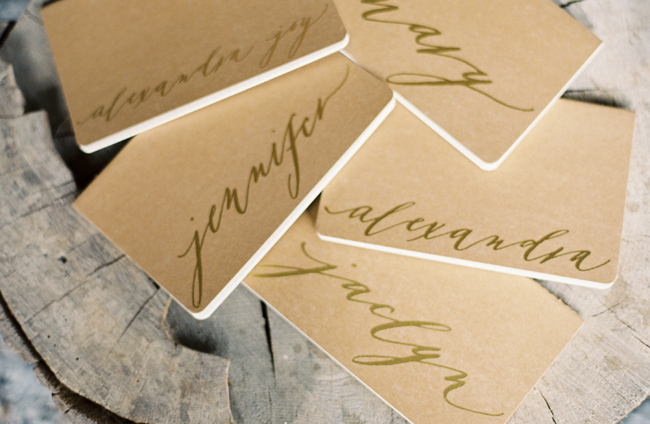
And a few more ways you could use this DIY for your wedding day! Pretty gold + silver metallic decals applied to kraft paper notebooks below for attendees of Joy Thigpen’s wedding styling workshop. Photos by Rylee Hitchner.
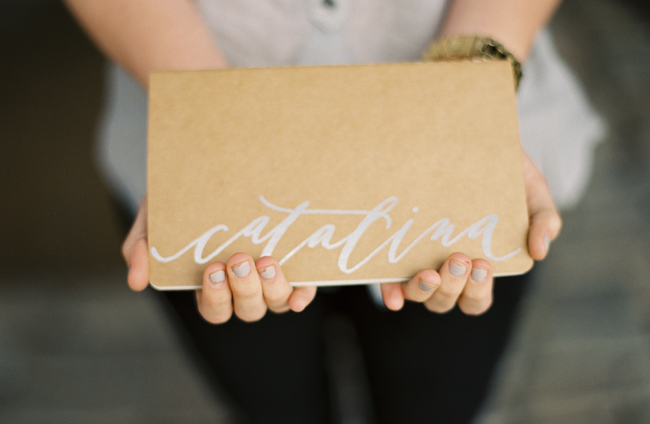
And Our Labor of Love shot a client’s wedding in Miami, at the Jackie Gleason Theater. For this event, Mara created 300 decals as escort cards!

So many fun ways to use this great DIY! Thanks again to Mara of Neither Snow for sharing this super lovely DIY with us today! If you are looking for a calligrapher, make sure to check out her work. Such a fan!
Great tutorial, so many possibilities!
I’m so glad I found this post! I was just tonight putting some decals on a glass window for an upcoming wedding and they were very difficult to get on crisp and it was driving me nuts. This is just what I needed and will definitely try this the next time.
great tutorial, mara! i love your decals!
Wow. Great diy tutorial. Definitely going to try this.
Another great idea. I am already married so I will probably use this for the party I’ll be having months from now. Thanks for this great idea!
Such a nice DIY idea. The glass ornament looks so elegant. Perhaps you can add ornament place card holder to go with the theme.
This website always has the best tutorials, simple and elegant. will have to share this website and some of these ideas with our brides. Awesome!
Love your blog and this project – so creative and fun! Just wanted to let you know I featured it in my roundup of glass ornament crafts here. Feel free to check it out if you want and hope you like it! : )
-Mel the Crafty Scientist