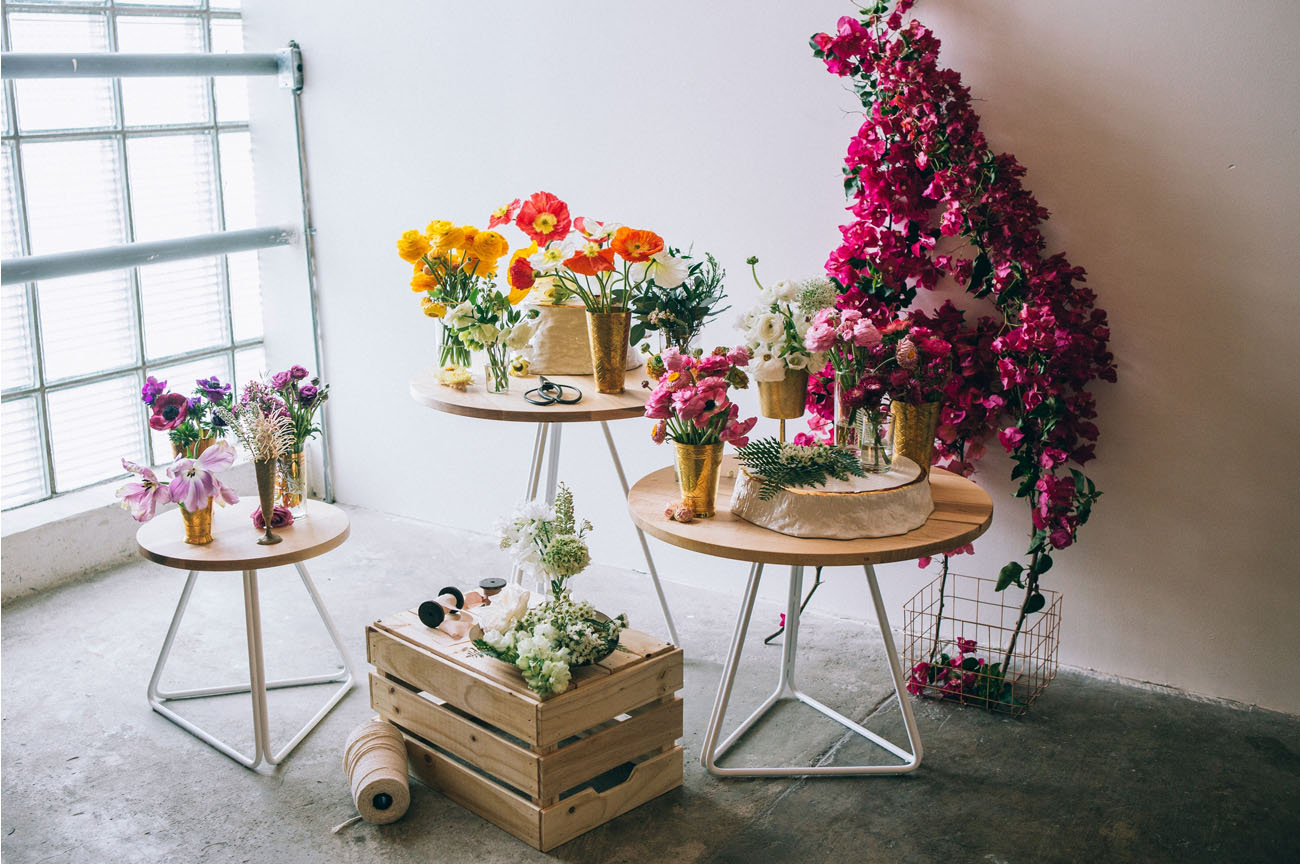
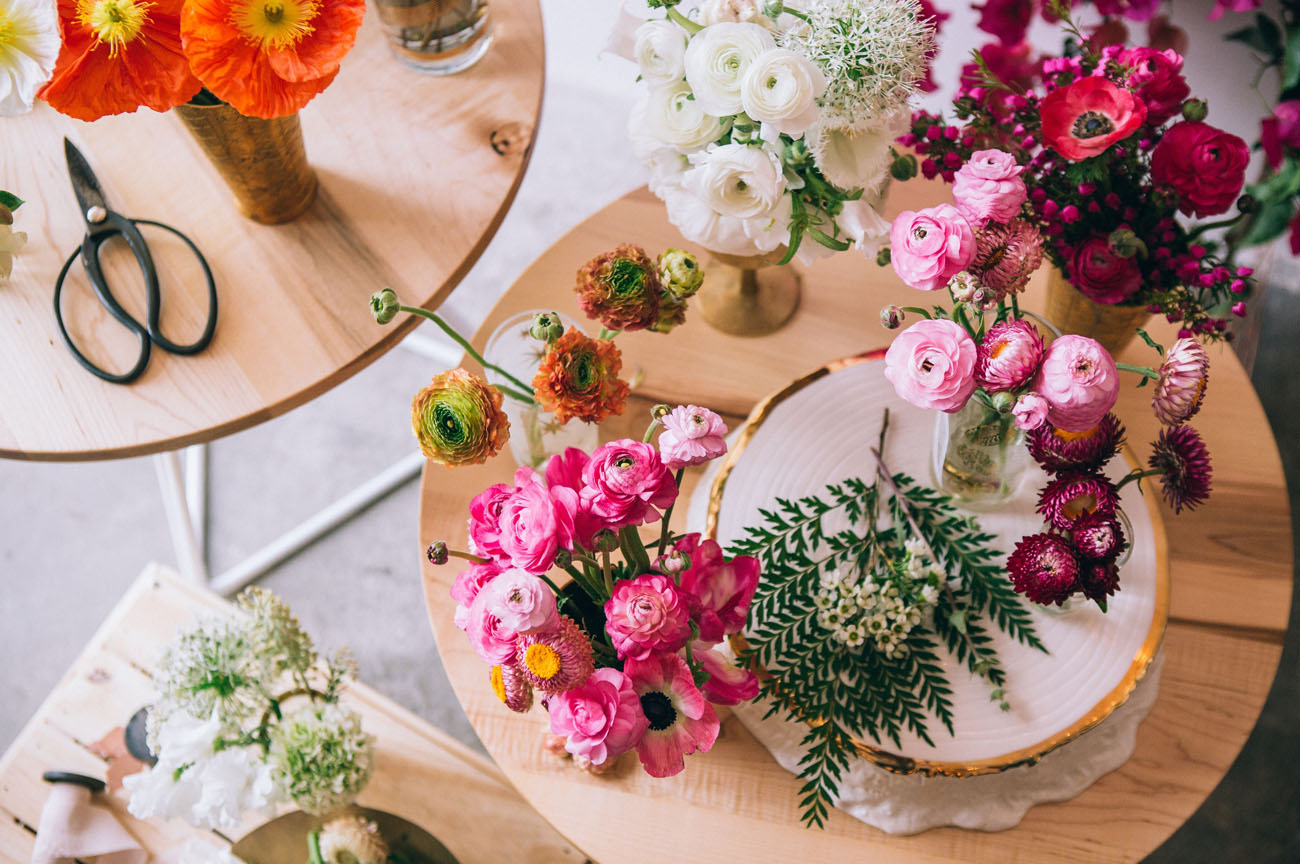
A few weeks back we shared how to create a Flower Fishtail Braid and today we’re continuing with another hair tutorial from Layered Vintage – the Dutch Flower Braid! Jill from Layered Vintage created a blooming braid bar (which you’ll see below, so pretty!) and had some fun with flowers creating Floral Hair Swag to add to your locks. She thinks flowers were meant to be in our hair and we couldn’t agree more! Let’s see how she did this one…
Beforehand add texture spray to hair, run a curling iron through the hair creating soft spirals, coat with hairspray and then lightly brush through the curls.
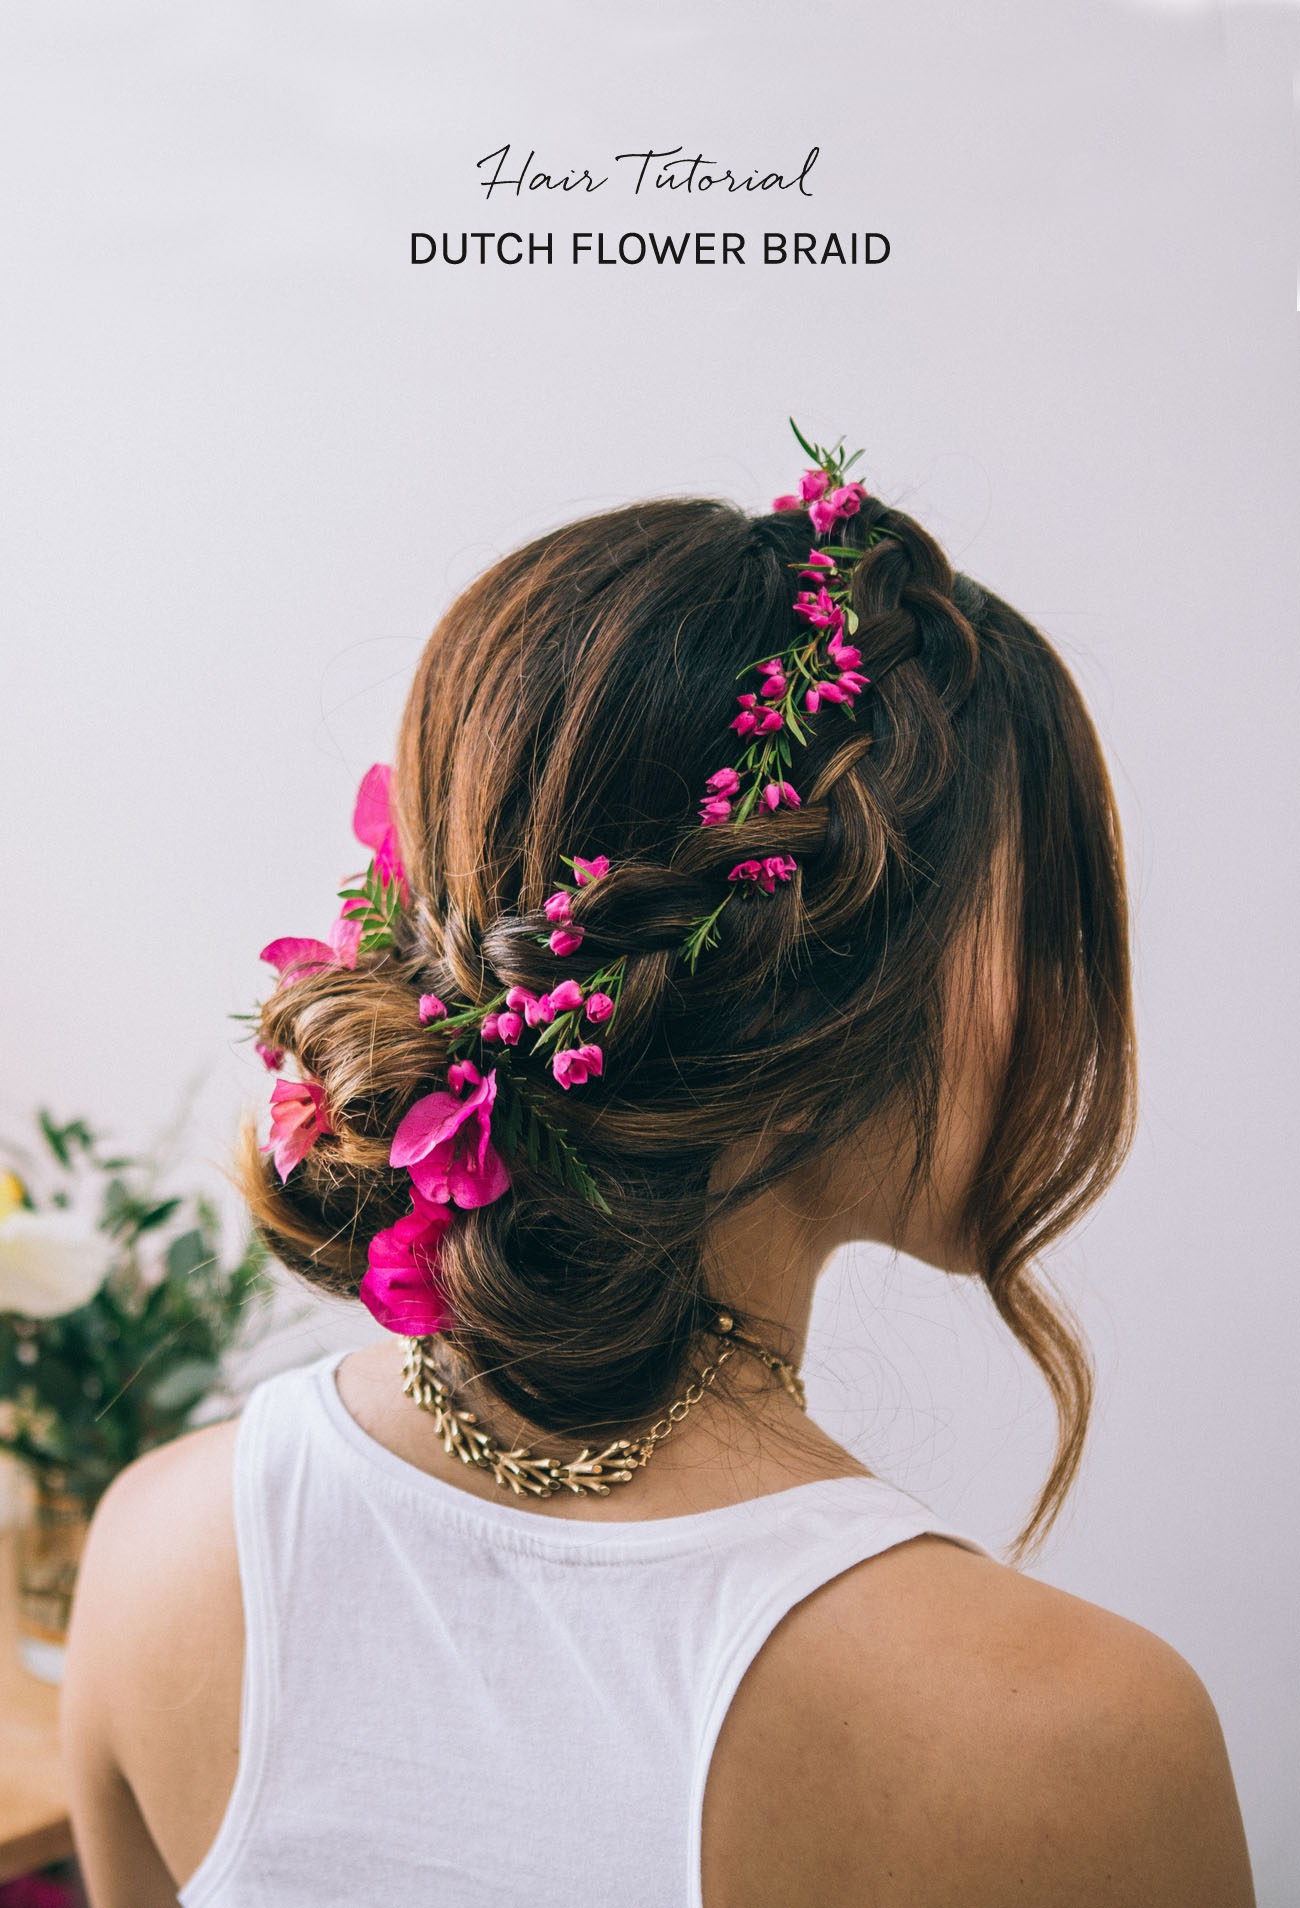
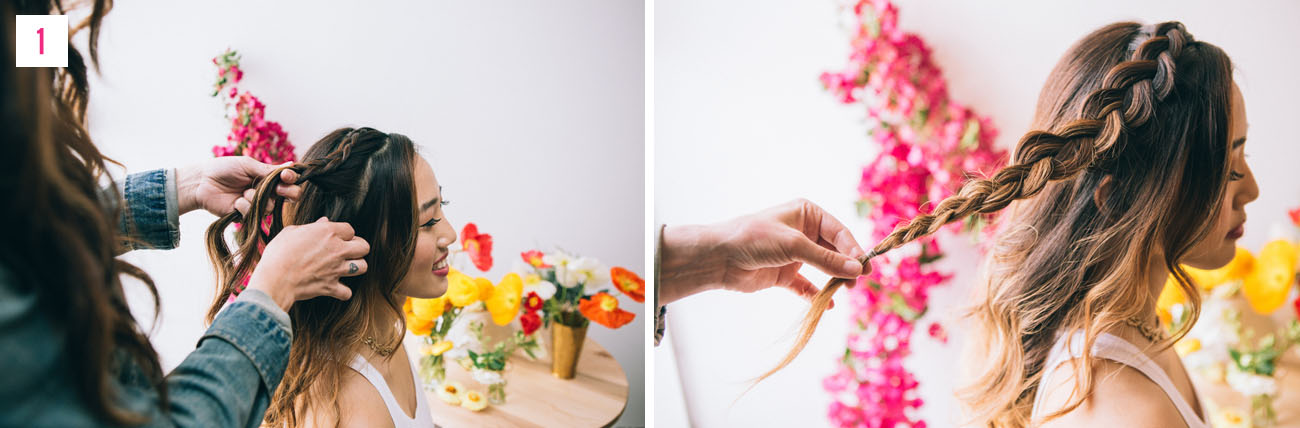
Step 1: Grab a portion of hair from the top of the head (or where the natural part begins) and start French Braiding but underneath instead of on top which is by definition a Dutch Braid. Finish off with a clear rubber band.
Tip: Leave bangs or soft shorter pieces that frame around the face. You can re curl and touch them up afterwards if they are too stringy or leave as is just for softness. Pull gently on sides of the braid, tug on left and right side to “loosen” or widen/thicken the braid’s appearance.
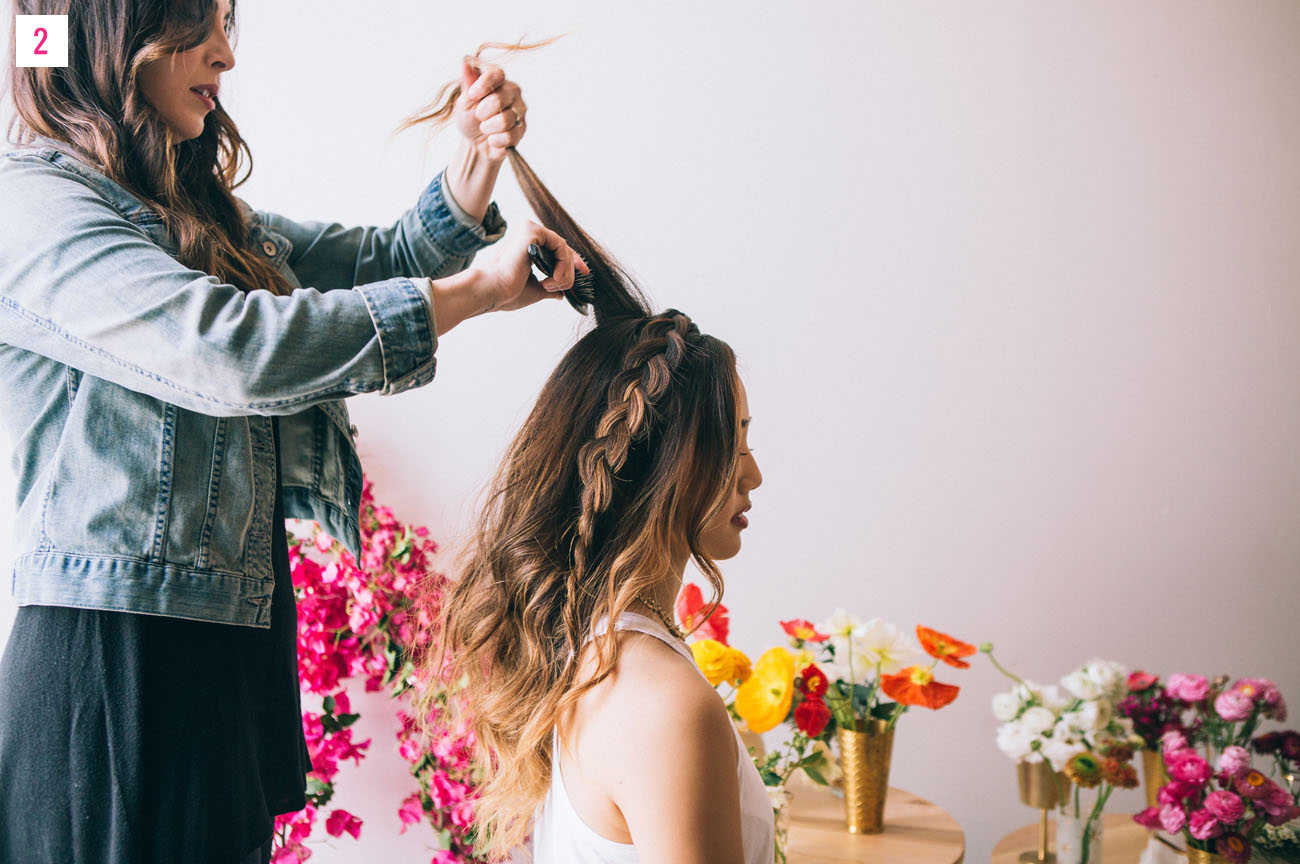
Step 2: Tease the hair around the braid.
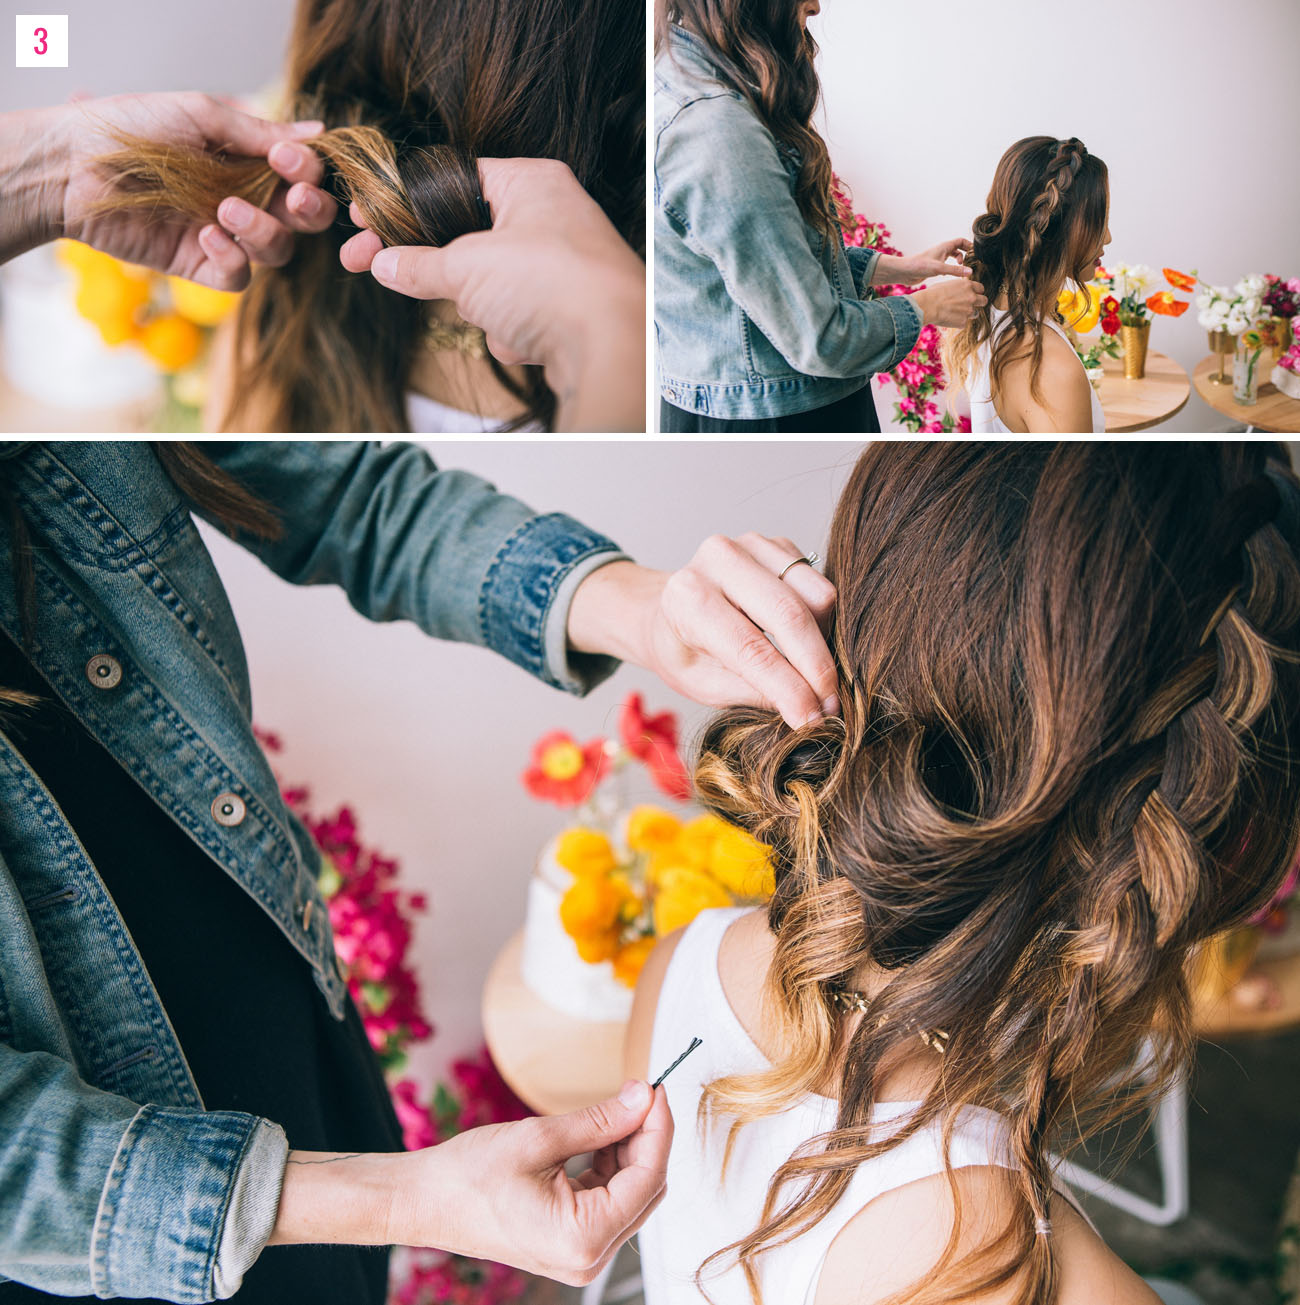
Step 3: Grab small sections of loose hair and twist and bobby pin underneath to the base of the neck. Continue layering small loops covering your head.
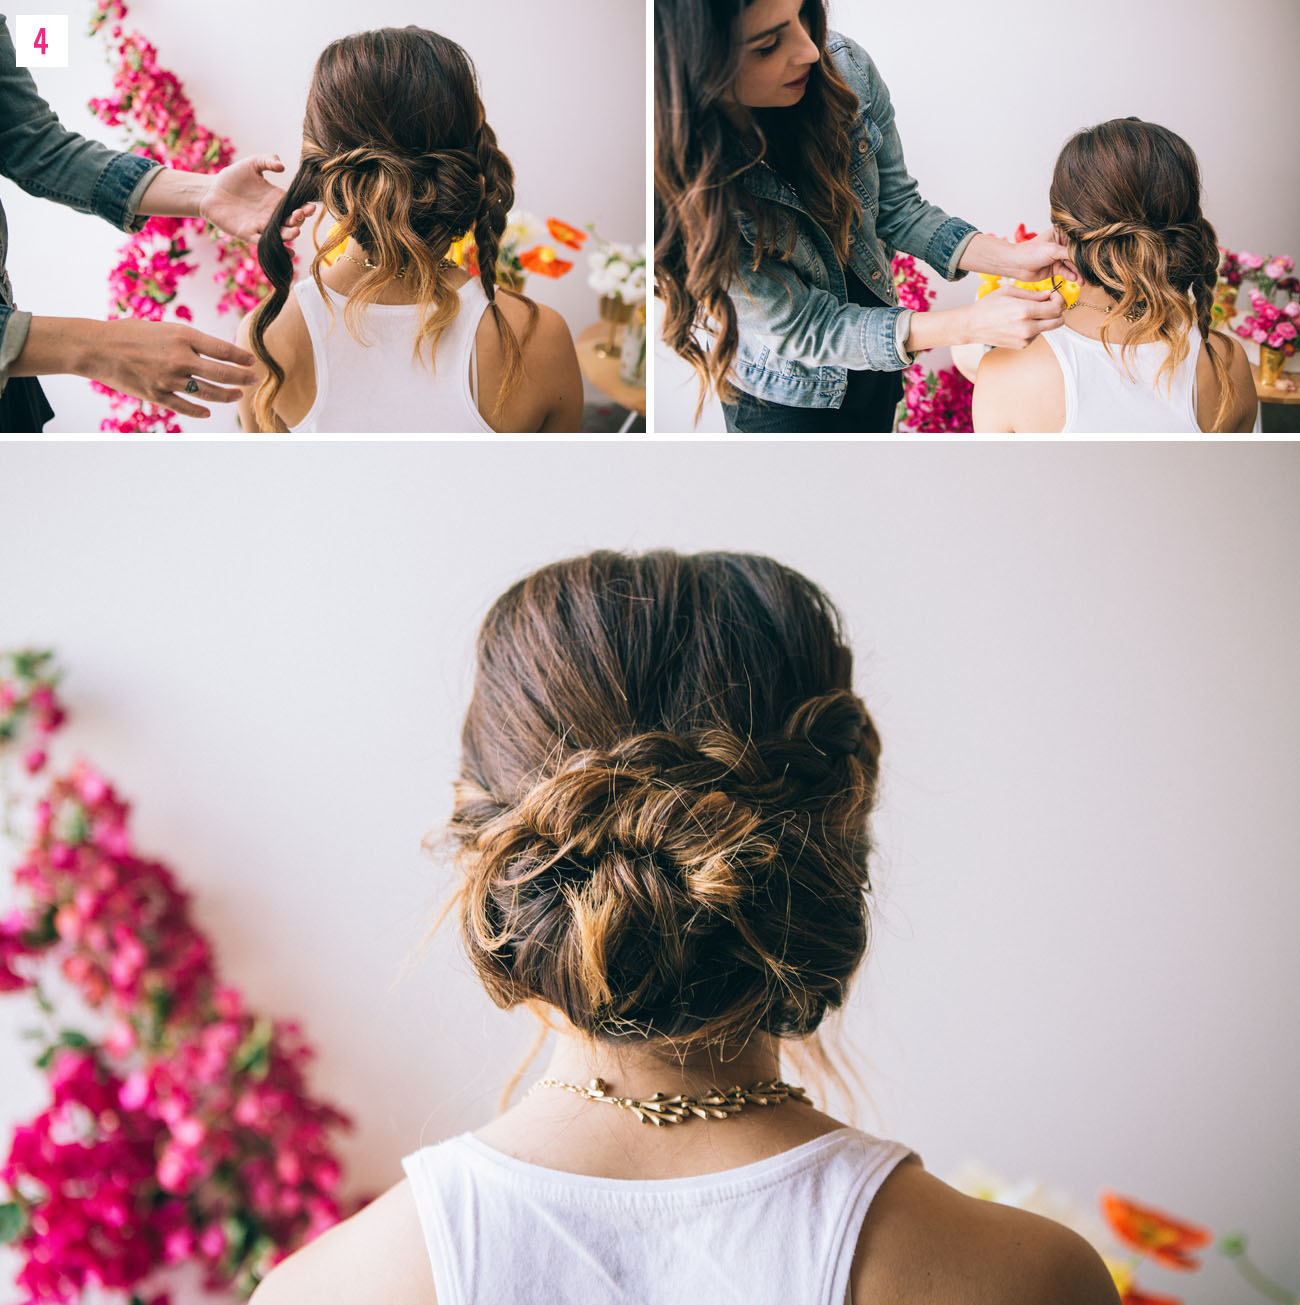
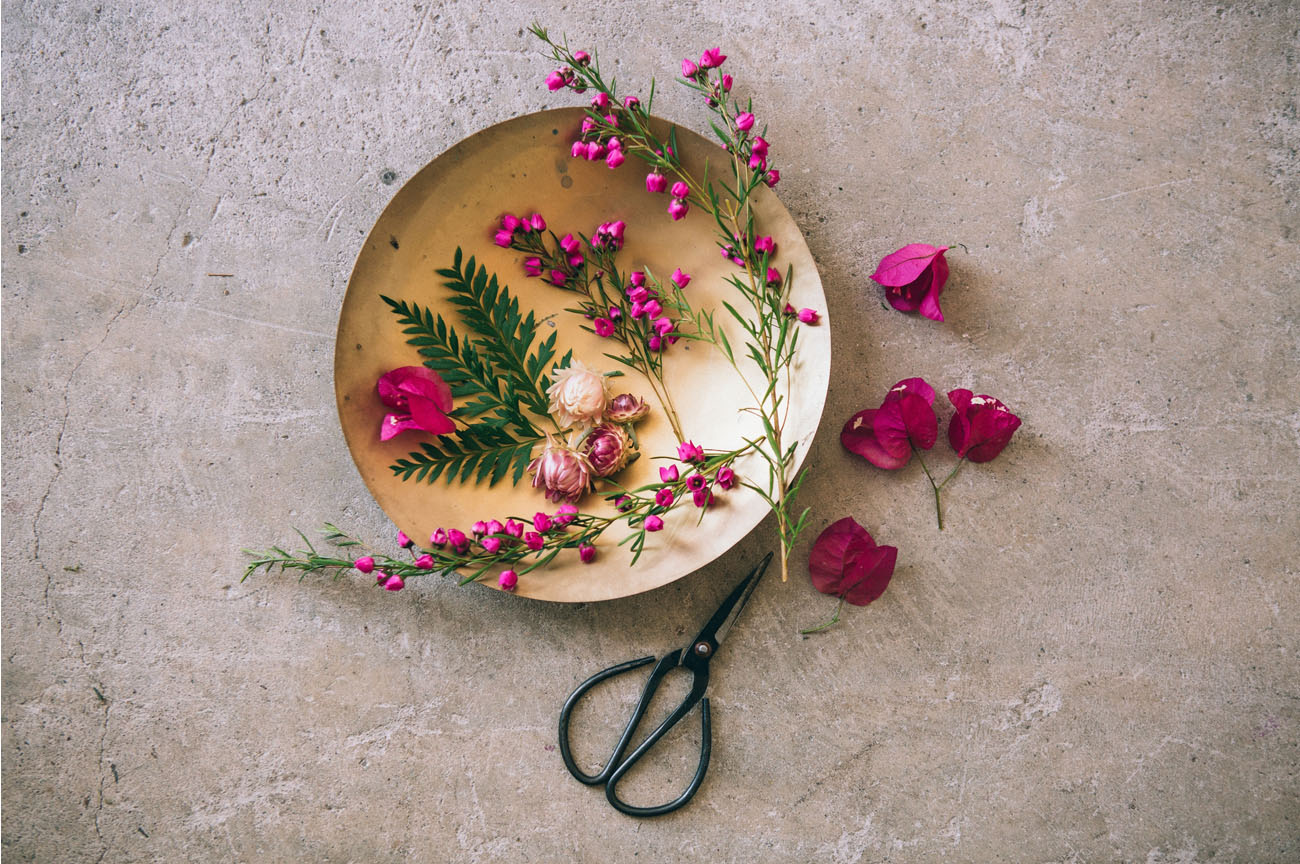
Step 4: For this particular style it’s important to pick ingredients with shape that will highlight the perfect messiness that the layered loops of hair have created. It’s best to start in one corner and work your way around pulling in different textures and sizes and building as you go.
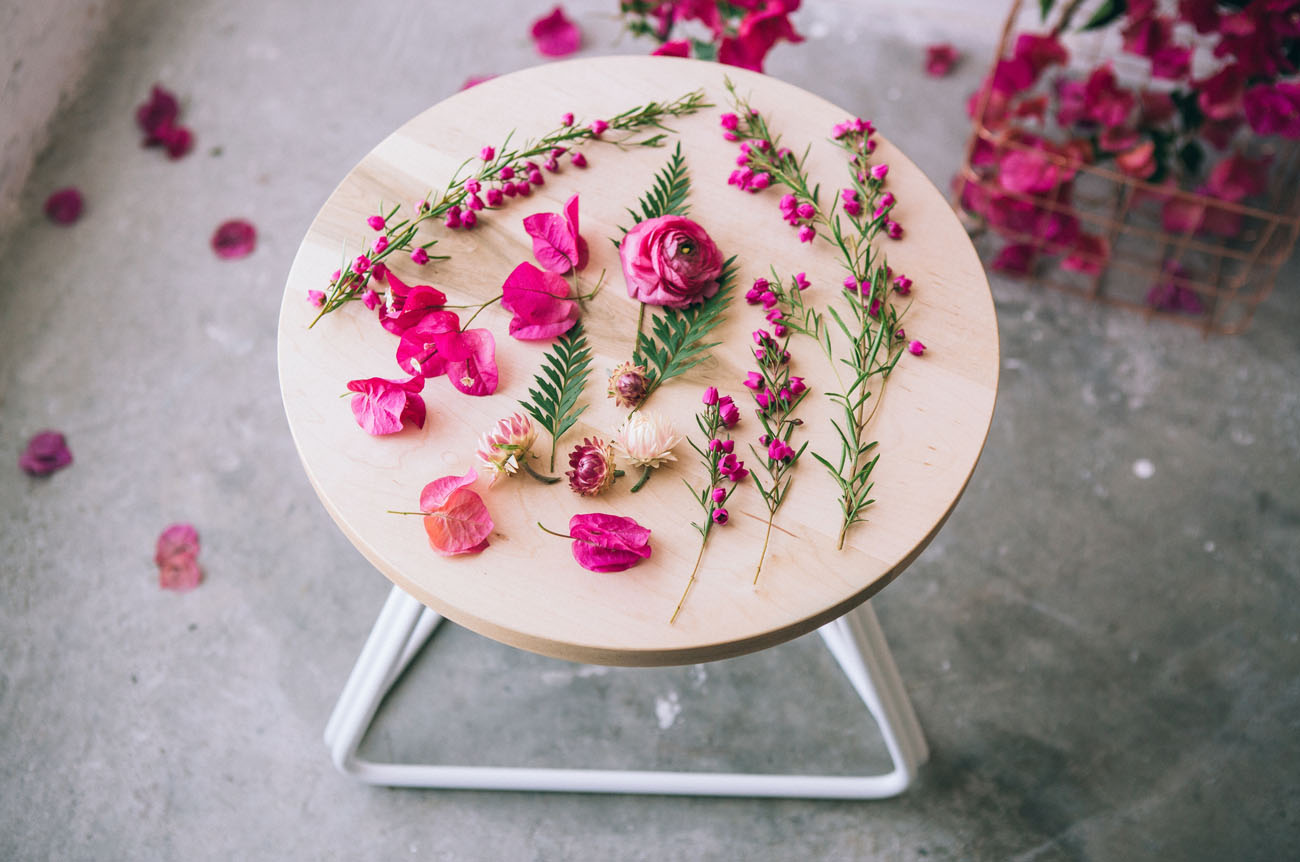
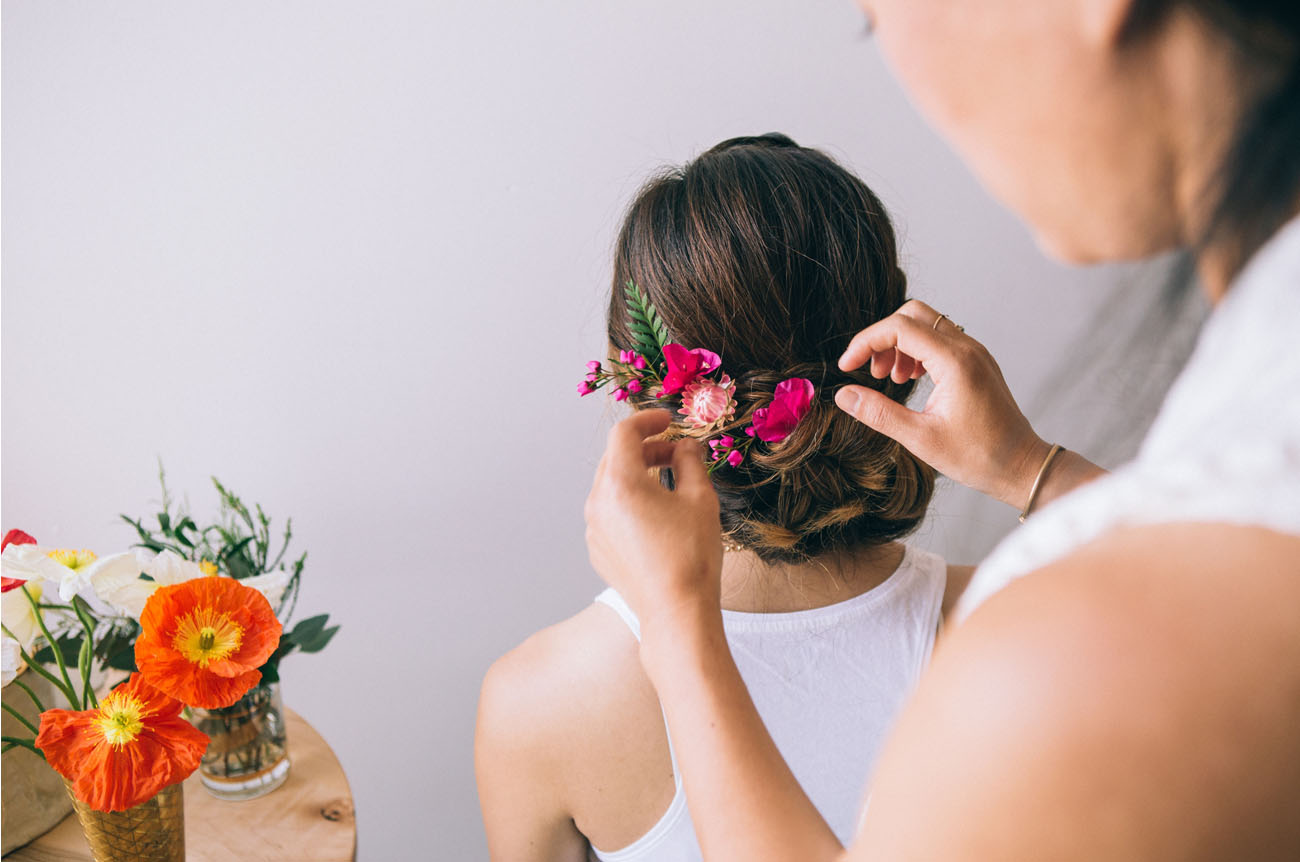
“This braid was larger meaning small details wouldn’t get hidden from adding florals in. The magenta Brunia with it’s little bell-like blooms was perfect to start on the side with no braid and then add into the actual braid as if it was a floral headband. When I got to the side of the braid I went a little lighter on the Brunia by tucking it into the braid and having some pieces hide.”

Love this! If you create your own Dutch Flower Braid, we’d love to see how it turns out, so please share on Instagram along with the hashtag #GreenWeddingShoesDIY
photography: Stacy Keck // planning, design + florals: Layered Vintage // venue: The Juniper Studio // hair + makeup: Jessica Steingard // vases + stands: Hostess Haven // tables: Rael Made
love this idea–so pretty!
love the Photography too by Stacey.
This is SUPER adorable!!!
flower world
Simply stunning, thank you for this!
Very Beautiful Idea!!!!
Perfect idea for the flower lovers out there! So pretty and cute
Loving the bright pinks!
Sometimes this can look over the top but this has been done just right. Nice work
Hacker Wedding Photography