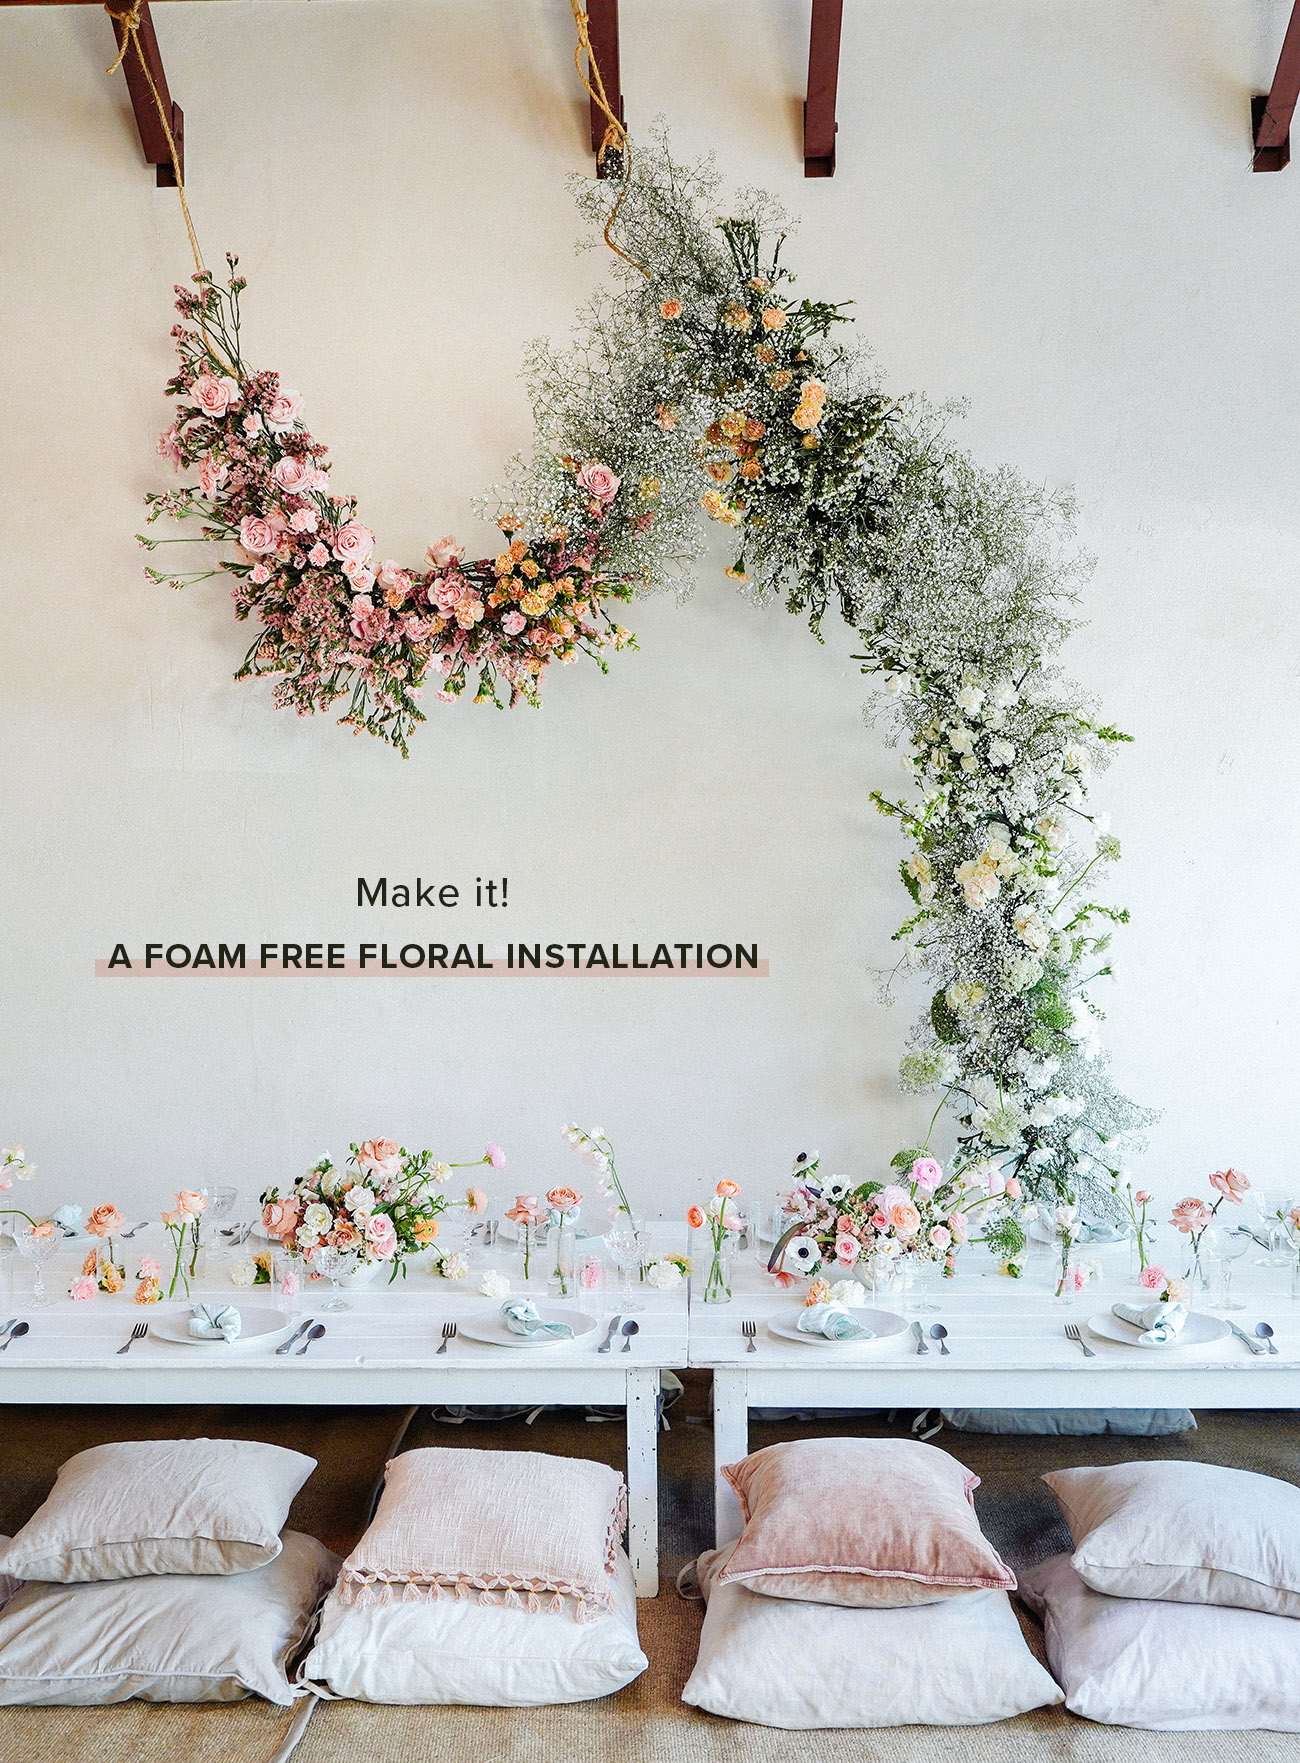
There has been a big movement in the wedding + floral industry on foam-free installations (in short: foam that is traditionally used is harmful to the environment, hence “foam-free”) so today’s DIY from Jill at Layered Vintage seems all the more timely and sustainable for our planet – which we LOVE. Jill used some hearty flower ingredients that are all relatively easy to find at your market so this one is not as difficult as you might expect!
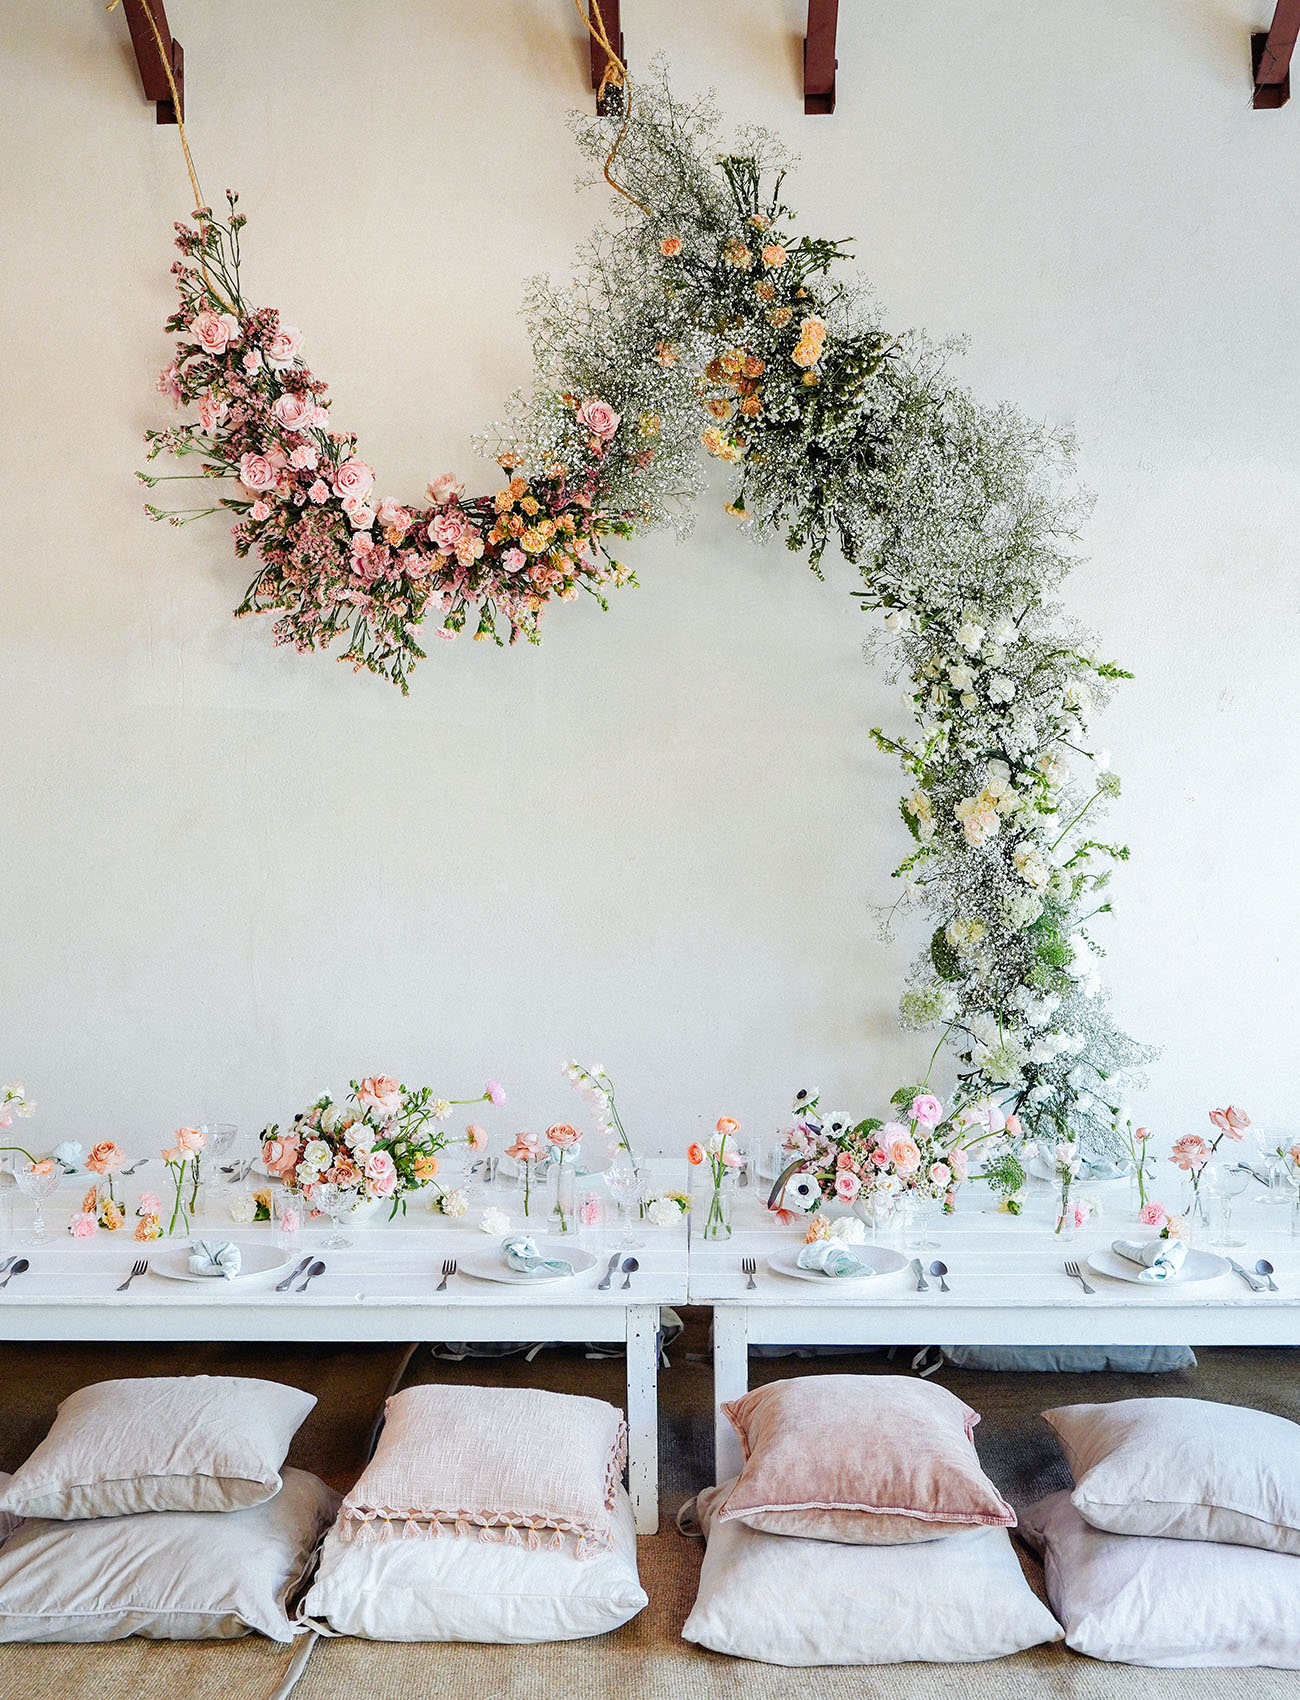
We love the gorgeous statement piece this can make at any event. Jill used this at a baby shower, but behind a sweetheart table or ceremony space would be so stunning! Thanks so much, Jill for sending this one our way, let’s see how she did it…
photo above by Kimberly Shoots Photos
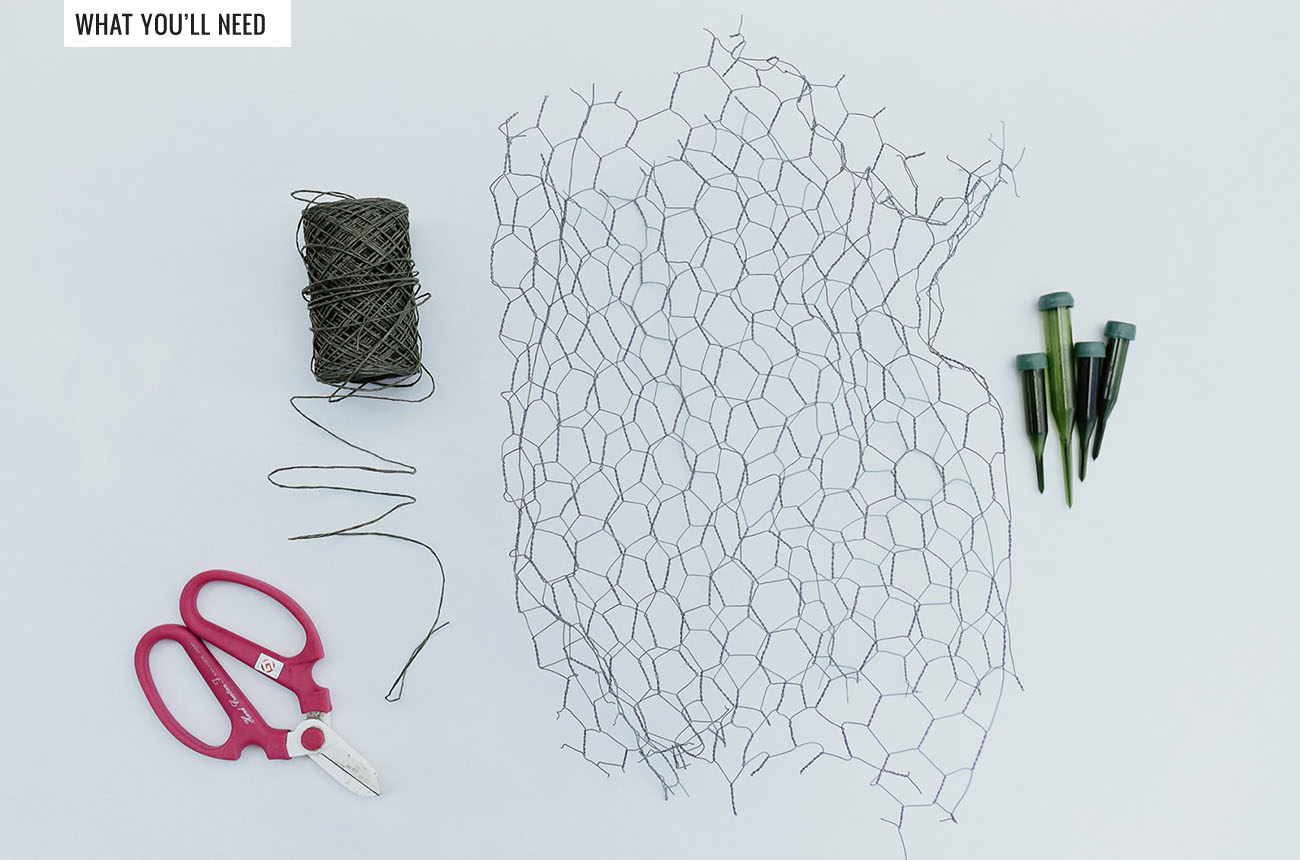
What You’ll Need:
• chicken wire
• shears
• bind wire
• water tubes – good if you are using delicate flowers
• flowers (see below)
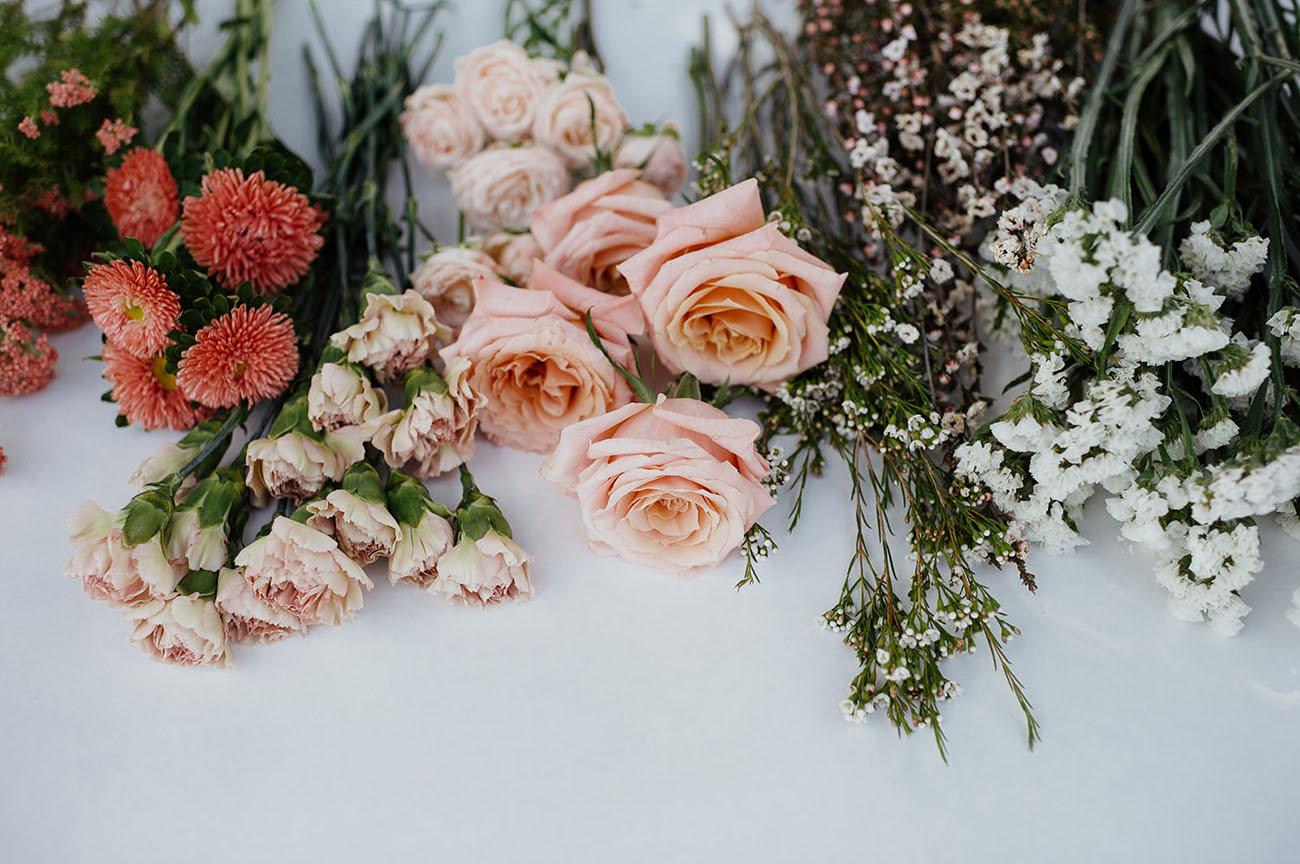
For flowers, Jill used: Asters, vintage Carnations, Spray Roses, Roses, Statice and Waxflower
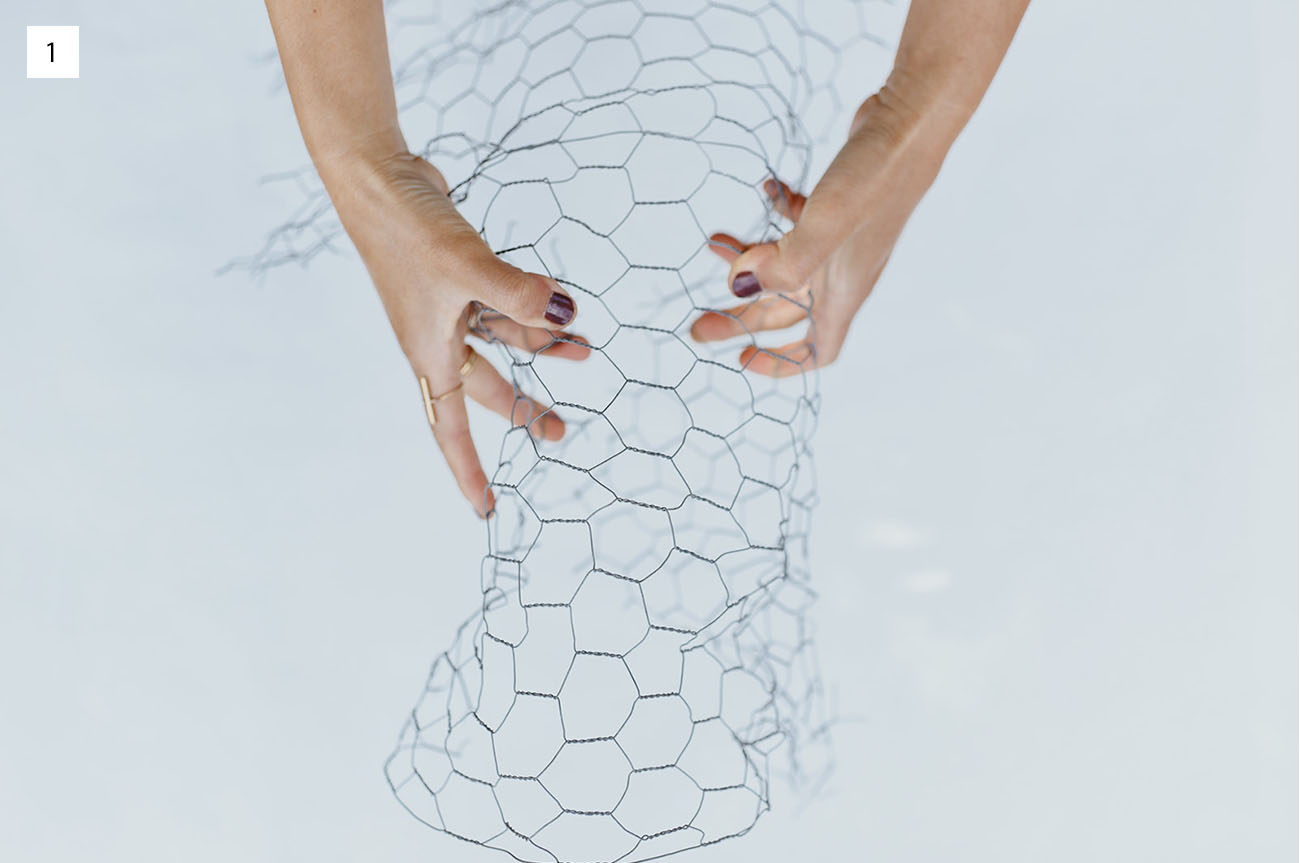
Step 1: Create your base with chicken wire. Take your chicken wire and cut it to your desired length. Most chicken wire rolls are fairly short in width but once you unroll they can be up to 25+ feet long. Sometimes we unroll and end up cutting the length in half so we can use the rest on another installation. Be careful! Chicken wire ends can be nasty. Wearing gloves would be wise.
Roll the chicken wire into a tube shape and let it overlap a bit. Once you have the desired width tie the loose ends with short pieces of bind wire so that it won’t come undone.
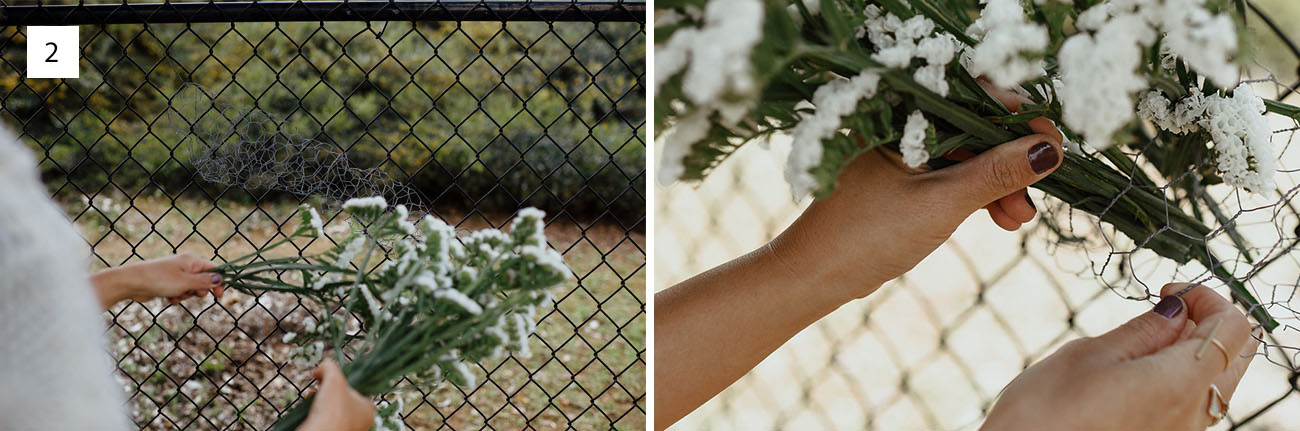
Step 2: Add flowers; we highly recommend hanging your chicken wire where you’d like the installation to be. You can use rope, the binding wire, fishing line, etc. It all depends on the look you are going for. Having the chicken wire base hung will allow you to easily plug in flowers and also see the different angles that will be visible from the front, sides, etc.
Here we started with our white statice.
*Tip: Cut small handfuls with flowers at different lengths and insert the bunch into the chicken wire until it catches and won’t slip out. This allows you to move quickly and will make for a more natural look since flowers do grow in clusters like this.
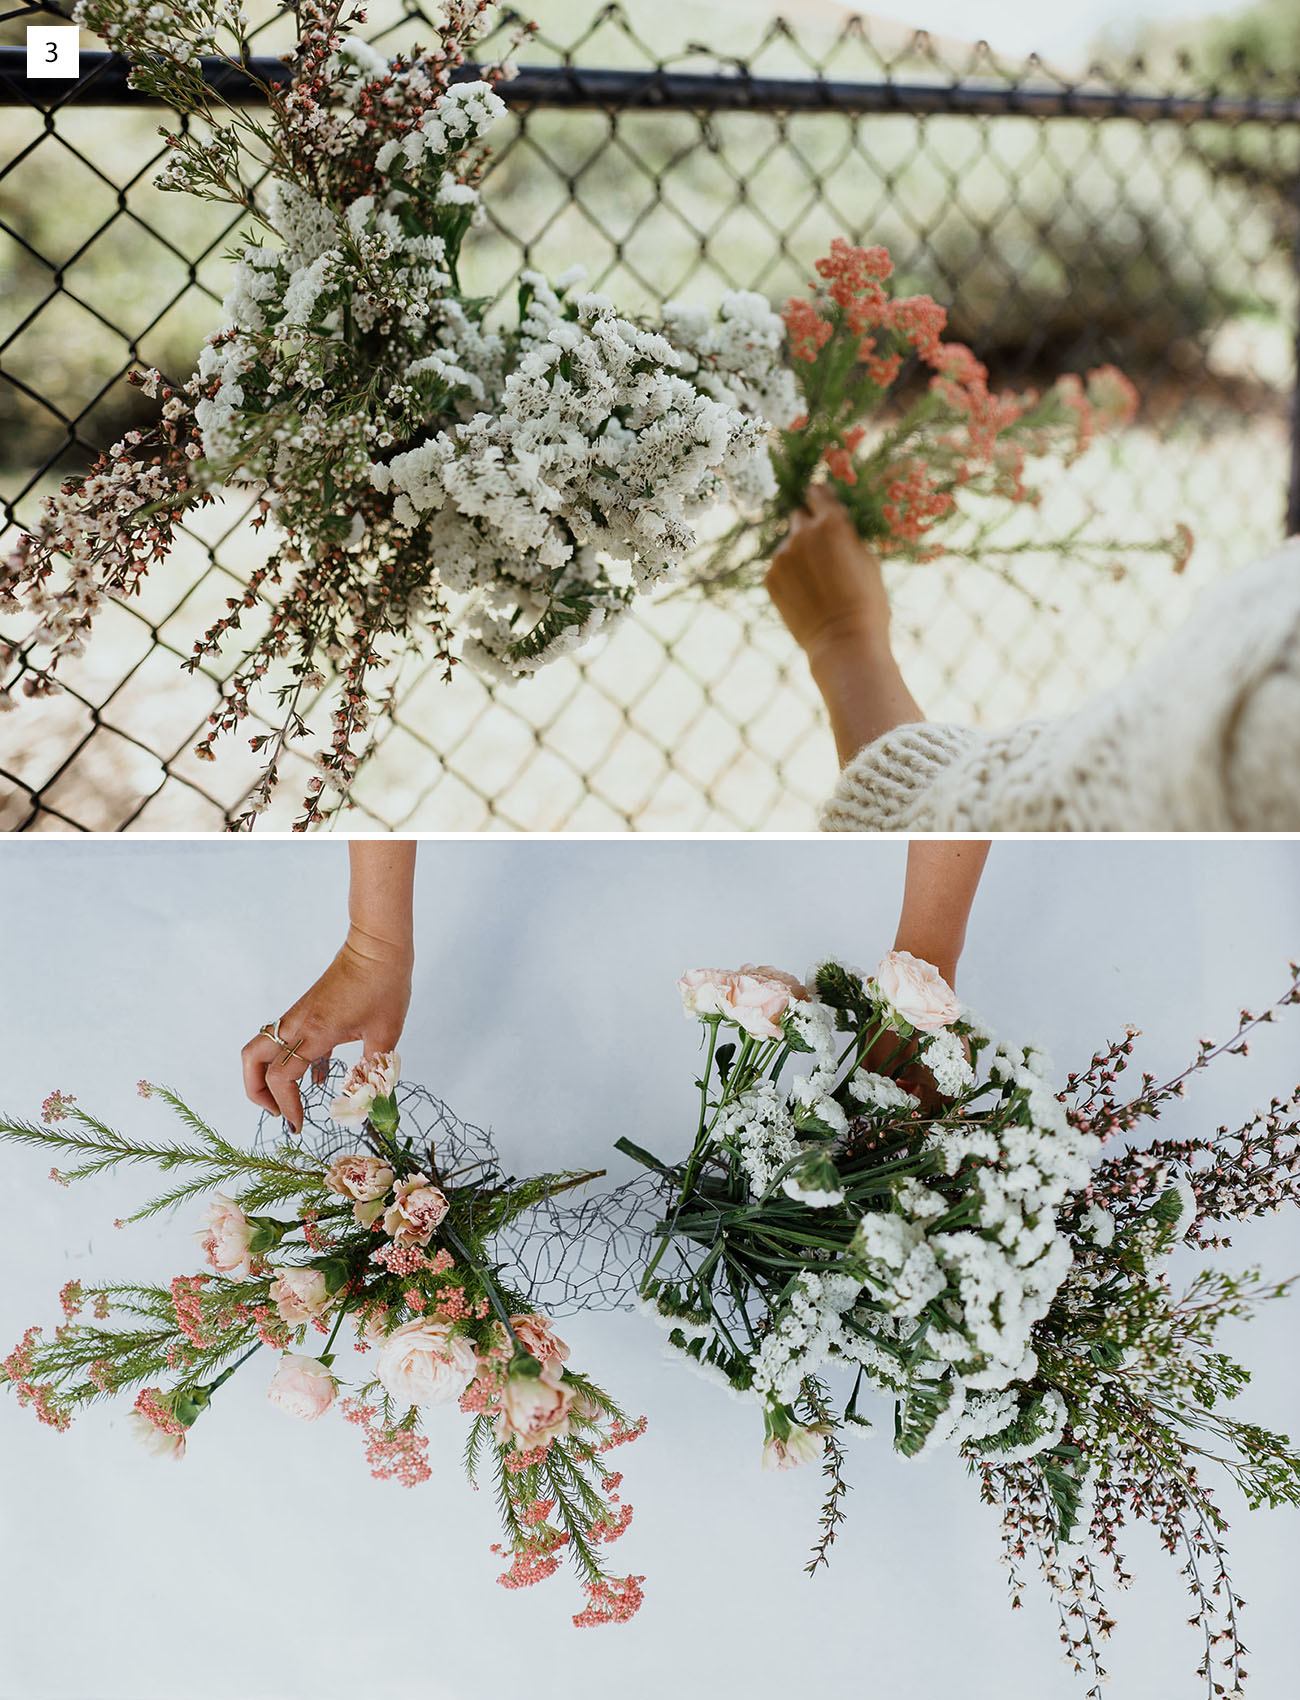
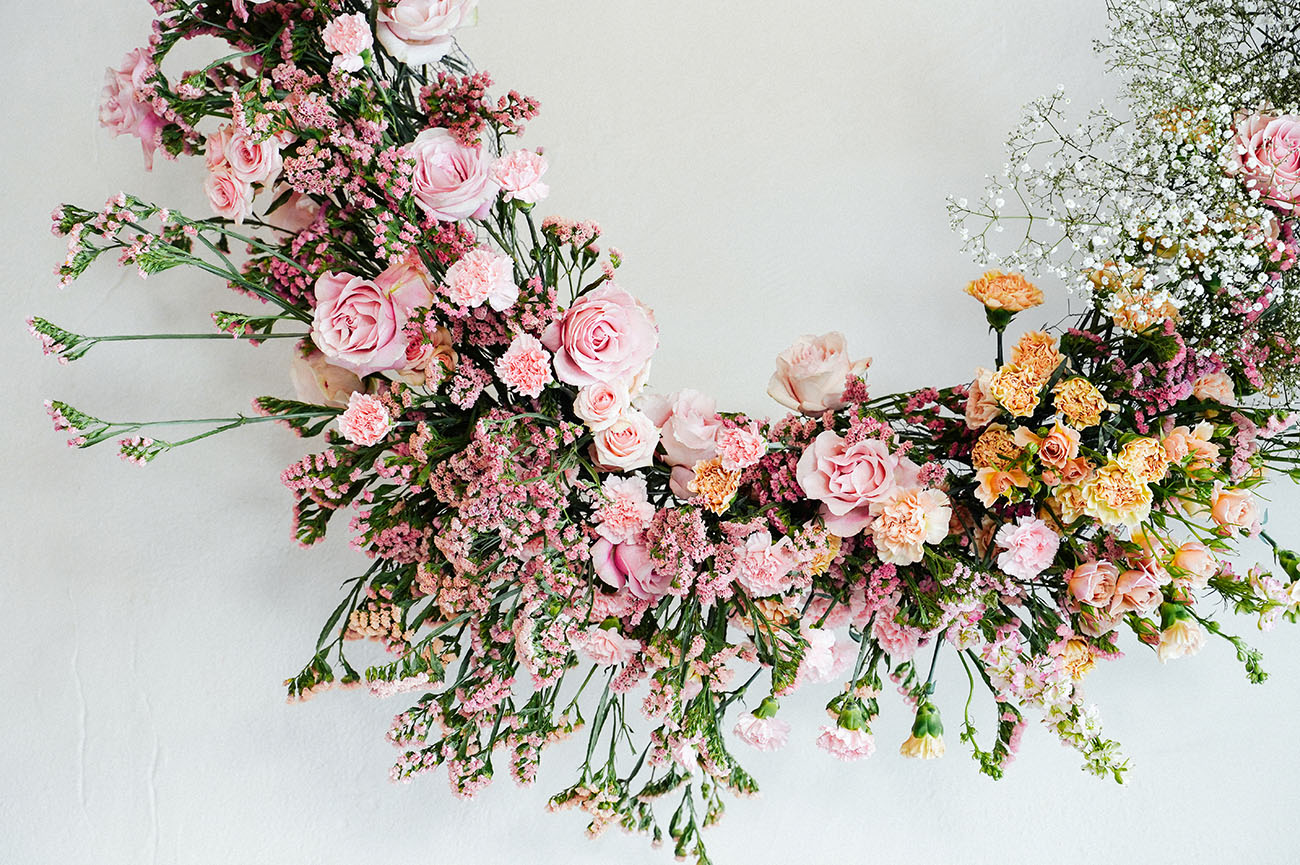
Step 3: Continue with your flowers. We wanted to create an ombre effect with our color and flowers so we moved from white into blush and then a bolder pink.
You can add the water tubes in this step with your more delicate flowers if you use them, like dahlias, ranunculus, snapdragons. And that’s it!
“This particular installation lasted for a week. The ingredients we chose held up well, the room had flowing air and never got too hot and the delicate ingredients were in water tubes.”
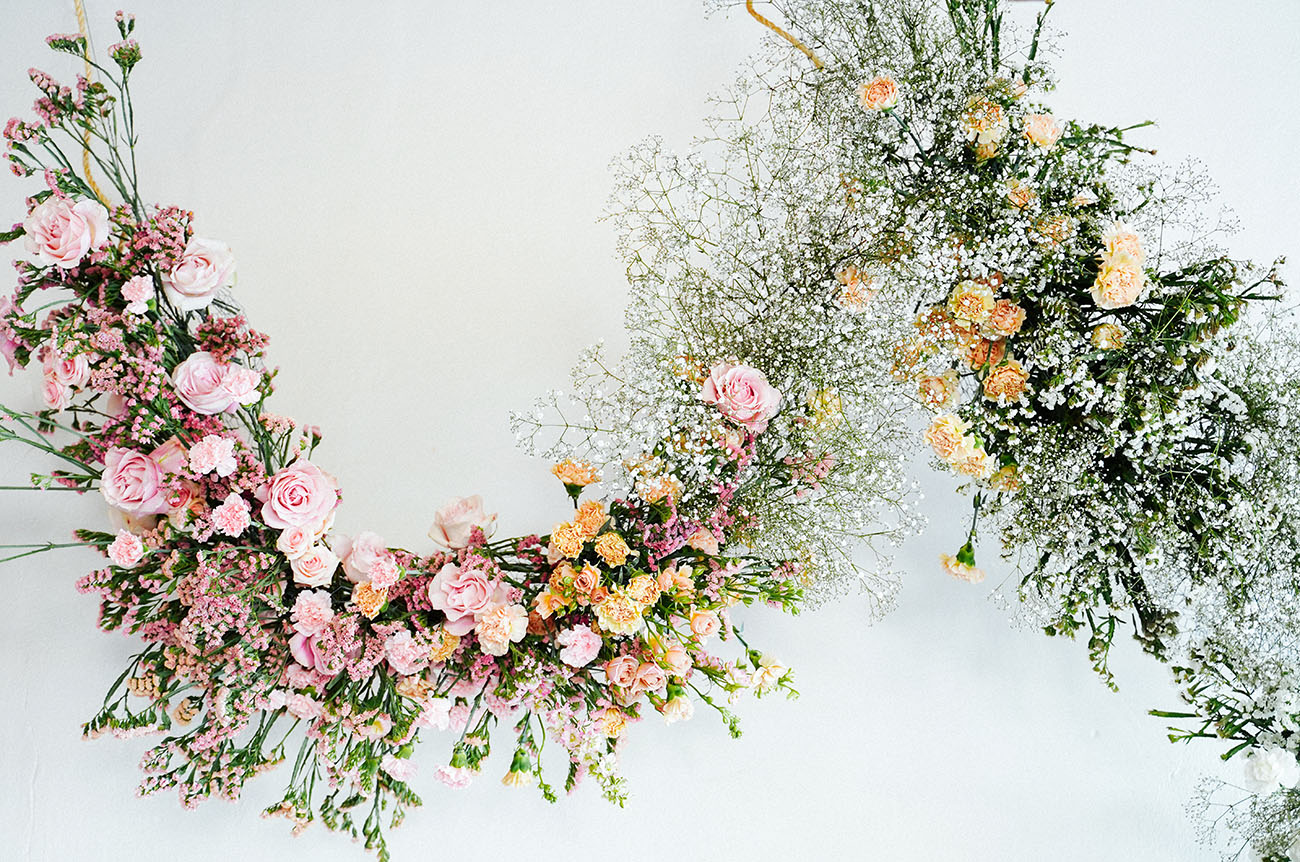
Lots of texture!!!
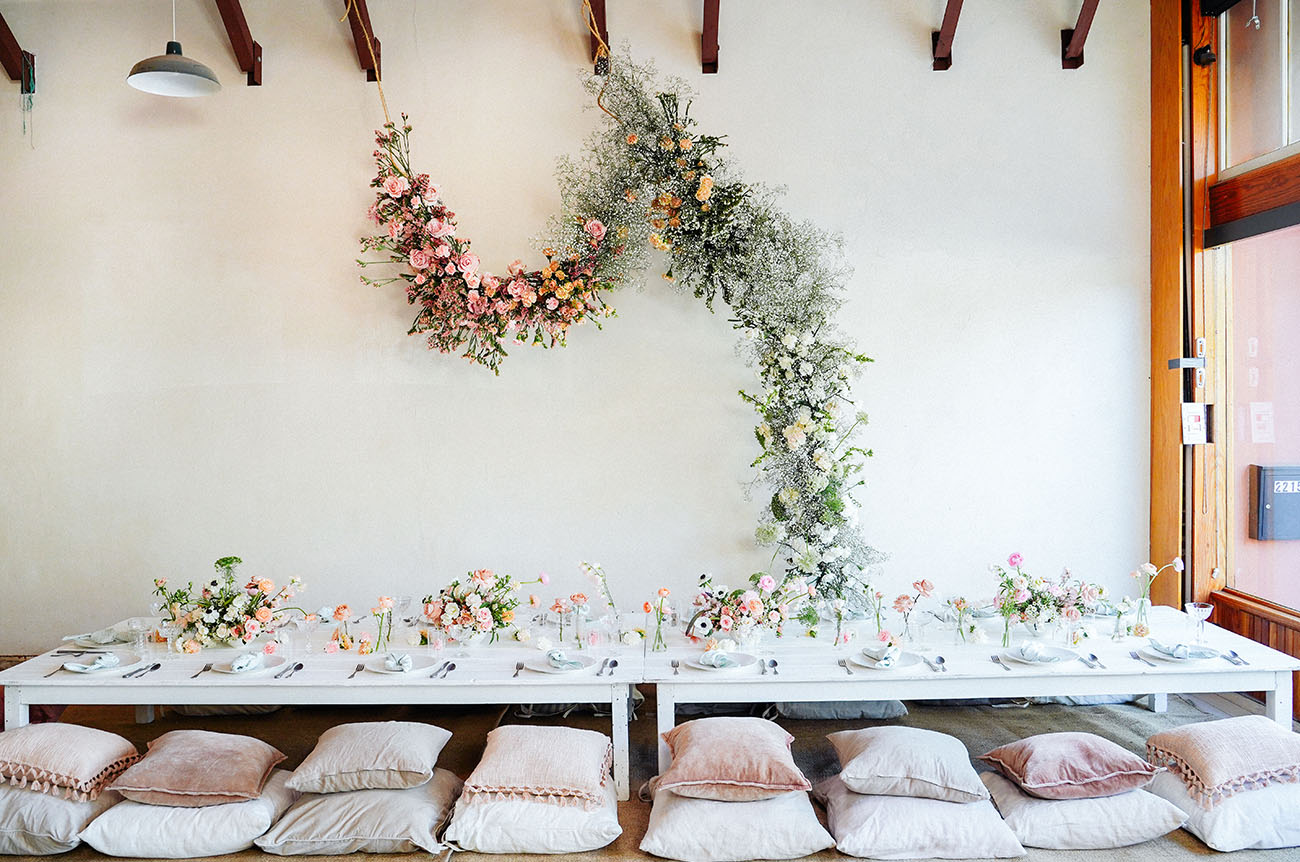
Gorgeous rentals by Pow Wow Design Studio and tabletop rentals Hostess Haven
Thanks so much for the DIY photos by A Raw Collection and baby shower photos by Kimberly Shoots Photos.

SO gorgeous! This would be perfect for a backyard wedding or next dinner party at home.
If you make your own foam-free floral installation, we’d love to see how it turns out, so please share on Instagram along with the hashtag #GreenWeddingShoesDIY. We’ll regram our faves!

Approximately what was the quantity of flowers you used? Couple dozen of each? 10 dozen?
Beautiful
Stunning arrangement! Curious to know if you used flower tubes for the roses as well?