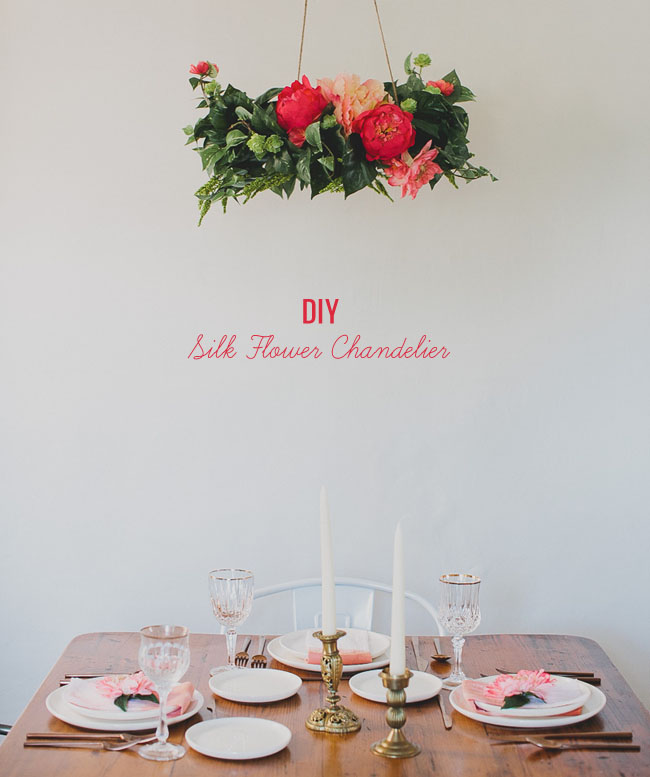
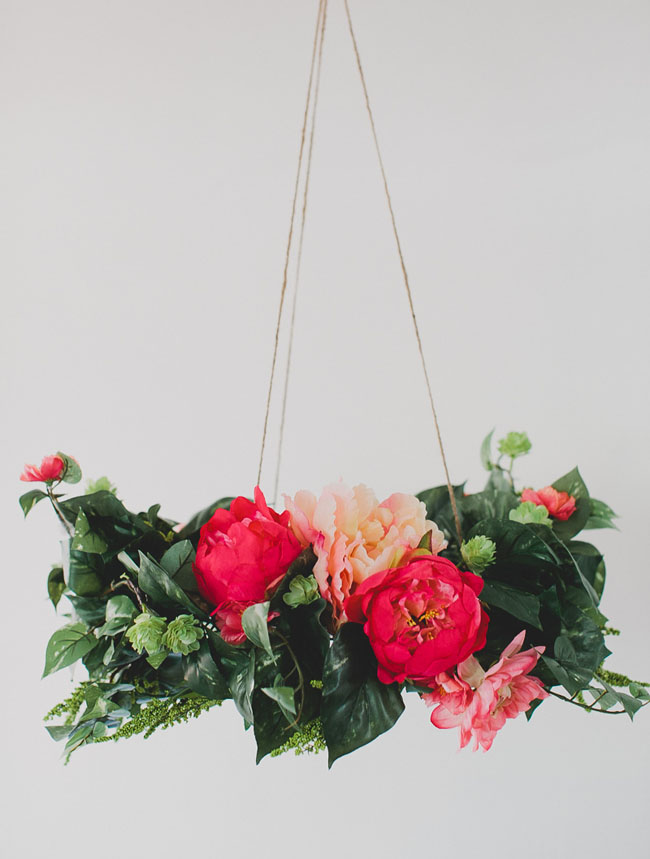
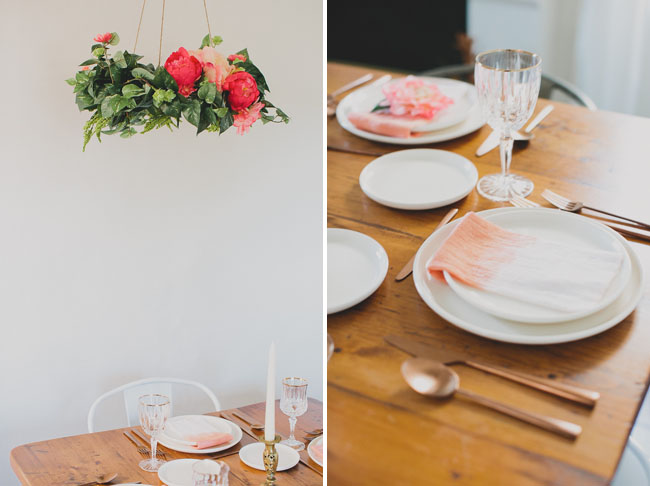
Floral chandeliers are quickly becoming a fun + pretty decor idea for weddings these days and we are totally onboard with that! They make such a fun statement piece to spruce up the ceiling in a venue and help the space appear larger + even more beautiful. So today we partnered with our fave silk flower company, AFloral, to show you how you can make your own floral chandelier. And best of all? It will last forever! Here’s how we did it…
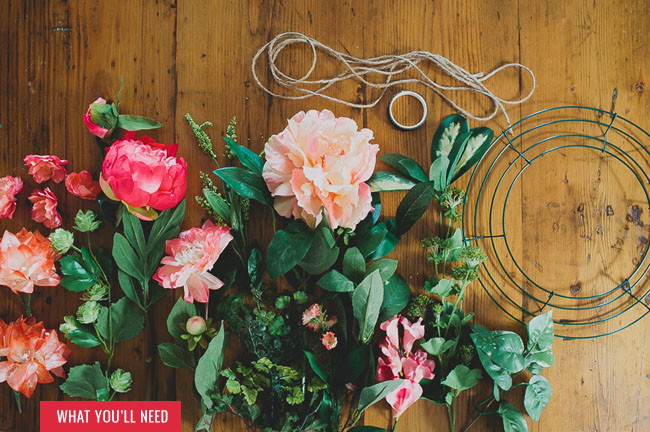
What You’ll Need:
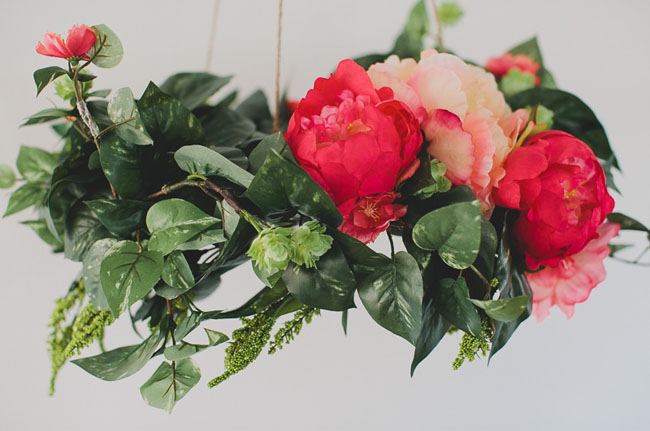
• Silk flowers from AFloral. We picked greens like maidenhair fern, laurel leaf, heather bush + hops, and flowers like dahlias, cherry blossoms + peonies, which can be found on this curated page on Afloral.com
• Wire Chandelier Base
• Gardening Shears
• Floral Tape (or a hot glue gun)
• Twine (or something to hang the chandelier with)
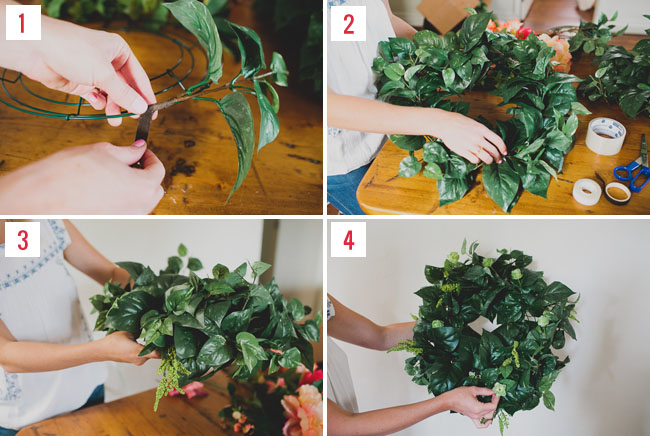
Step 1: Start by cutting/separating your greens that you want to fill the base with and tape along the wire piece with floral tape. We used one kind of green for this but a mixture would work too!
Step 2: Progress by filling with greens all the way around until full.
Step 3: Add some accent greens. We used heather bush to create a dangling + whimsical effect.
Step 4: Add some other accent greens on top, like hops, to give dimension and texture.
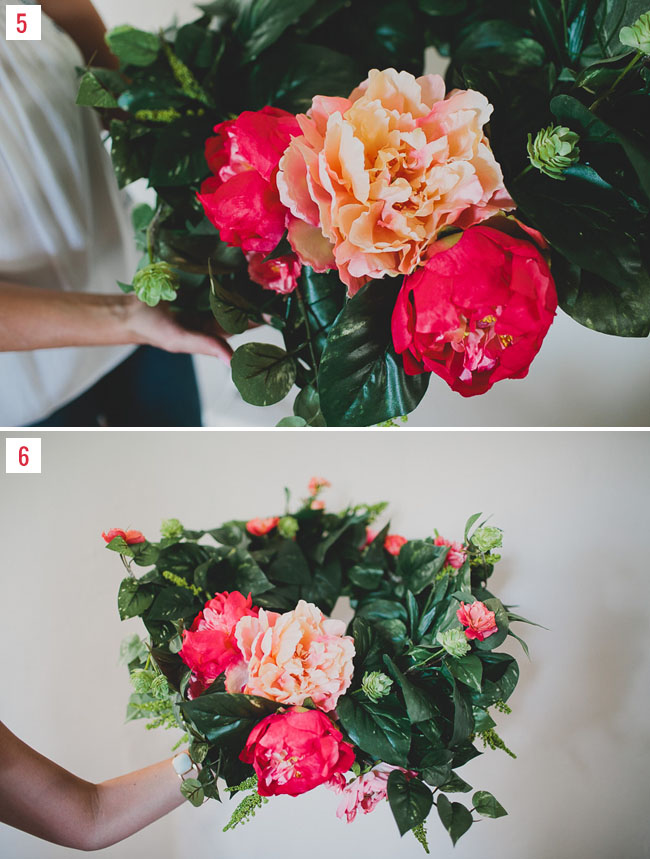
Step 5: Cut your focal flowers so they are about 2 inches long on their stem and tape or fasten down with glue on the chandelier. We chose 3 peonies as our focal flowers.
Step 6: Finish by adding other accent flowers around the edges. Then you can add your twine. We tied 3 pieces in a triangle shape so they equally held the chandelier upright. Also take into consideration how it will hang – onto a beam? by a nail? And measure length of twine accordingly.
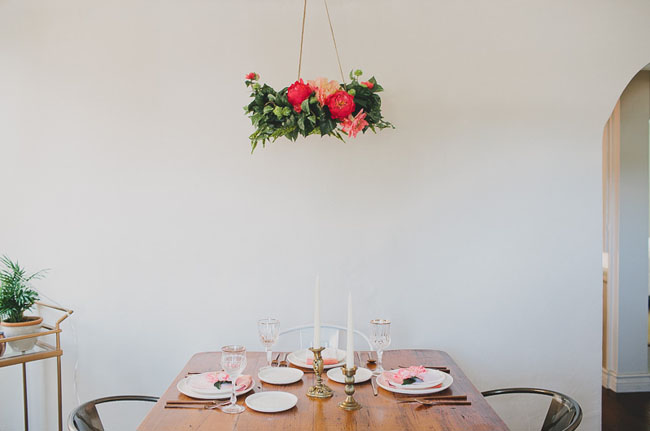
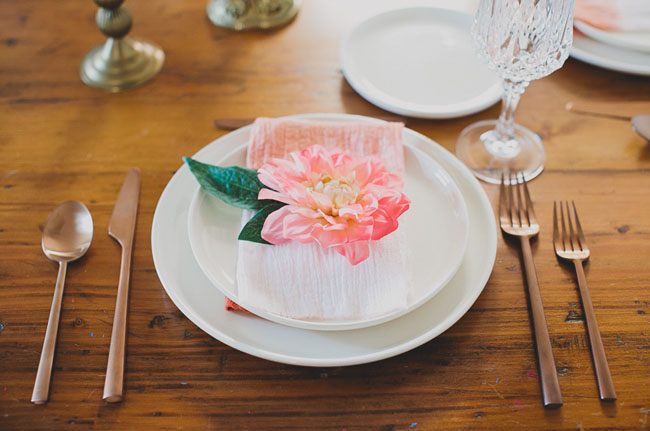
We paired the chandelier with some pretty plate settings from Borrowed Blu. Just love the gold flatware, modern white plates + pretty pink dip dyed napkins they have!

Pretty great right?! Thanks so much to Borrowed Blu for letting us play with your pretty table setting pieces!
If you make your own Silk Flower Chandelier with AFloral using these steps or supplies, we’d love to see how it turns out, so please share on Instagram along with the hashtag #GreenWeddingShoesDIY. We’ll regram our faves!
*This post is sponsored by Afloral.com. All content, ideas, and words are by Green Wedding Shoes. Thanks for supporting our sponsors!
What a beautifully unique idea. I’ve honestly been wanting to learn how to incorporate more flower décor both in my home and on my shoots – so posts on flower décor and crowns are right up my alley. Lovely post, once again you never prove to keep me awe inspired in this business. Thank you so much for your bursts of inspiration – I’m sure I’m speaking on behalf of a lot of photographers when I say that your blog keeps me driven and going!
Loves
Alex
useful post~~good job
Thanks so much Alex!! We so appreciate your comment :)
xoxo Team GWS!
My best friend and her fiance are getting married under this big, beautiful tree here in the Adirondacks, and she has been looking for ideas of how they could decorate it for their wedding, so I can’t wait to show her this!
Amazing post! In love with DIY ideas!