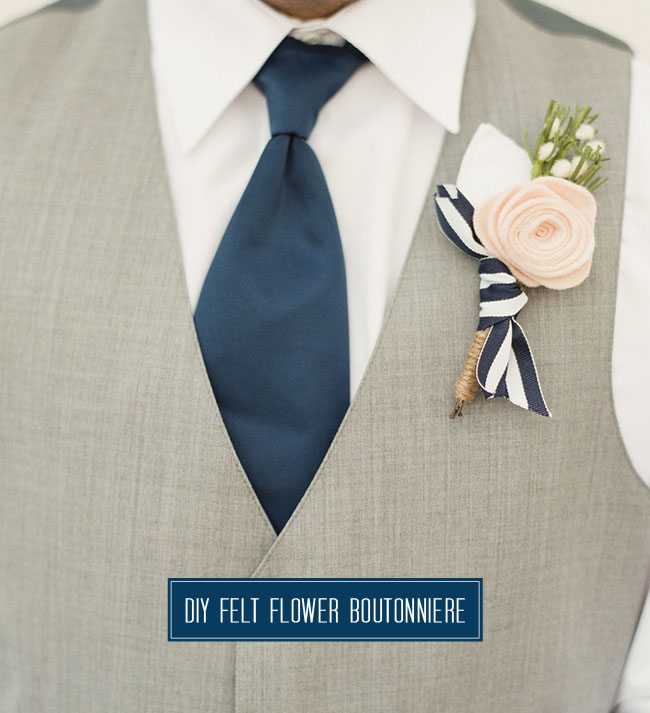
Did you catch this morning’s wedding feature? Well if you saw all the felt flower goodies featured in the wedding, Leonora, the bride is sharing with us how she made her hubby’s felt flower boutonniere! Lots of easy steps in this one and we love that you can customize it to fit your wedding theme or colors! Here’s how she did it…
What You’ll Need:
• 2 Sheets of 9×12 Felt
• Twine
• Stem Wire
• Fake Flower Buds
• Ribbon
• Hot Glue Gun
• Scissors
• Straight Pin


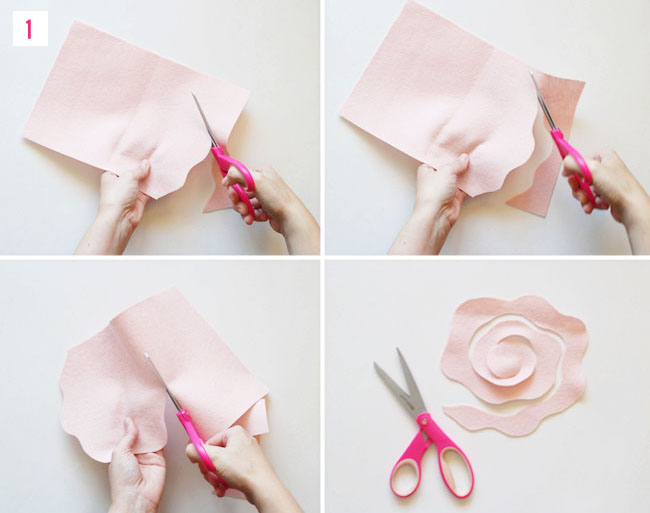
Step 1: Cut a scallop spiral out of your felt. This will be our flower, so make sure whatever color you pick is the color you want your flower to be. I approximately made my spiral the height of the fabric, which is about 7″ – 8″ high. For a smaller flower make your spiral not as high.

Step 2: Take the outer end of the spiral and start to roll up your felt. When you do this make sure to keep one side of the roll “flat.” This will be the bottom of your flower so it needs to be flat and have an even surface.
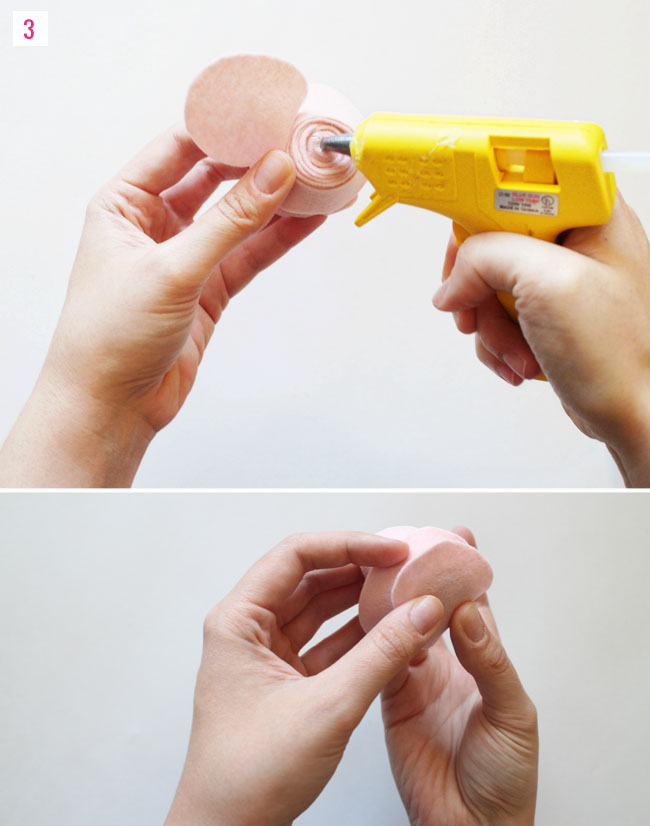
Step 3: Take your glue gun and apply a decent amount of glue to the bottom of your flower. Fold down the center of the spiral and place it on top of the glue to set your flower.
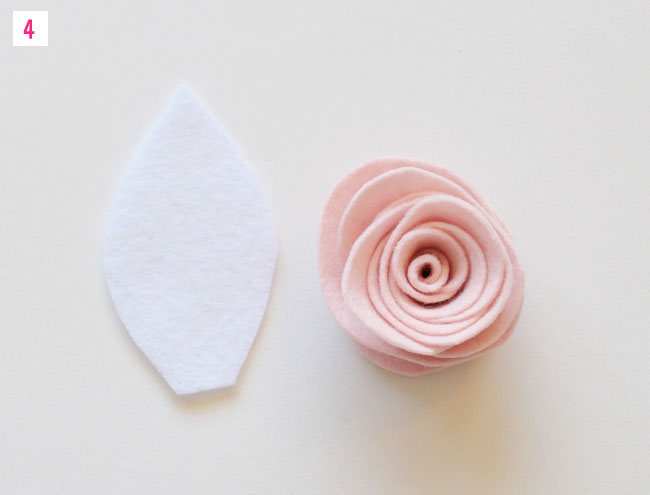
Step 4: Use your other sheet of felt and cut out a leaf shape. Depending on how big or small you want your boutineer you can adjust the size of your leaf. My leaf is approximately 3″ tall.
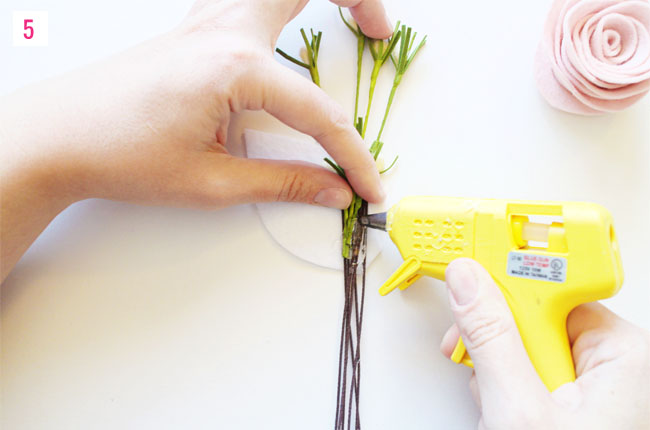
Step 5: Take your flower buds and glue them to your leaf, repeat this step with your stem wire as well gluing them under your buds. NOTE: I pre-cut my stem wire to approximately 4″ high using some jewelry wire cutters. You can also do the same to your fake flower buds if they are sold in a bundle.
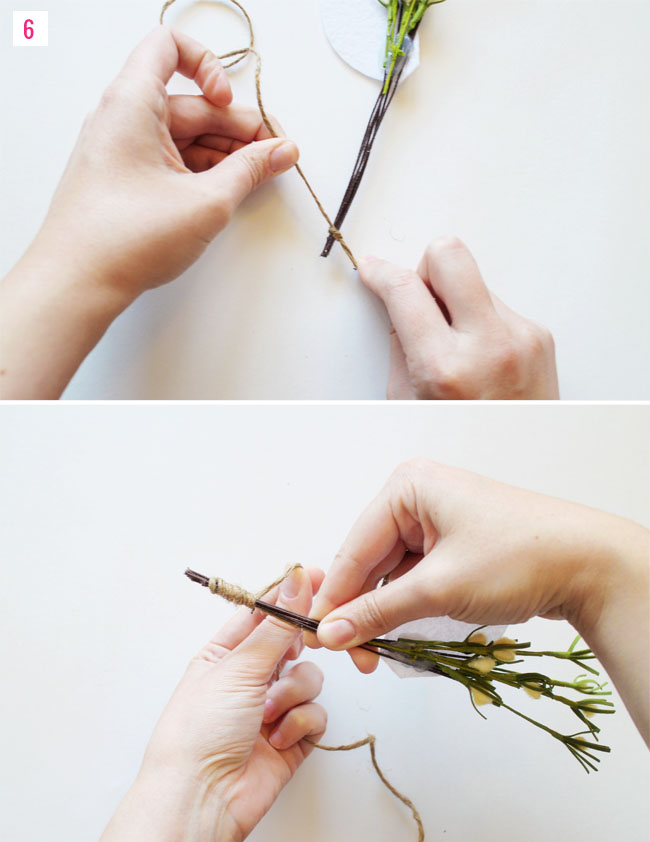
Step 6: Using your twine tie a knot at the bottom of your stem wire. Make sure the 2 ends of the twine are longer than you need. Take one end and start to wrap it around your stem wire.
IMPORTANT: With the other end of the twine take it a place it next to your stem wire. This piece will be tucked in and wrapped around the other end of the twine as you start to wrap it up.
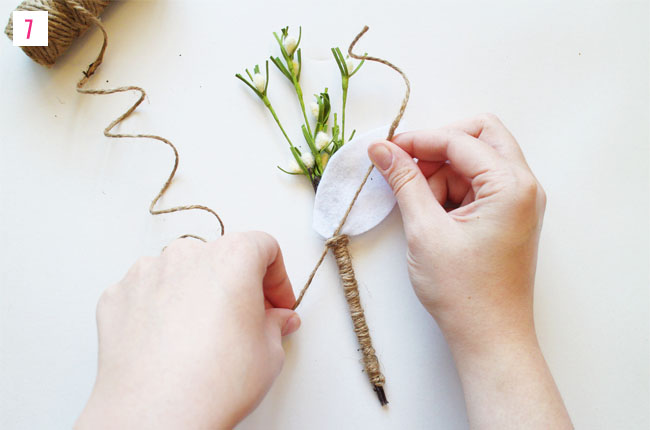
Step 7: Once you reach the base of your leaf take the 2 pieces of twine and tie a knot. Make sure you tie it towards the back of your boutonniere so it is hidden. Trim excess.

Step 8: Flip the boutonniere over and glue your flower to the font.
Step 9: Take your ribbon of choice and tie it around your boutonniere. I kept mine just under the base of the flower. Trim excess. Optional: I used some Elmer’s glue to lightly coat the edge of my ribbon to prevent fraying.
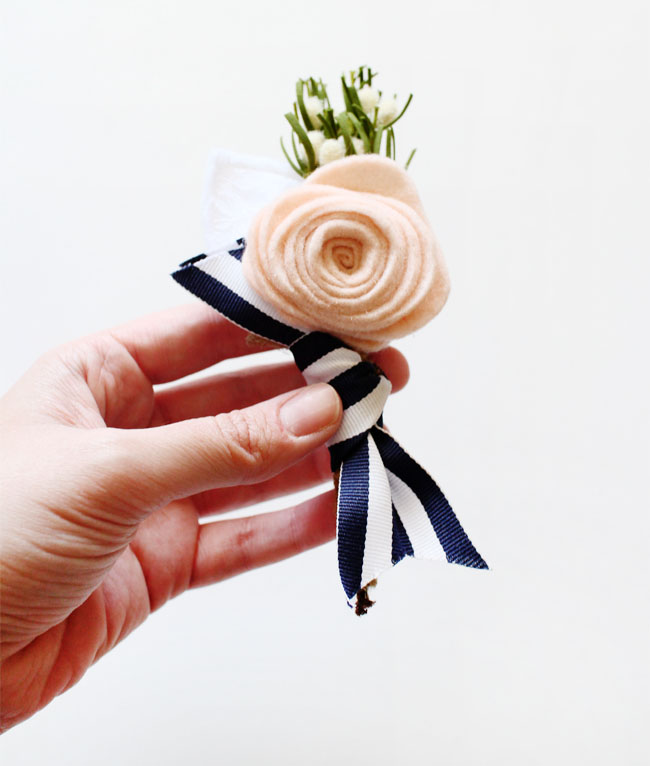
Place onto the groomsmen’s suits by using a straight pin. I recommend placing the pin through the felt flower leaf. That’s it! Now you have a perfect boutonniere that will never wilt or die, making it the perfect wedding keepsake!
If you make your own Felt Flower Boutonniere using these steps or supplies, we’d love to see how it turns out, so please share on Instagram along with the hashtag #GreenWeddingShoesDIY. We’ll regram our faves!
Thanks to Leonora for the photos + steps

This is so cute!
Reposted this to my DIY blog with proper credits: http://doityourselfproject.tumblr.com/post/129265788852/diy-felt-flower-boutonniere
wow, great idea with flower, really nice :)
I love the twine on this. Living in the Adirondacks, twine is a pretty big part of rustic weddings. Also the idea of using felt means that the bride and groom can keep the boutonniere as a memory of their special day forever. So cute.