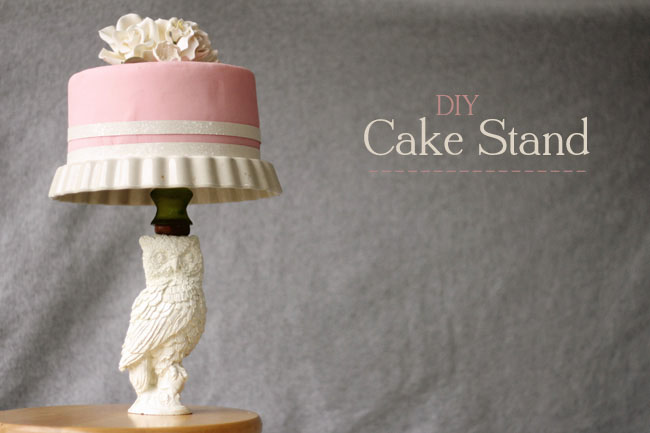
Here’s an easy and fun way to create your own unique cake stand with materials found from a thrift store thanks to our fabulous DIY contributor, Christy of One Handspun Day. So many fun ways to spin this idea too…let’s see how to create it!
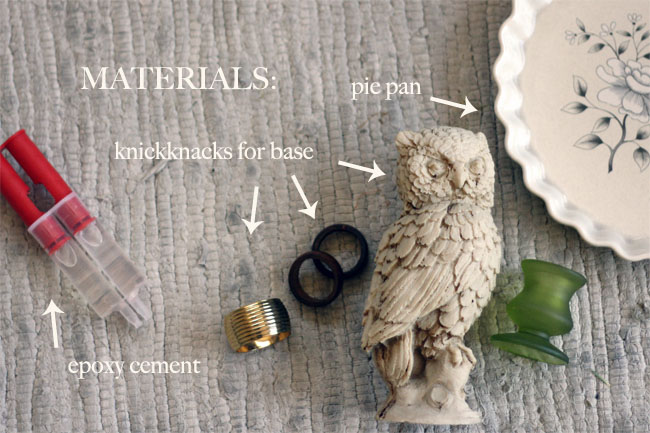
Materials:
• Assorted knickknacks for stand (mine were thrift store finds)
• Pie pan or plate for base (another thrift store find)
• Epoxy (I used Hammer Head Epoxy Cement)
When I ventured out thrifting to find the right pieces for this project I was on the hunt for several small ceramic figurines, but my plan changed the moment my eyes fell on this quirky resin owl. I knew he would provide a strong base (not to mention personality!) so I scooped him up in a heartbeat and decided to pair him with a pretty green frosted glass candlestick and a wooden napkin ring. Although I typically like a distressed look, my owl did not seem particularly happy in his current state so I brightened him up with a few coats of paint and a gloss sealant. When you are searching for the right pieces for this project (whether that search is in a thrift store, yard sale or even your own garage) try to focus on finding interesting shapes. It is much easier to make an object with an interesting shape more appealing with a few coats of paint than to transform a shape.
Before you start the first step and let your inner ‘glue happy’ child out for this project take a few minutes to play around with different placement options using your knickknacks. Consider the weight of your pie pan/plate and the cake you will be placing on it when you are choosing your knickknacks because they will need to be strong enough to act as a support. That pretty porcelain kitty may seem tempting, but if she is paper thin it will take more than nine lives to bring her back when she shatters with the first slice of cake. Also make sure that each of the surface areas to be bonded will have sufficient space for the epoxy to be applied so they can be bonded strongly together.
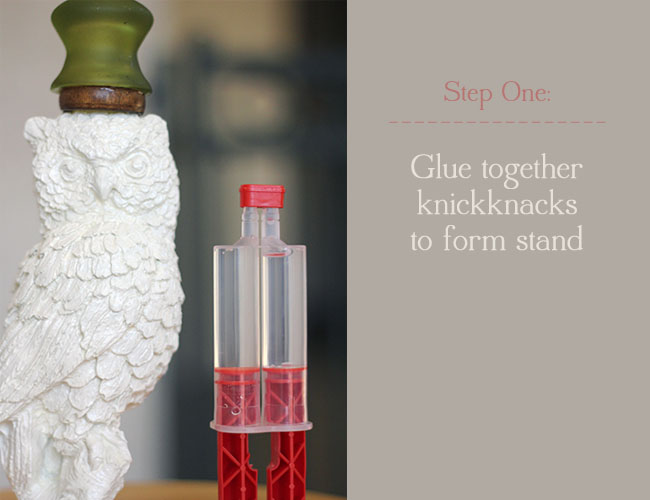
Step One: Glue together knickknacks to form stand
Once you have an assortment of knickknacks and a plan to piece them together it’s time to break out the epoxy. Read the instructions before you begin because different brands vary in their application. The one I used required that I first squeeze the adhesive onto a disposable surface (I used a lid) so it could be mixed before applying. Attach your first two objects together using the epoxy and allow them to set before repeating for the next layer. The epoxy I used requires 12 hours to set to full strength, but I only waited for about an hour between layers because it felt secure enough to continue. Note: impatience is not a substitute for good judgment… Although my cake stand seems to be holding up well I have a feeling only time will tell if my impatience will catch up with me!
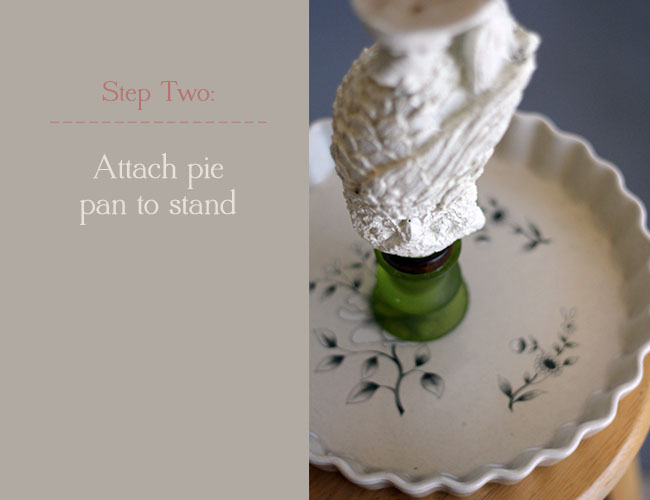
Step Two: Attach pie pan to stand
Although the pie pan I found had cute flower designs painted onto it, I preferred the scalloped edge facing downward when I flipped the stand upside-down. Use the epoxy to bond the pie pan to your stand. I found this was easier to do when I placed the pie pan and stand upside down, so you might want to do the same but take care that the surface of your cake stand will be level when you place it right side up again.
Once you have finished assembling your cake stand, allow it to set for at least 24 hours (check the instructions on your epoxy since times may vary). If your cake stand seems a bit precarious you might want to glue a piece of felt to the bottom to make it stand a little more evenly. Once it is done don’t be shy about letting your creativity out for a bit of playtime – that is when the most beautiful accidents happen. I am toying with the idea of adding some bead embellishments, rosettes or even painting some designs on the owl – there are so many possibilities I haven’t been able to decide yet! What I do know is that I plan to use a second, smaller plate as an intermediary surface for my cakes. That way I don’t have to worry about washing my cake stand and any way to avoid a soapy sink is a good plan to me. However, if you plan to place cakes directly onto the surface of your cake stand then you may want to reconsider the embellishments you add since not all of them can withstand water and soap. Happy thrifting, gluing and baking… or pinning!

DIY created by Christy of One Handspun Day exclusively for Green Wedding Shoes

This would look perfect on a winter wonderland wedding! Very cool idea.
I’d make sure when you glued the top plate to the stand that you keep it level, it’s one thing for the base to be quirky, but if the whole thing is leaning to the side your poor cake will look wonky! I’m sure a level and some adjustments when you stick it up there with the epoxy would be enough to make sure your cake stays straight! :) Great project!
Another great DIY by OneHandspunDay!
I’m loving this idea. It’s so unique. Every couple should consider this option. What a great project that the bride and groom could do together that they could keep as a moment afterwards. Bravo!
Oh my goodness!!!! I absolutely LOVE this!!! Perfect for a window display we are working on. Will definitely share pics when done. Thx for always inspiring!!!
I have concerns about the size of the base of support. Layer cakes are heavy. I can totally see this cake stand tipping over once enough slices have been served to sufficiently unbalance the load.
You make a good point Jen! This stand might work best with a bunch of mini cupcakes or adding more of a base to the bottom of the stand to improve stability if it holds a heavy cake. I definitely recommend testing the stand before the wedding day! :)
What a fun idea! Hoo Hoo!
I love this. At first I though it was an old lamp and it has inspired me to when my son and granddaughter get each get married (which I hope is a while as he is 17 and she is 11!!!!!) to make a cake stand with an old lamp base that belonged to my great-grandmaw!
I’ve seen DIY cake stands use candle holders all the time but never a statue! Good idea! Kind of hard to pull off though. I can imagine making a cupcake holder out of that too.
This is the most beautiful cake stand I think I’m seen in blog land…or anywhere! I am having a Tiered Display link party at my website Homa Style starting Wednesday, August 29, at 8 am {Arizona time}. I would love to see your creation at the party. Here’s the link to the party
http://homastyle.com/wp/?p=3826
I have seen many DIY cake stands but this is one of my favorites. Awesome idea! Definitely used for a smaller cake like the one pictured rather than something extravagant. Love it!
Good stuff. I will be pinning this one.
I think this looks cute but the base of the owl is far too small to have a cake on it. One attempt at slicing that cake and it’s going to tumble.