Green Wedding Shoes
Wedding Planning
Real Weddings
Gift Guides
Travel
Home
Fashion + Beauty
DIY
Best of GWS
Find A Vendor
Shop
DIY
All DIY Ideas
Decor
Fashion + Accessories
Favors + Gifts
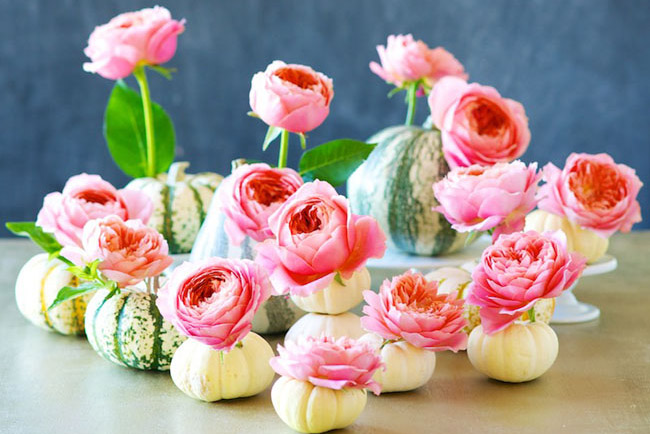
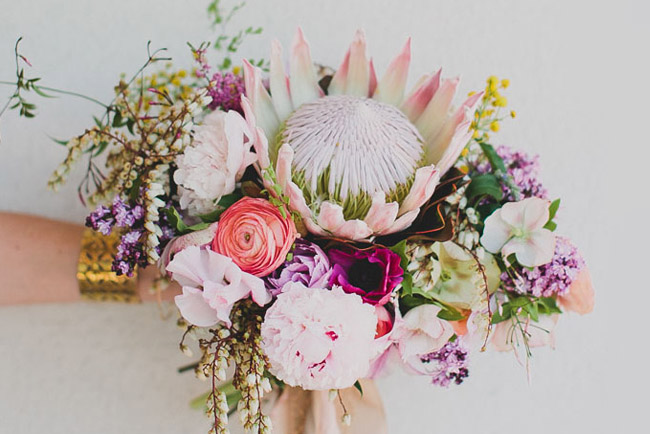
Flowers
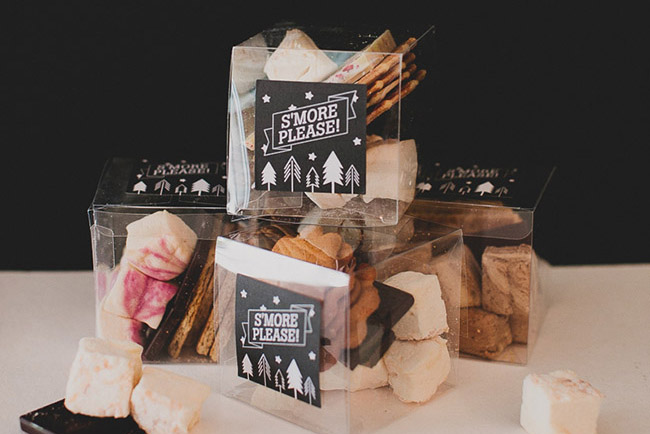
Food + Drink
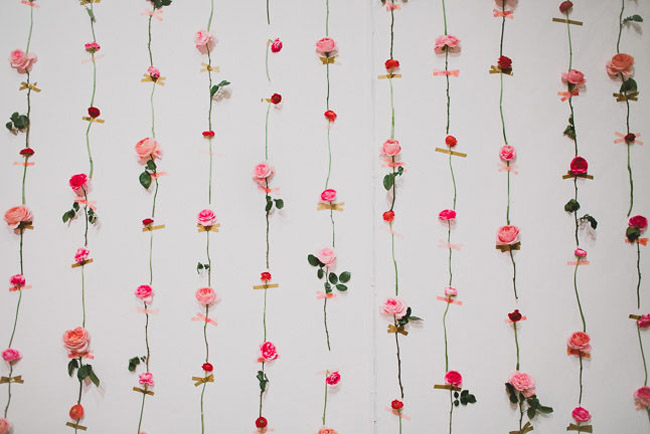
Garland + Backdrops
Hair + Makeup