
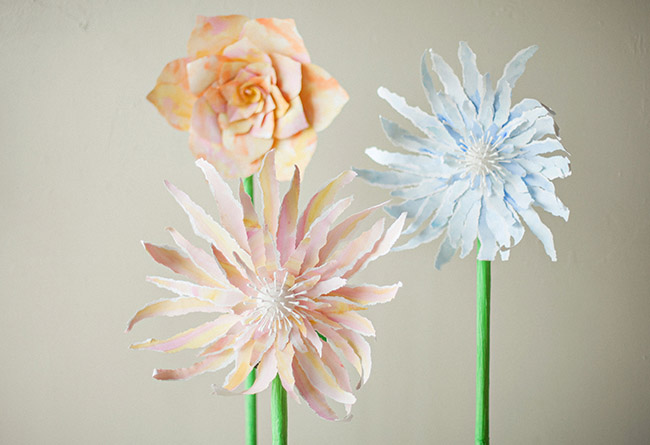
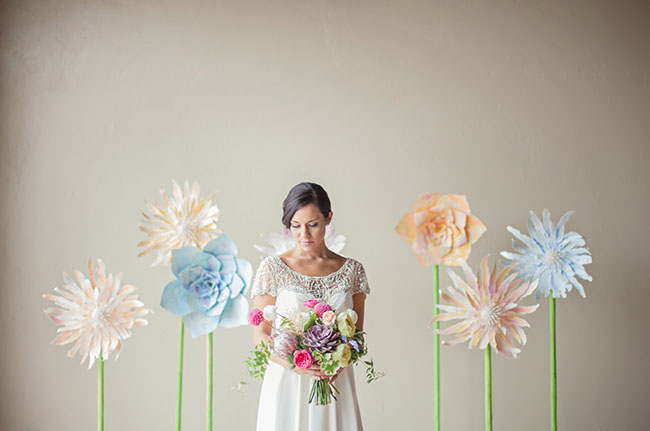
Earlier today we shared a Whimsical Watercolor Inspiration shoot, which featured some amazing, giant paper flowers. Now, thanks to Blome’s Paperie, we are sharing how to make them! We love that these giant flowers are free-standing and look so whimsical in any setting! Could you imagine a ton of these for a rad ceremony backdrop? Let’s see how to make one!
What You’ll Need
• Watercolor paper
• Watercolor paints
• Paint brushes
• Scissors
• Glue
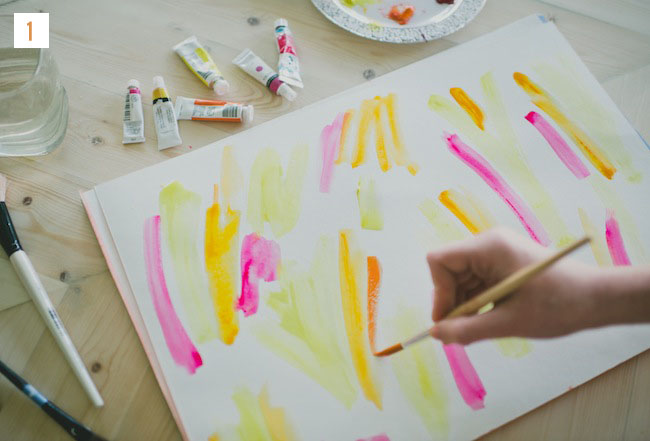
Step 1: Start with water color paper. I used 12 inch by 18 inch paper but any size will work. Paint your paper. For the whimsical watercolor photoshoot I blended the colors together more, but today I felt like making it streaky. Do whatever inspires you!
Let the paper dry. This step is easily overlook but important. You don’t want to mess up your paint with your hands or the scissors so it’s best to let it dry for about an hour or until it’s dry to the touch before moving onto the next steps.
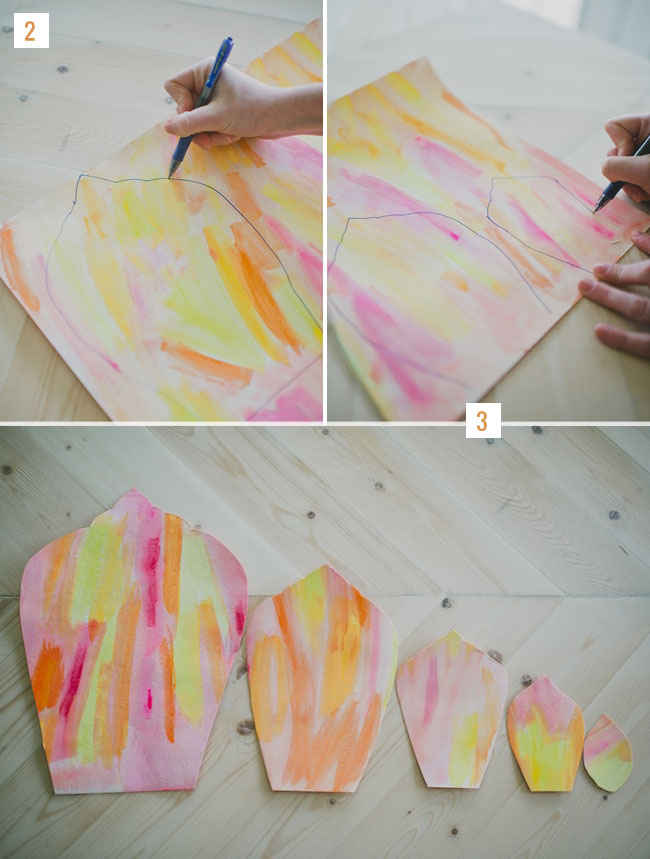
Step 2: Draw your petal shape onto the paper, keeping it with rounded edges and coming to a point. Depending on what I am making the flower for I might throw more bumps onto the petal, or make it more streamlined.
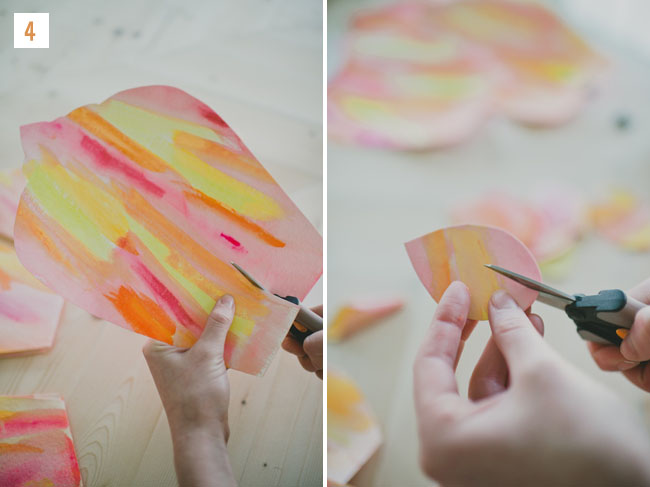
Step 3: Draw out the rest of your petals making them 1/3 the size of the previous one as you go. Culminating in a petal about 2 inches high. You may need more layers of petals than pictured if you are making a particularly large flower (though mine is 2 feet wide) you might also use less layers of petals if you’re making a smaller flower. The big thing to keep in mind is stepping the sizes down by 1/3 every time. Then, cut out your petals. Cut six petals of every size and cut an extra 6 petals for the smallest layer.
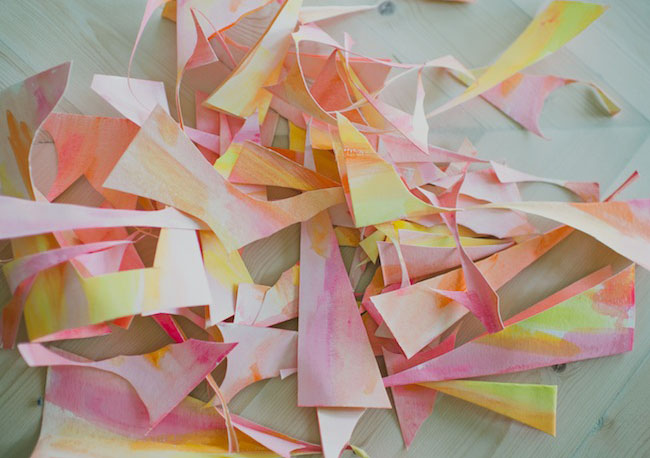
Note: Don’t throw away your scraps! You might need to cut some extra petals from them.
Step 4: Cut a slit in the base of all* of your petals. *Except one of the small 2 inch petals.
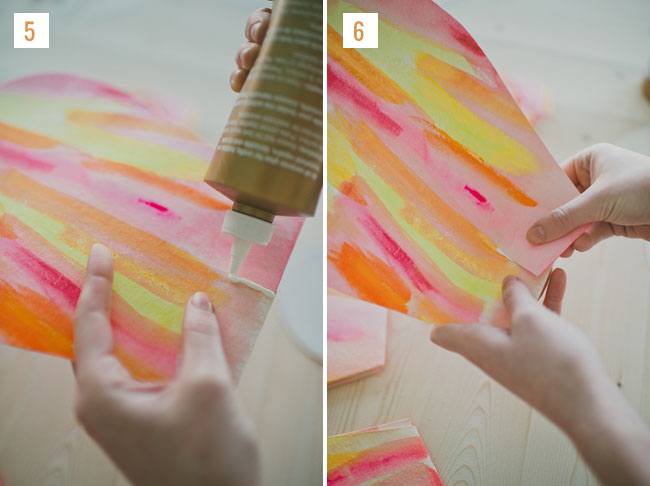
Step 5: Glue petals along one side of the slit you cut.
Step 6: Overlap side of the slit without glue over the side with glue. Hold until dry. *This is why it’s so important to let your paper dry before starting, if you’re paper is still wet your glue wont dry.
Not Pictured: Get a piece of something hard and cut it into a circle. (Empty cereal boxes will work for this)
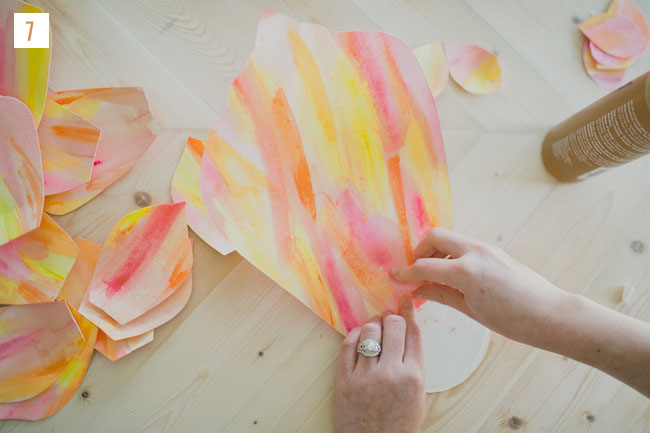
Step 7: Take your large petals and add glue to the back of them, then glue your petal to the flat circle you just cut.
Step 8: Repeat with all large petals, slowly overlapping them under they go all the way around the circle.
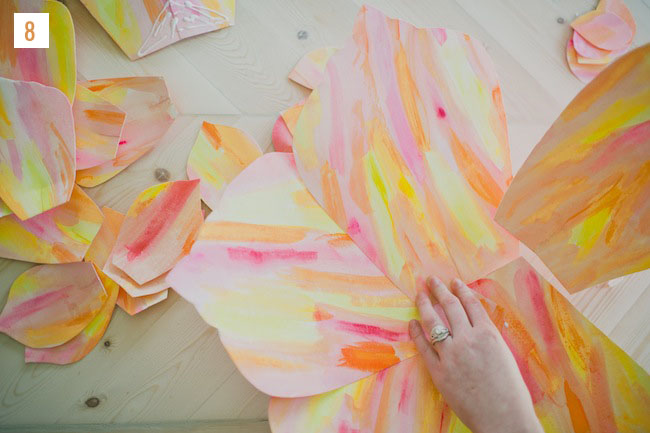
Step 9: Hold your petals down for a bit so they can dry/ get attached to your base.
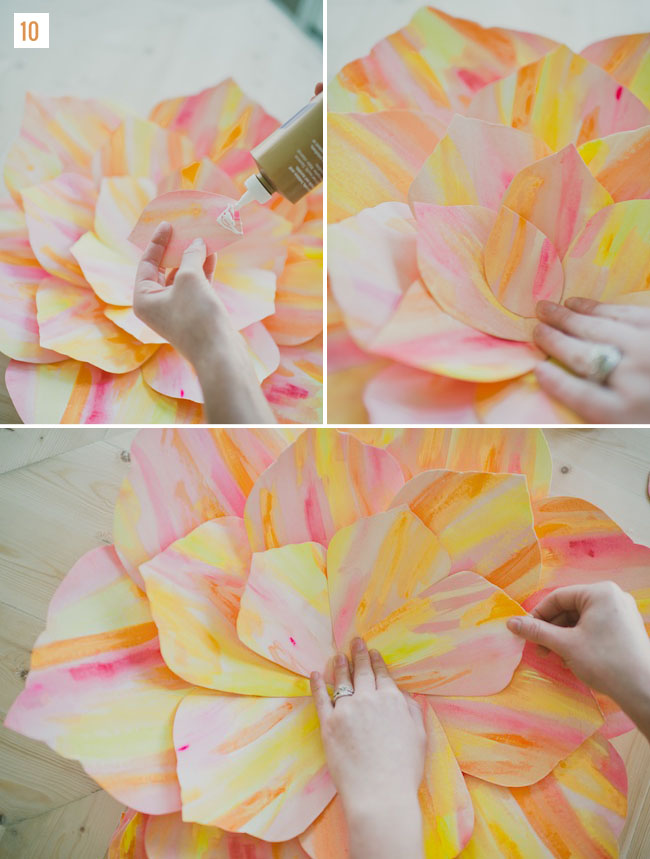
Step 10: Repeat for all layers of petals.
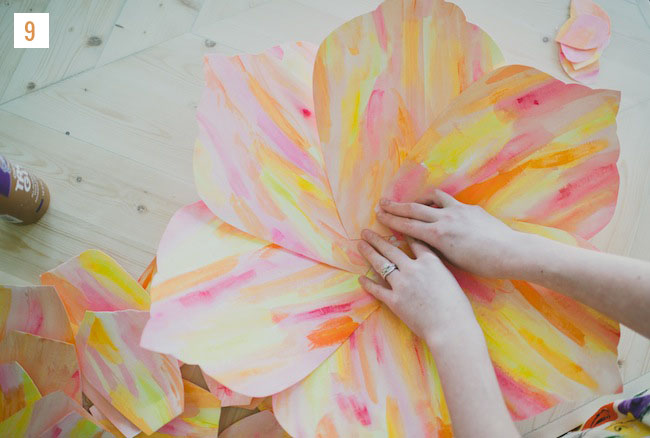
Note: When you finish gluing your layers of six it’s time to evaluate. Does it look full enough at the center? If not you may want to add a few more small petals. I decided to add 3. I overlapped my flowers a bit more than previous layers so I needed to make sure I pressed them down firmly again.
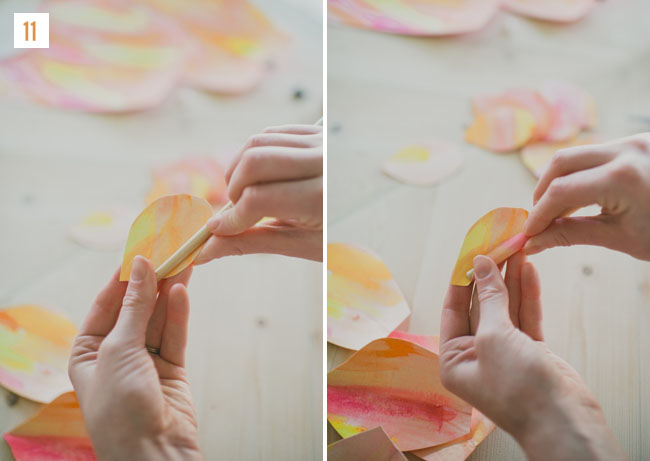
Step 11: Now to start the center, take a small 2 inch petal and roll it around a paintbrush.
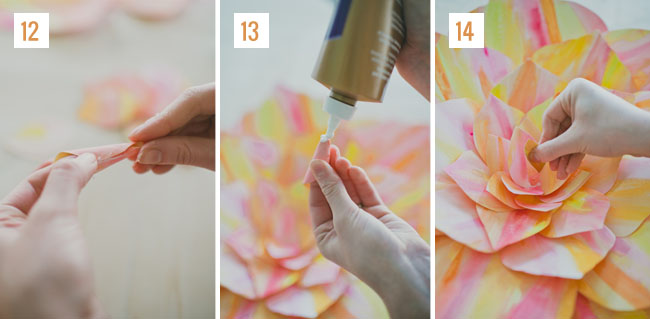
Step 12: Remove your petal from the paint brush and glue it into a cone shape.
Step 13: Cover the bottom of your cone in glue
Step 14: Place the cone into the center of your flower and press down firmly.
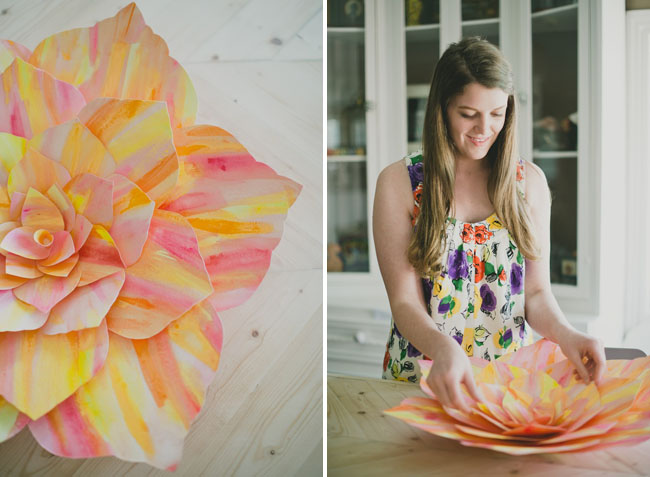
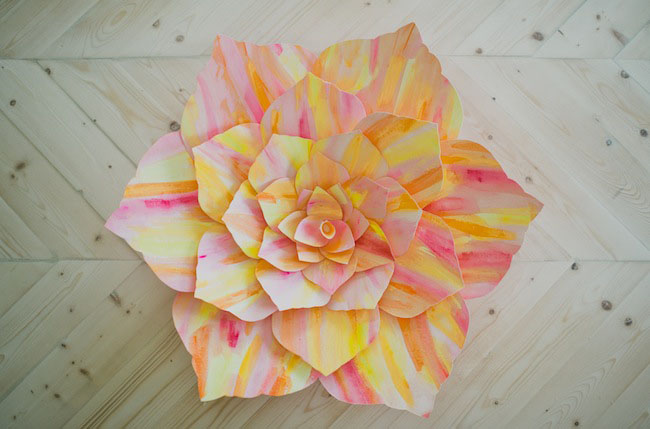

Sit back and revel in your beautiful flower! If you make this DIY, we’d love to see how it turns out, so please share on Instagram along with the hashtag #GreenWeddingShoesDIY
Thank you so much to Blome’s Paperie for the DIY and Sarah McKenzie Photography for the photos! Love these but aren’t really a DIY person? Blome’s Paperie makes paper flowers for events! So be sure to contact them for a unique paper flower installation. :)
Where can I get the patterns for the flower petals?
Love this idea and would love to make them for a performance stage for our Red Hat party this fall!
HELP please
Love this idea for my daughter’s b’day. One thing that I am still wondering…What is the stem made of and how does it attach to the flower?
Thanks!
Fabulous! fabulous!. But I need to know the last part. How to atta ch thwe flowers and what is used, other than a long pole.
I got this fro my e.mai. I dont have a webb sitwe. Thanks a million. Ruth.
What kind of “stem” is the flower on? I’d love to make some of these for an upcoming Halloween event, but we would need them to be free-standing like yours in the final picture.
Thanks!